Week 3
Laser Cutting
Process Designed a restroom directional sign for the makerspace as my first laser cutter project on a Leiyu machine using Laser Maker software.
Steps followed
- Brainstormed a functional sign idea.
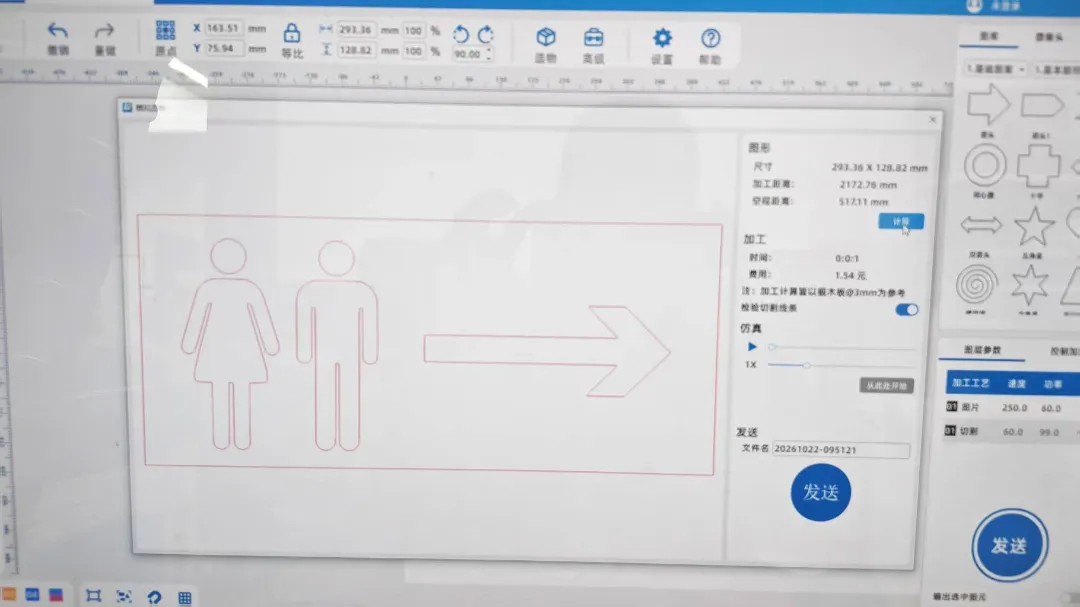
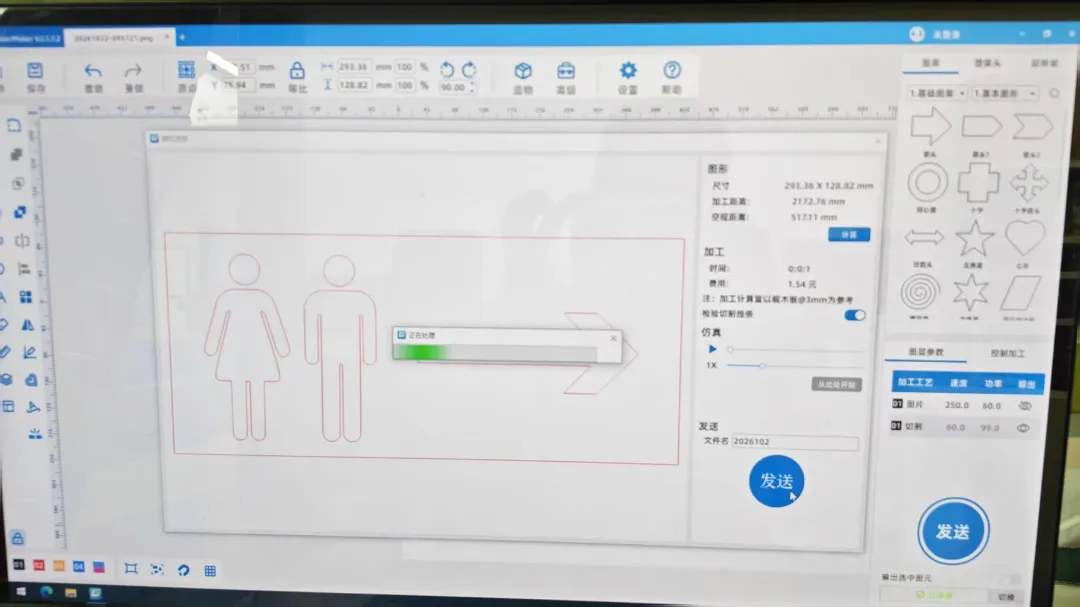
- Sourced a PNG graphic and traced outlines in Laser Maker.
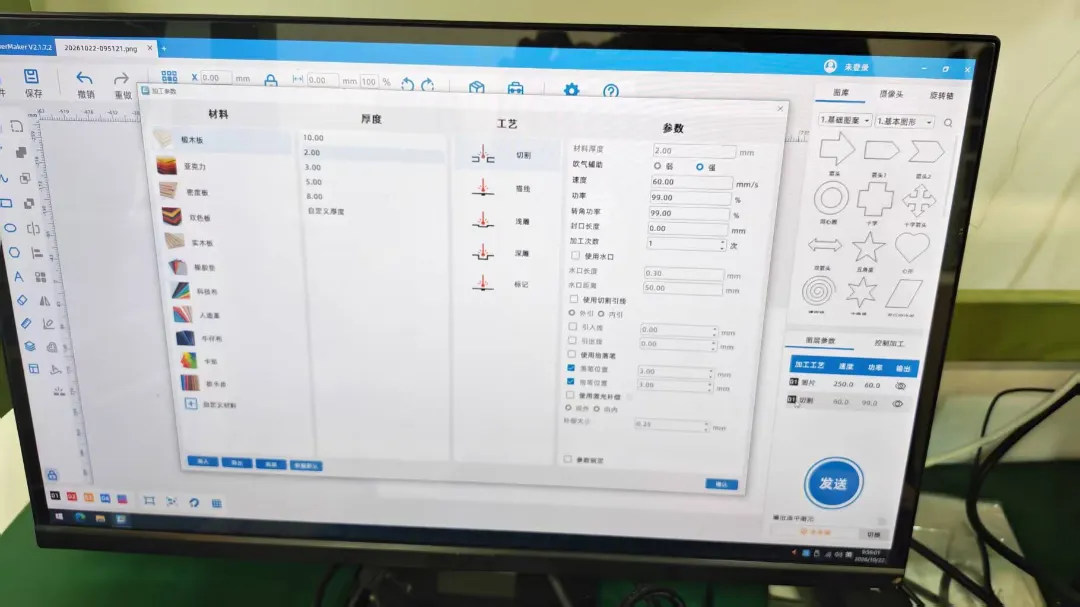
- Tested engraving and outlining settings (power & speed) on scrap 3 mm board, checked recommended parameters with AI.
- Ran the formal cut and learned about kerf compensation during operation.
Photos / screenshots of key stages
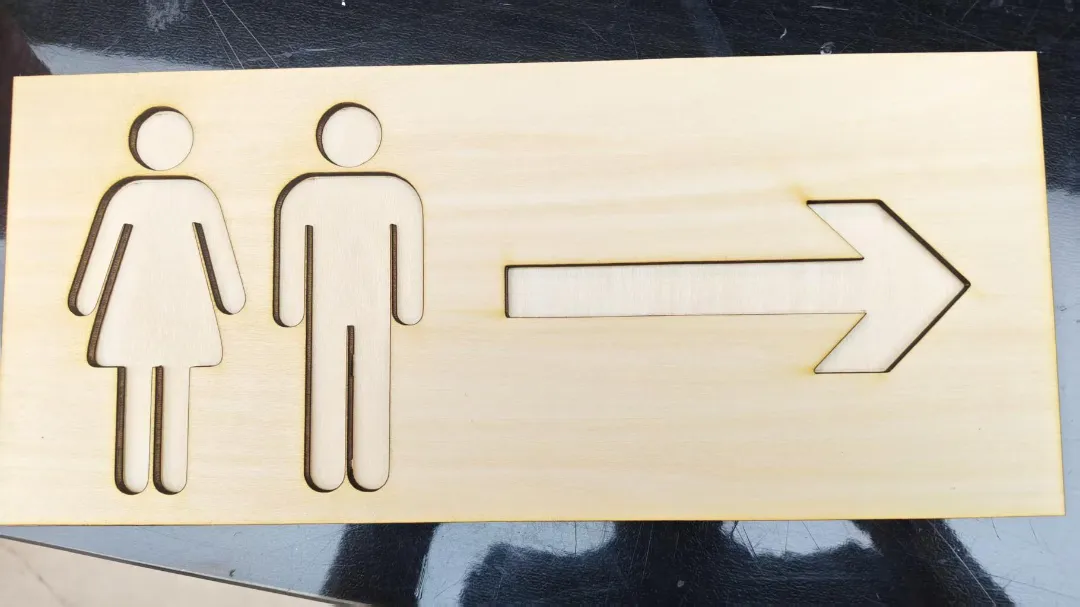
- PNG source file & outline tracing in Laser Maker
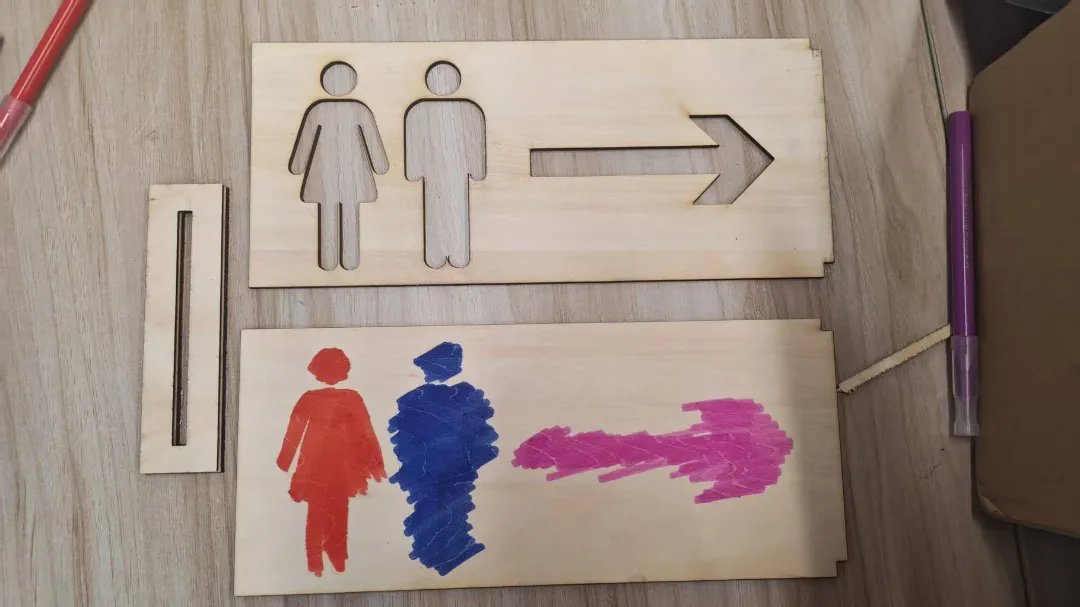
- Parameter test pieces on scrap board
- Laser cutting in progress
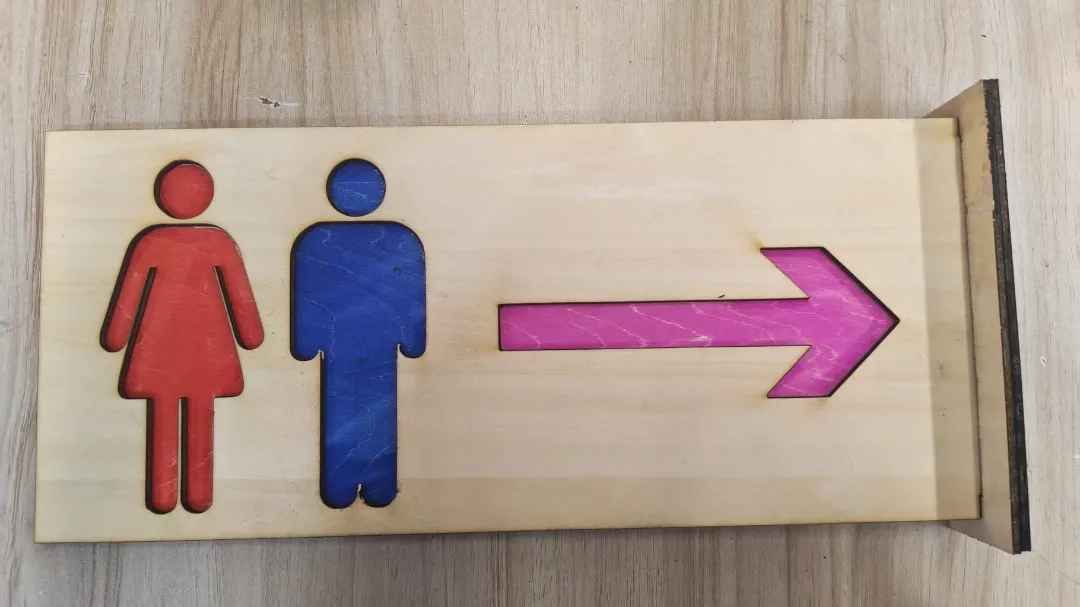
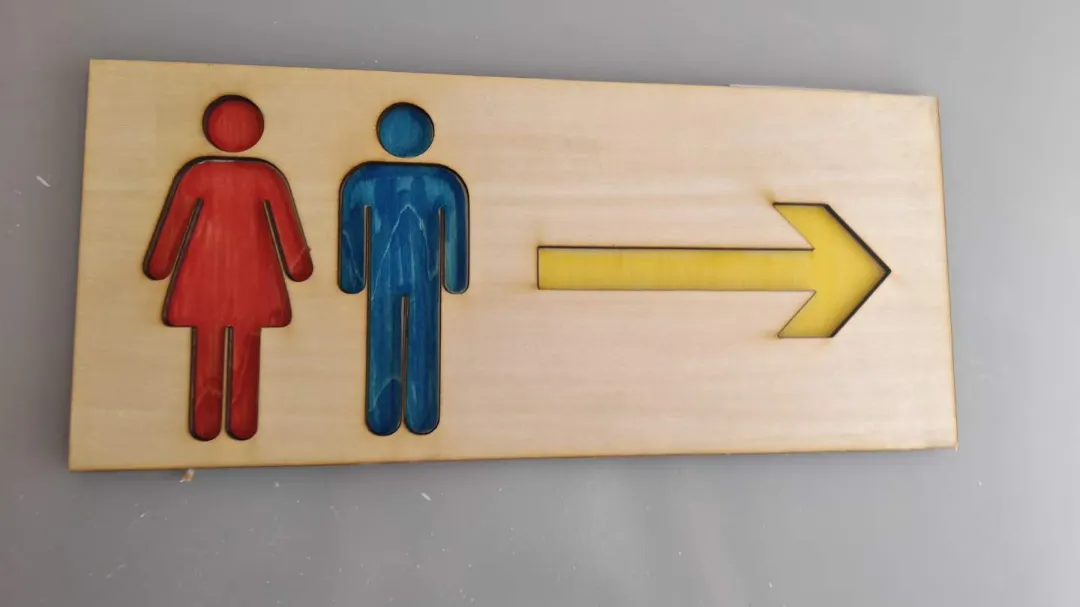
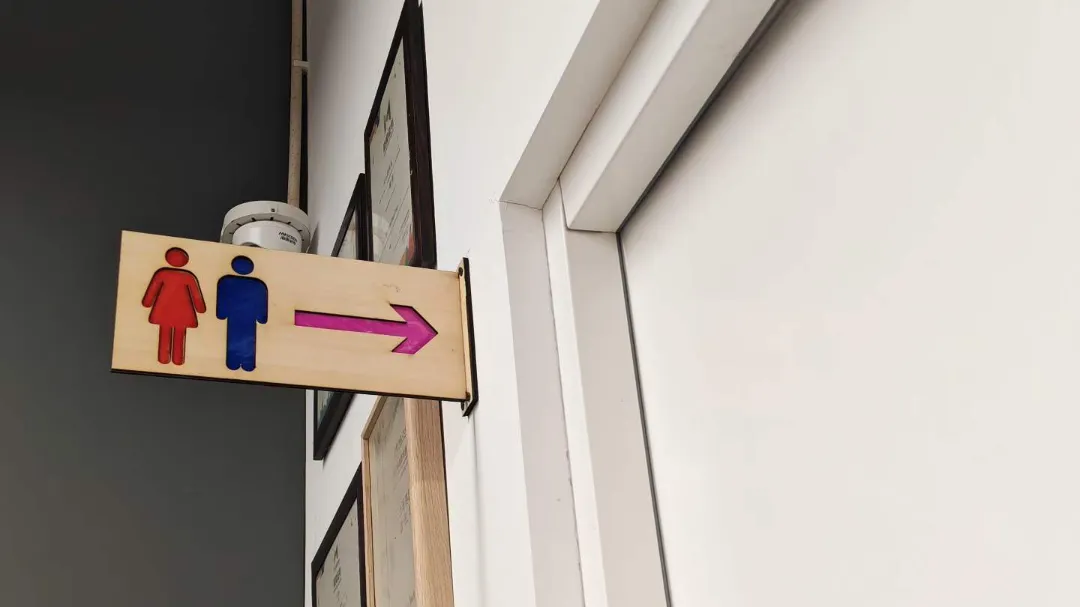
- Finished restroom directional sign
Challenges and solutions
- Unsure of correct power settings → Tested on scrap material and looked up parameters for 3 mm board.
- Did not know about kerf compensation beforehand → Learned and applied it during actual cutting.
Reflection It was my first laser cutting project. Theoretical settings are not enough; hands‑on trial is essential. Many important details like kerf compensation only emerge while operating the machine.
Key learnings Laser engraving and cutting results rely on adjusting speed and power. Kerf compensation is required for accurate laser cutting. Testing on waste material is a safe and necessary workflow.
How it applies to your teaching / context As a makerspace operations manager and instructor, I can share this beginner experience with learners. It shows that functional design, pre‑testing and troubleshooting are core maker skills, not just software drawing.
Next steps or improvements Tune kerf compensation more precisely. Refine engraving depth consistency. Add finishing work to the sign for better durability.
Even though I work at a makerspace, I have barely used any of the tools — I’m only an operations manager. For this laser cutting assignment, I’m making my very first laser cutter project. I’m using a Thunder laser cutter, which supports cutting, deep engraving, shallow engraving, and outline marking.
Our instructor said we need to make something functional. I spent days brainstorming before I came up with an idea: our makerspace doesn’t have its own restroom. The restroom is in the shared public area of the office building. During every event, people keep asking where the restroom is. So I decided to make a restroom directional sign.
I found a PNG file online. Thunder software, Laser Maker, can trace outlines from PNG images, and that’s how I started designing my first project.
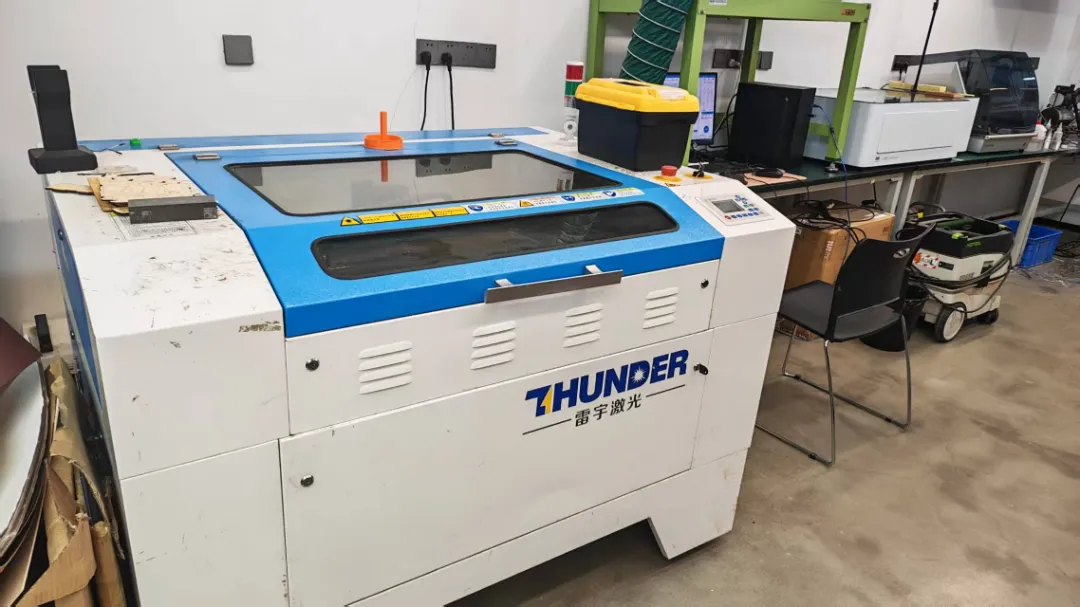
Since this was my first project, I wasn’t sure how to set the power. I tested engraving and outlining on scrap material first, and also asked an AI what power setting to use for a 3 mm board. I learned that different laser engraving processes depend on speed and power.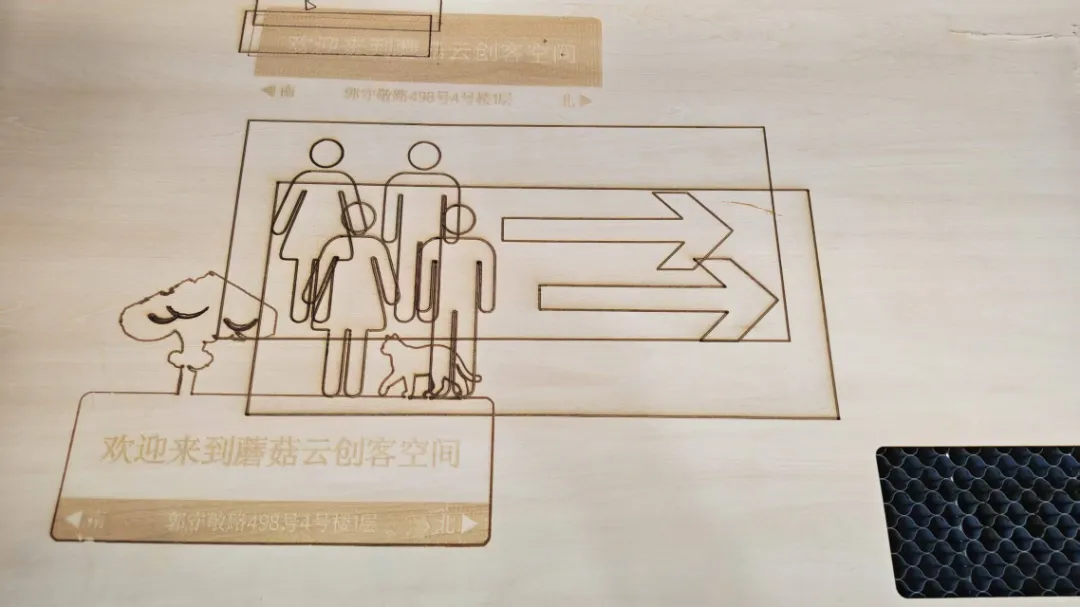
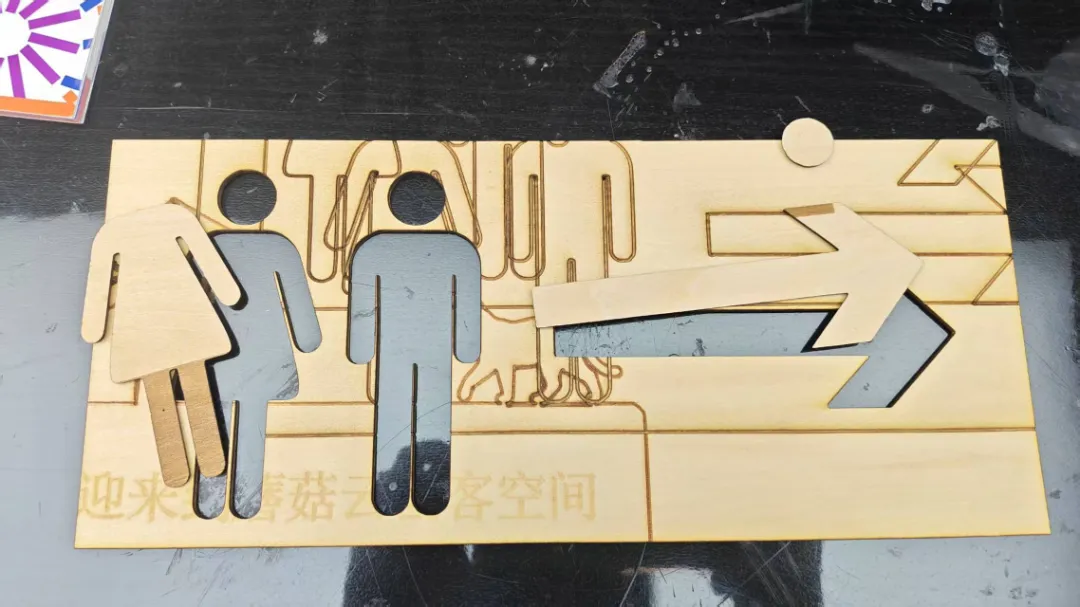
Then I started the official cut, only to discover an issue: laser cutting requires kerf compensation. I only found this out through hands‑on practice.