Week 3
Assignments
Process
- Steps followed:
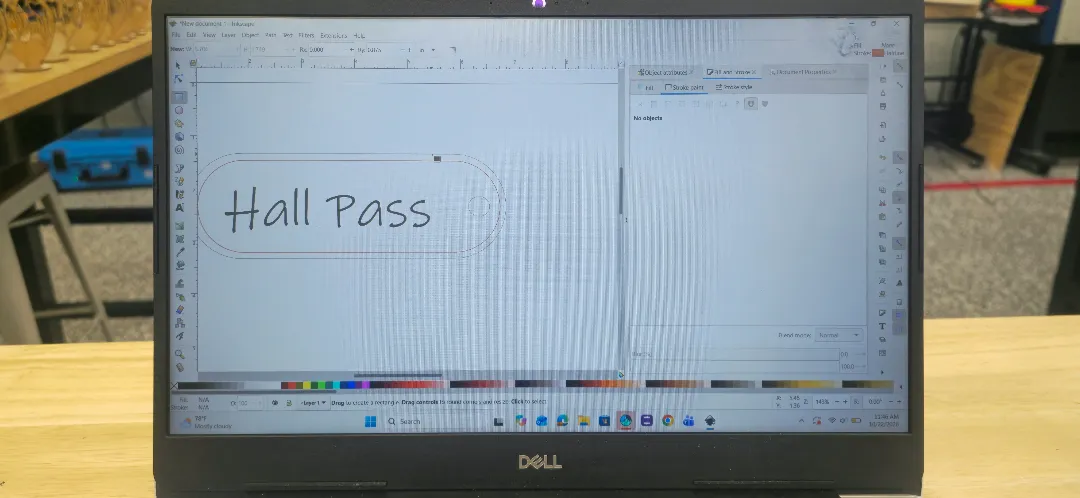
- first, I learned to use Inkscape.
- I had to learn how to make the outlines for my hall pass.
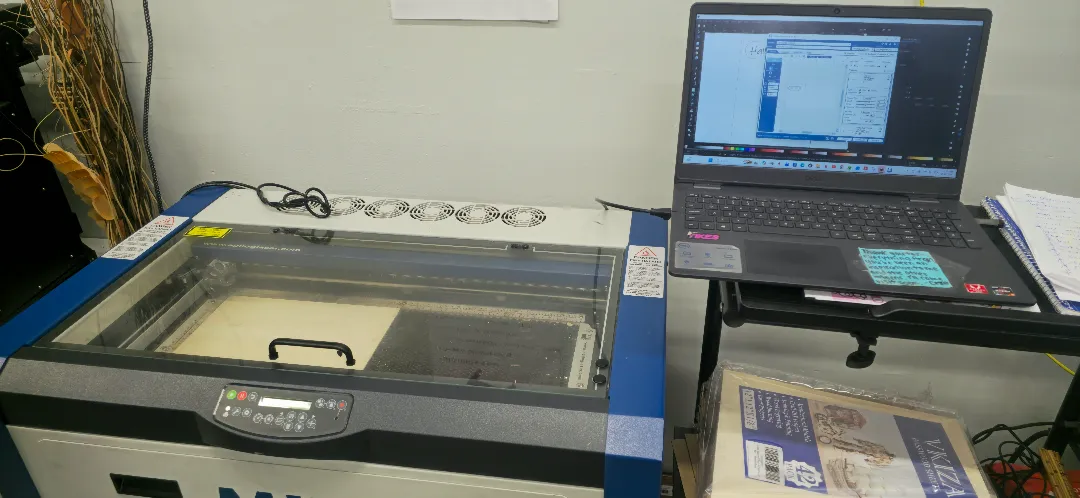
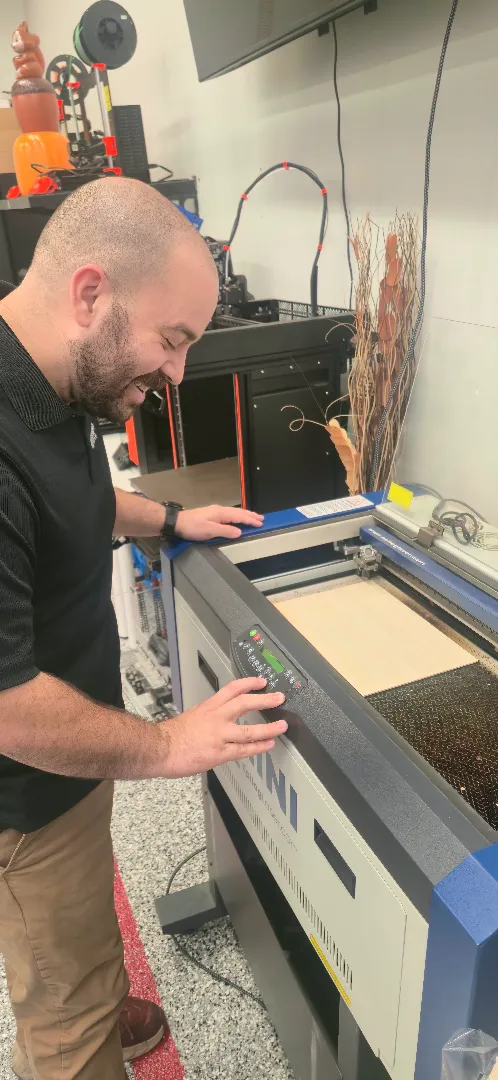
- second learned how to use the the mini EpilogLaser Machine.
- learned the safety procedures, example: turn on the vacuum to extract the fumes , the compressor to help prevent it from catching fire.
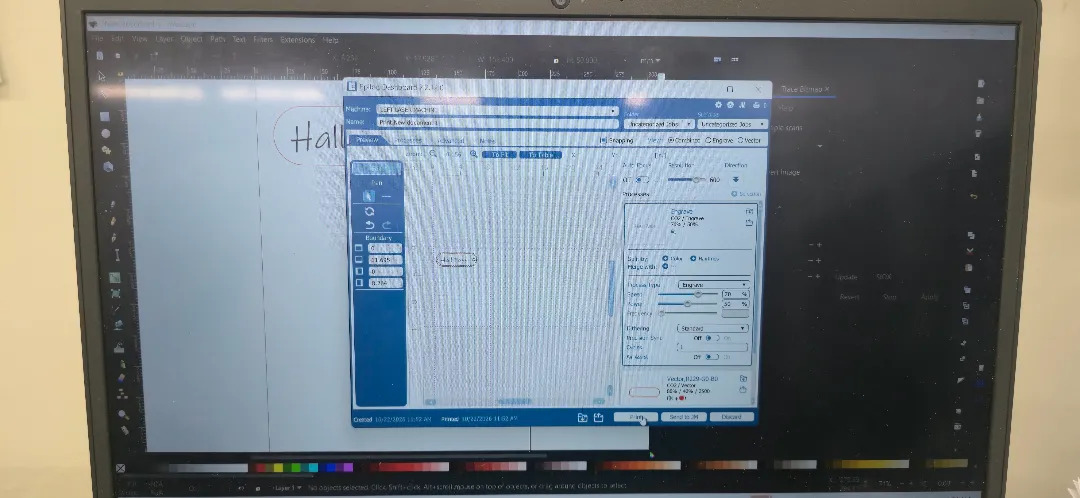
- Send it to the program Epilog Engraver:
- Adjusted the power and speed for the engraving, the cutting and the light cut to make the outline.
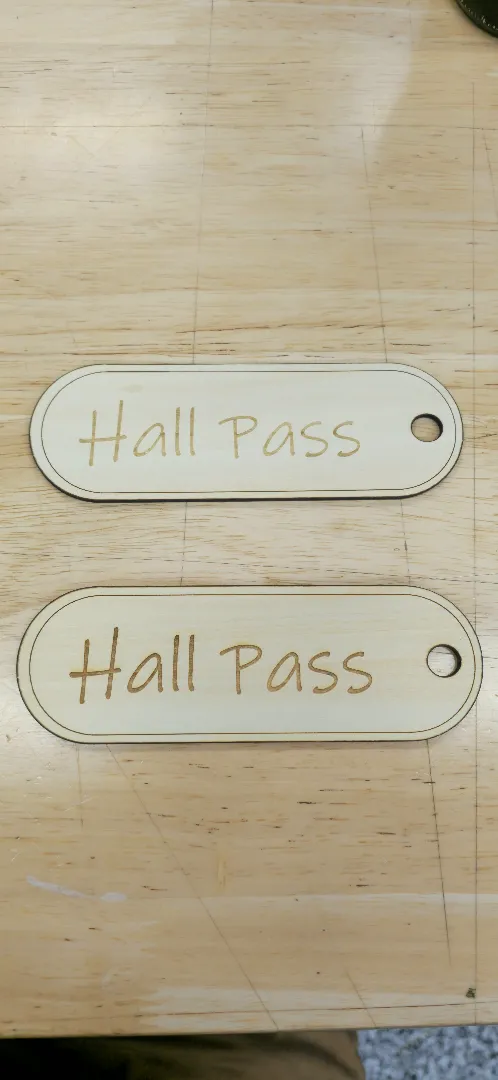
- After it finished realize that the letters were a little to light
- Printed it again this time the engraving speed was slowed down, the power was increased for a more deeper look.
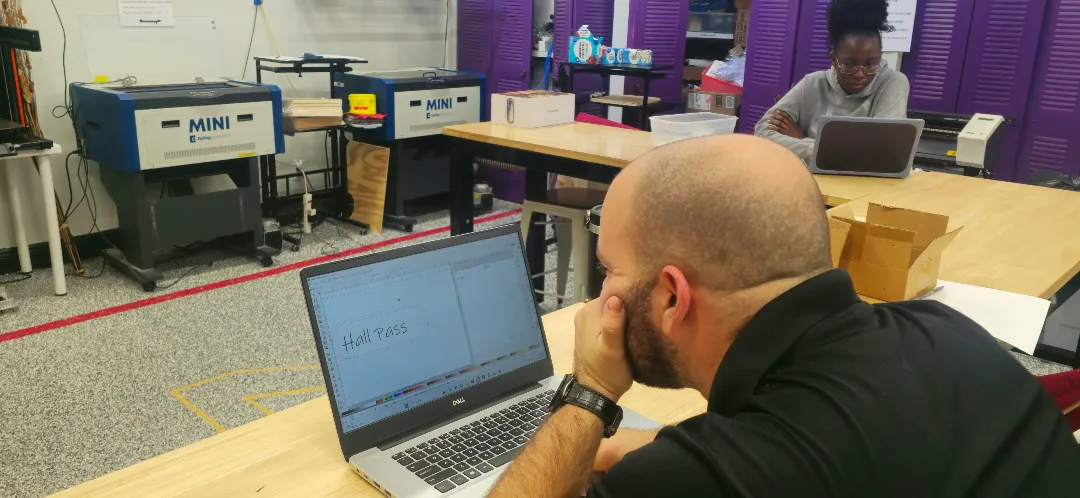
- Photos / screenshots of key stages
- Challenges and solutions
- The most challenge I encountered was tinkering with the settings of the laser so I can get the exact result I wanted.
Reflection
- Key learnings
- Learned how to use programs like InkScape, EpilogLaser Engraving program.
- While operating this safety is the upmost important, I was handling a heavy power laser. It must be looked after properly.
- How it applies to your teaching / context
- Next steps or improvements
- Play around with the program a little more to learn how to use it properly.
- Tools or software used
- InkScape
- EpilogLaser Engraving program
- EpilogLaser Mini
- References or tutorials followed
- My Teacher is the tutorial.
✏ Edit this page