Week 2
First Steps to DigiFab in Education
—
Assignments
- Task 1: Design and cut a sticker for your classroom that reflects your understanding of the maker mindset in education.
- Task 2: Document in your Learning Diary a description of the process.
-–
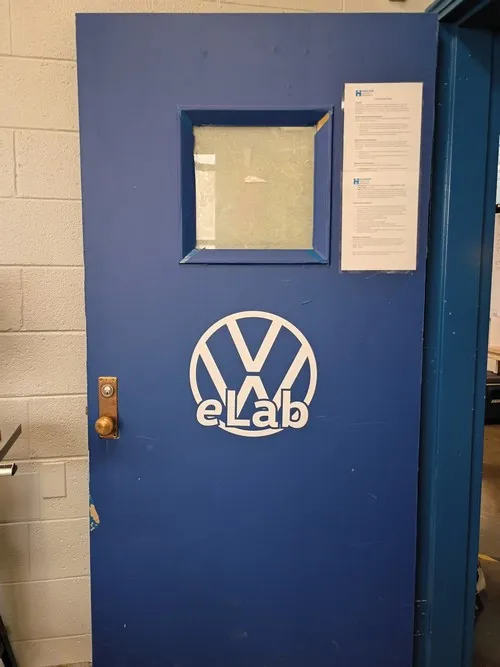
I am in a new space this year, and there is a lot to do to get it to be its most useful. One of the easiest tasks that I’ve been putting off is to add labels to the door, so people know where we are in the school - so that’s the sticker I decided to make!
Process
- Our FabLab network gets support from Volkswagen and as a company with a PR department, they have official logos they want us to use. So, the first step was to download that file and import it to Inkscape.
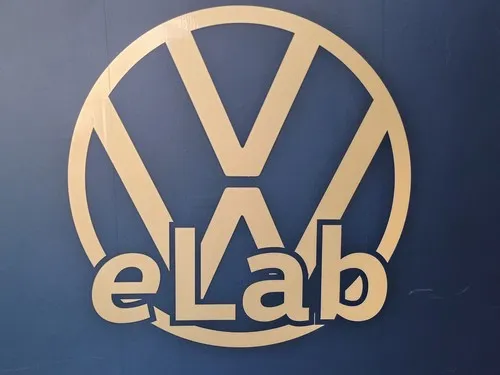
- In Inkscape, I adjusted to logo to fit in “portrait” orientation on the door by moving the text over the VW logo and cutting out white space around it by adding a stroke > using stroke to path > and performing a Boolean difference between the outline and the logo.
- Once the logo was ready and sized correctly, I sent it to the Roland vinyl cutter directly from Inkscape.
(This part of the process was a little frustrating because the connection had been weird ever since the IP was reset during a student project earlier this year.)
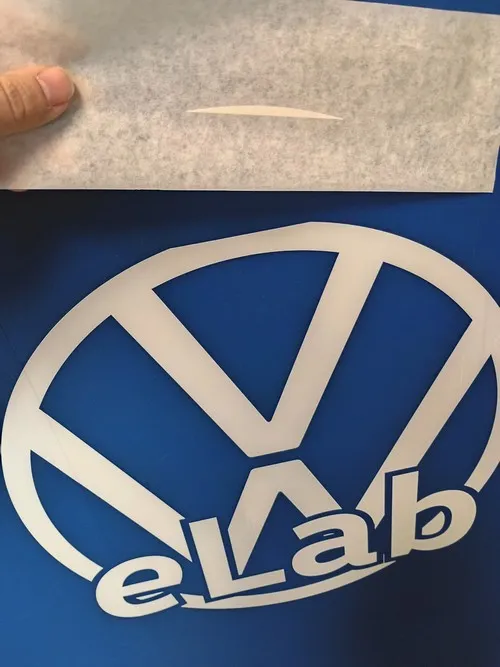
- Because of the connection issues I was trying to hurry things along and somehow cut right through the logo when I was removing it from the machine! (Oops!) BUT, I was able to realign the pieces when installing on the door.
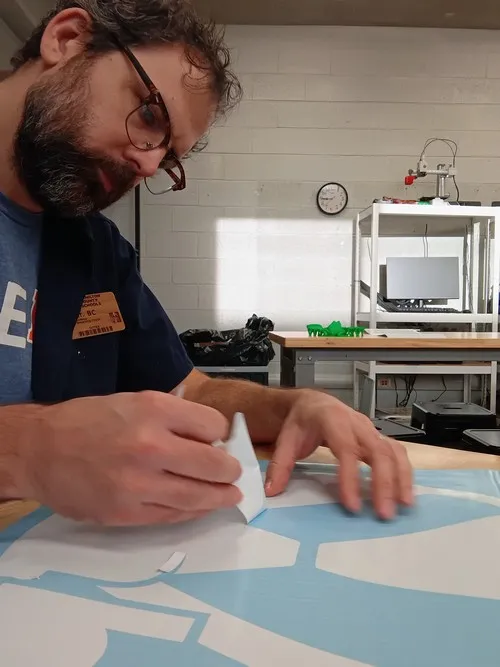
- Finally, the sticker just needed to be weeded and applied!
Reflection
Based on this week experience, What are some opportunties to integrate this technology in the classroom? How do you think it could support your teaching?
I think there are tons of opportunities to integrate vinyl into the classroom. I think it is especially good as a (usually) straight-forward product for a unit on vector design because they’ll get to see the effects of stroke-to-path, or having hidden vectors physically.
Shortly describe an educational activity in which you could use a vinyl cutter. Explain how would you implement each one of the steps of the design process model explained in the Master Class. Do not forget to discuss about learning objectives.
I could see this as an activity where the students get a short design brief from a company looking for a logo. Learning Objective - Students will use the Design Thinking Process to design and cut an original logo based on the needs of a client. Empathize - Students would use the write up from the client (real if possible, or teacher-generated) to understand their needs for the design. Define - Students would be able to concisely restate the learning objective incorporating details gleaned from the Empathize step. Iterate - Students would generate ideas re: design and content. Prototype - Students would develop sketches and work together to critique each other’s designs in order to help find the best ones. They could then transfer some of these paper sketches into digital sketches. Test - Students would complete a vector design on Inkscape and cut it out on vinyl to see how it works in the real world. Students could do another critique here.
In which part of the digital fabrication continuum (DF for kids to DF by kids) would you feel more comfortable? Why?
My comfort with this changes based on the goal. I always feel more comfortable in general working on a DF project myself because the process is fun, stimulating and relaxing for me. But, in class, I feel more comfortable having activities that utilize DF by kids because it keeps students engaged in doing and thinking which puts the focus for me on support instead of leading and presenting.
Tools
- Inkscape
- Roland CAMM-1 GS2-24
- Adhesive Vinyl, transfer tape, and weeding tools