Field Activity
- Identify the subject area and concepts that you want your students to learn in your classroom.
Subject Area: English
Concepts: Using literary devices and sensory details in poetry.
For this project, I wanted to do something for the Creative Writing Unit that I teach as part of my colleague’s English 10 class each year. As part of their final assessment, students must write either a short story or poem that includes literary devices and sensory details.
However, I find that students really struggle to understand both these concepts, and do not always include them in their final assessment. I wanted to adapt a poetry activity that I already do early in the unit so that students will learn these concepts by practicing them right from the start.
- Research to find inspiration
My initial inspiration came from the Genre Comprehension Wheel that I discovered on the Scopes website. I realized that having a visual representation of literary devices and sensory details could provide the structure my students need to perform better on their final writing assignment.
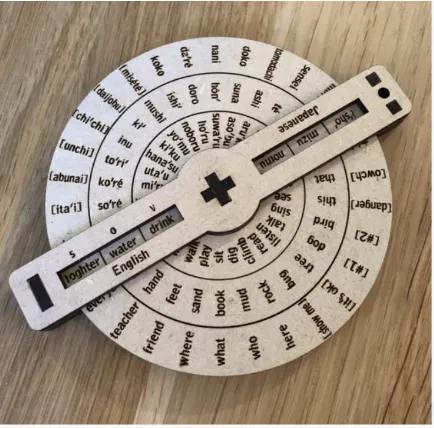
But the genre wheel dealt with only one concept, and I wanted to deal with multiple concepts in a single manipulative. A bit of online searching led me to this Japanese-English Translator Wheel, which I liked because it created simple sentences in addition to translating. I decided to create my own version of this for the poetry unit.
I began with four categories: Sensory Detail, Constraint, Literary Device, and Subject. Each one would rotate on its own wheel. The four wheels could be seen through a viewing window, which would enable students to determine which of each category they would use in their own poems.
- Design the files and prototype the physical teaching aid in your local learning lab.
I had never used a laser cutter before, so I began by visiting LCC’s Fab Lab and having my colleague walk me through the laser cutting process so that I could get a sense of how it worked. I’m glad that I chose to do this before I started designing, because it affected how I carried out the design.
I started by drawing a very crude version of my initial idea and running it by my colleague in the Fab Lab.
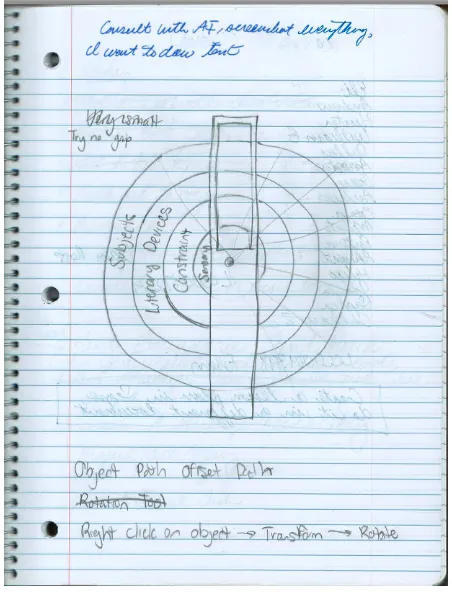
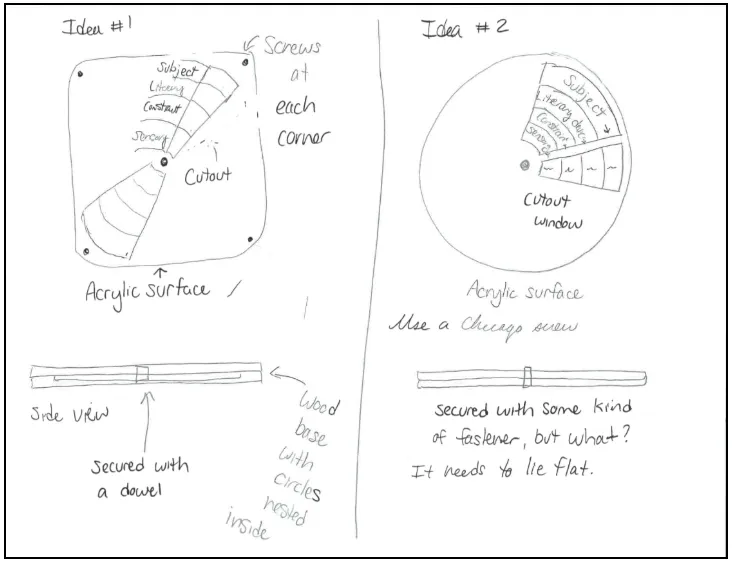
He suggested that I nest the circles in a wooden base layer with another wood layer over top, which would be simpler to secure with screws. I did play around with a second idea, which would be to maintain it as a circle and secure it with a Chicago screw in the centre, but felt this would make it too difficult to rotate the internal circles. In the end, I decided to go back to my first idea.
Next began the process of learning how to use Adobe Illustrator. This was easily the most difficult part of the project, because I was entirely new to this software. Here I used AI to walk me through each step of the process, which was immensely helpful. For example, I struggled to figure out how to have each text block on my wheel move around each circle in a radial pattern, but AI gave me step-by-step instructions and located YouTube videos for me on how to use the Rotate Tool. I was eventually able to figure it out, but my progress was slow. It was definitely an exercise in managing frustration.
Since my time in the Fab Lab is limited, I tried to ensure that my design was as complete as possible and would require minimal tweaking once I actually got there. I put the project into three separate layers within Illustrator.
However, this is where I ran into considerable problems. Once I cut out my cardboard prototype, I realized that the top and bottom layers over the circles was preventing them from rotating properly.
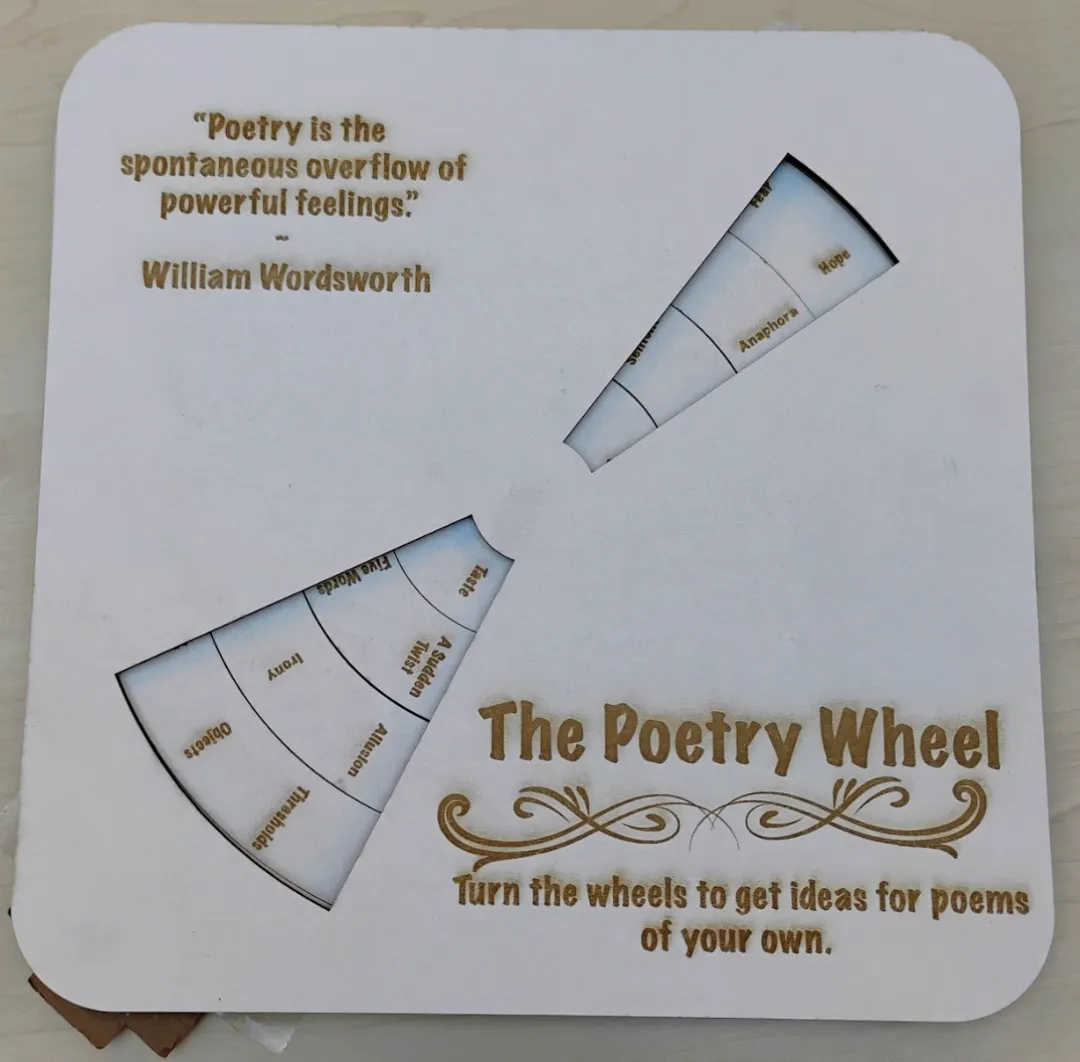
To address this, I scaled back the top layer so that the circles would be easier to manipulate with the fingers. Though they did move more smoothly, it was still far from optimal. The other issue was that I hadn’t properly lined up the centre bar, and so the drill holes were in the wrong place.
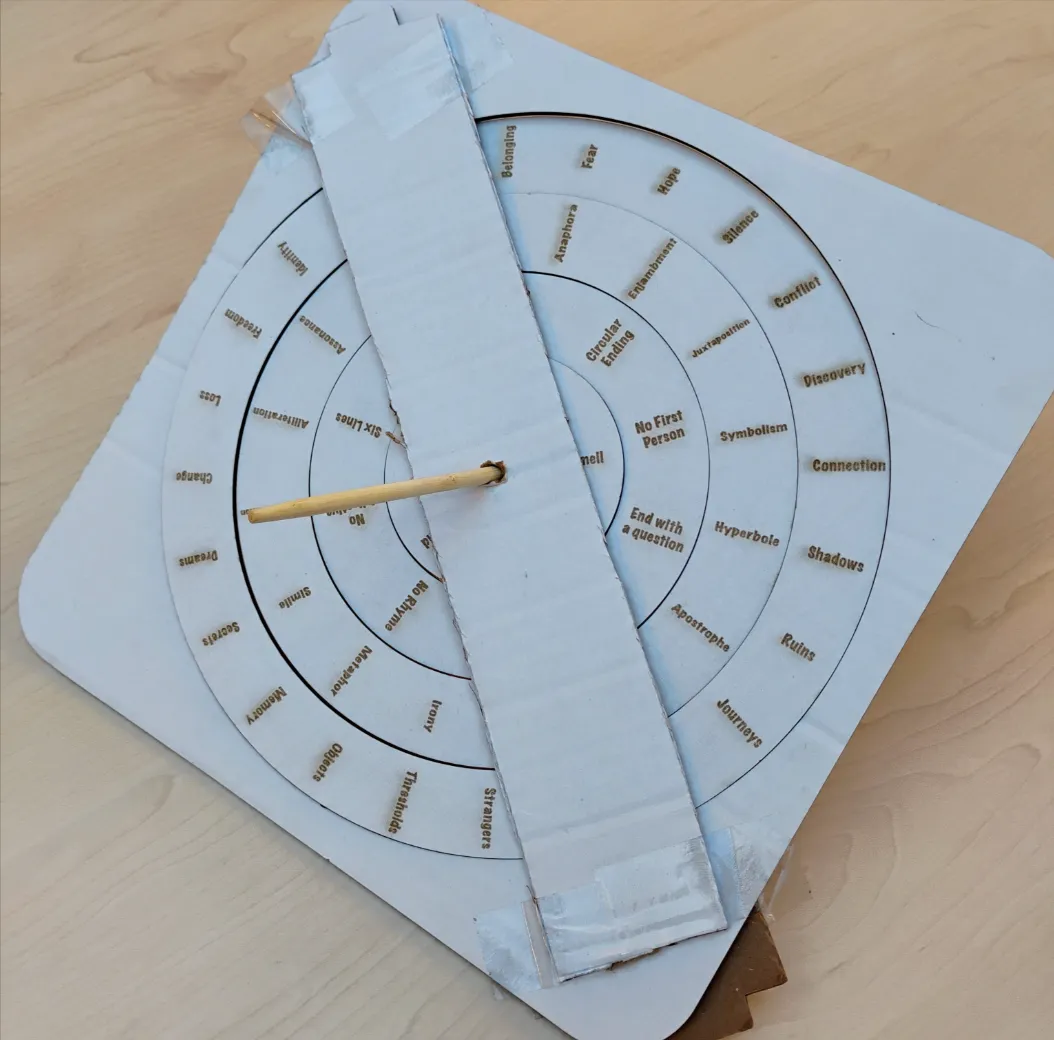
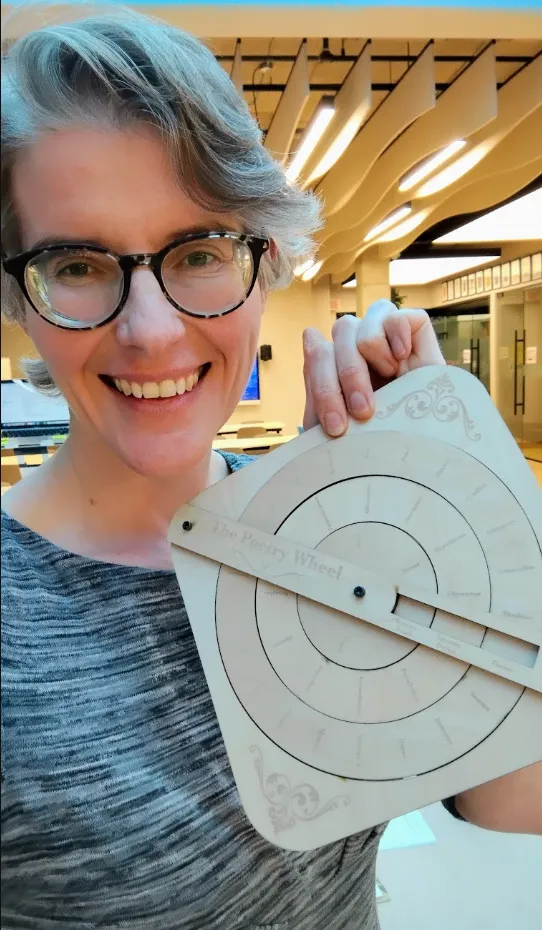
So I started over again and redesigned the wheel from scratch. I removed the fourth wheel, since it had the most difficulty turning, and was more careful when drafting my file so ensure that the bar lined up with the diagonal corners of my base. I also returned to my initial idea of using the Chicago screws to secure the three layers together.
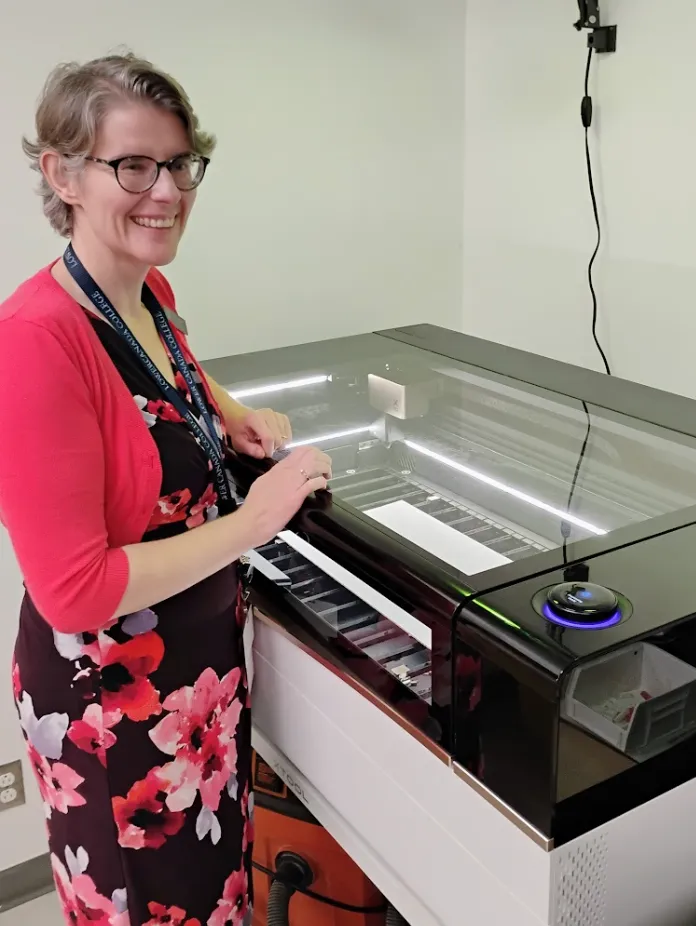
After these changes, my design worked better, although I ended up having to sand the wheel down to get it to turn smoothly. But I am very happy with my final design overall.