Field Activity
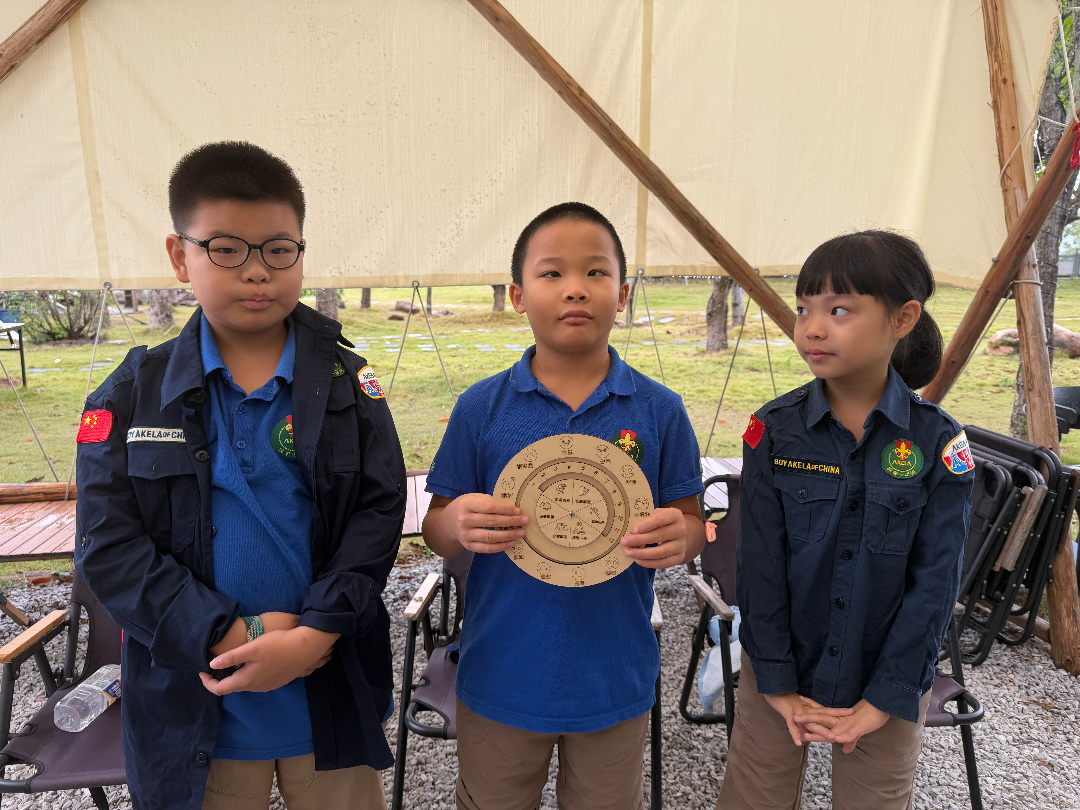
In outdoor camp education, children often become emotional due to various unexpected situations. Supporting them to recognise and regulate emotions becomes a key task. Proper guidance from outdoor instructors helps children stay in a positive state and creates a more harmonious outdoor learning environment. However, children aged 5–12 usually have limited understanding of emotion recognition and emotion regulation strategies.
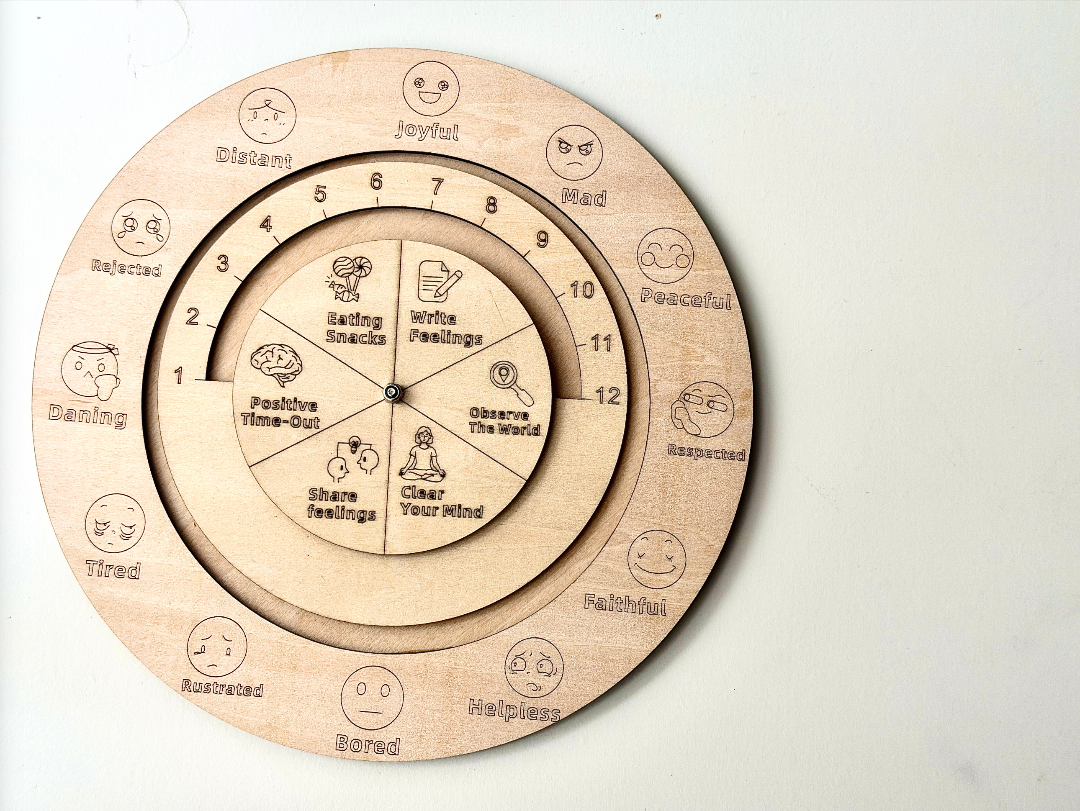
The Three-in-One Feelings Wheel is a teaching tool with three functions: identifying emotions, rating emotion intensity, and selecting emotion regulation strategies. During outdoor activities, children can use it to name their feelings and spin the wheel to pick a regulation method they would like to try.
This tool is not only suitable for camp education, but also works across many other learning settings for this age group. It helps educators interactively check children’s emotions and track emotional changes in real time.
Creative Idea
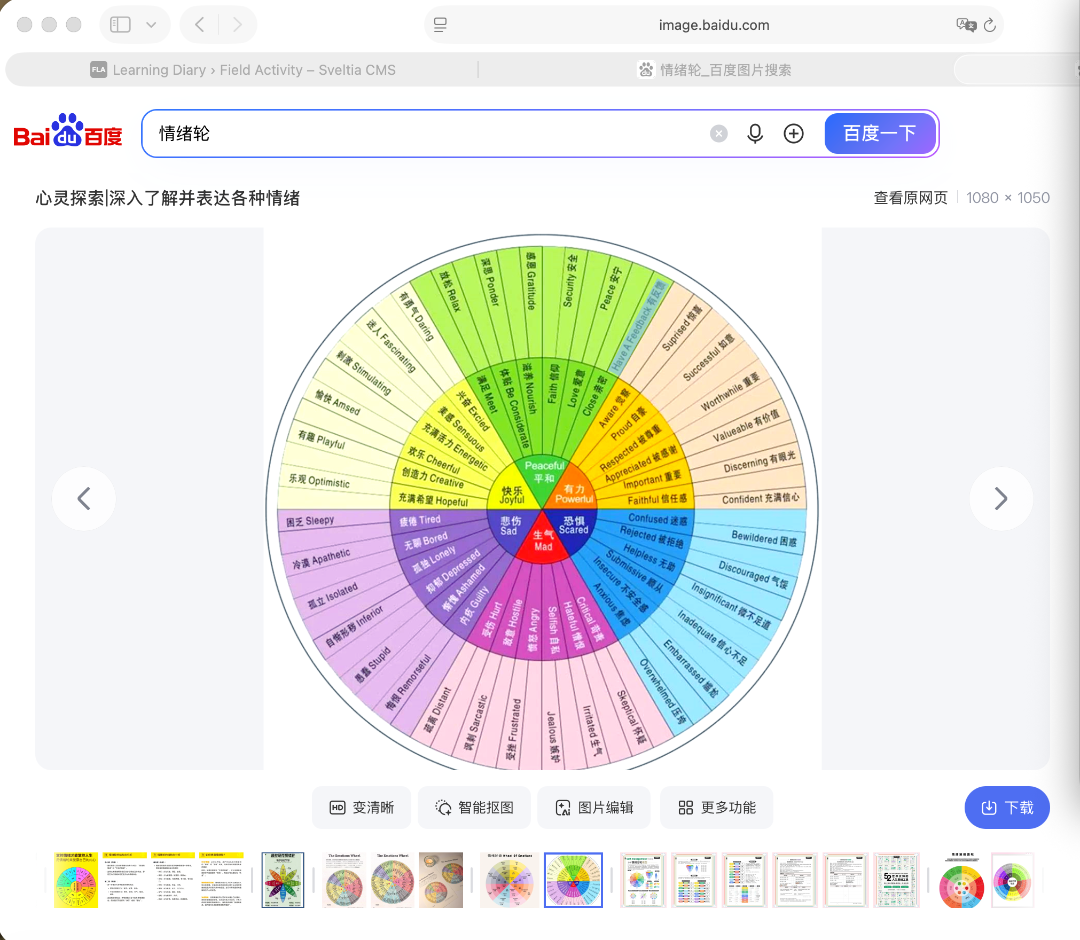
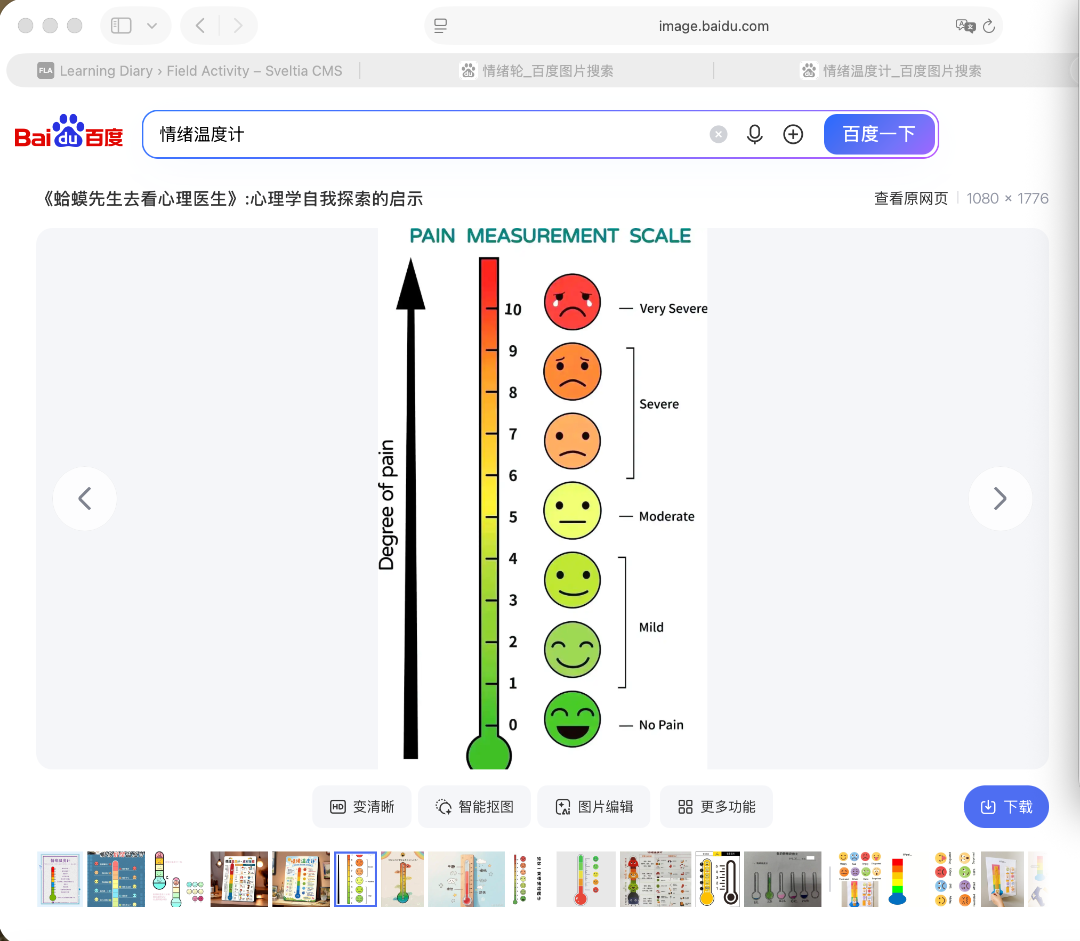
- By reviewing how we handled children’s emotional challenges in past lessons through guided prompting and verbal communication, and combining SEL concepts of emotion recognition, emotion intensity and emotion regulation strategies, we drew inspiration from traditional feelings wheel posters and emotion thermometers. We designed this portable, interactive Three-in-One Feelings Wheel. It helps children recognise their emotions more easily and find suitable regulation strategies.
Prototype Making
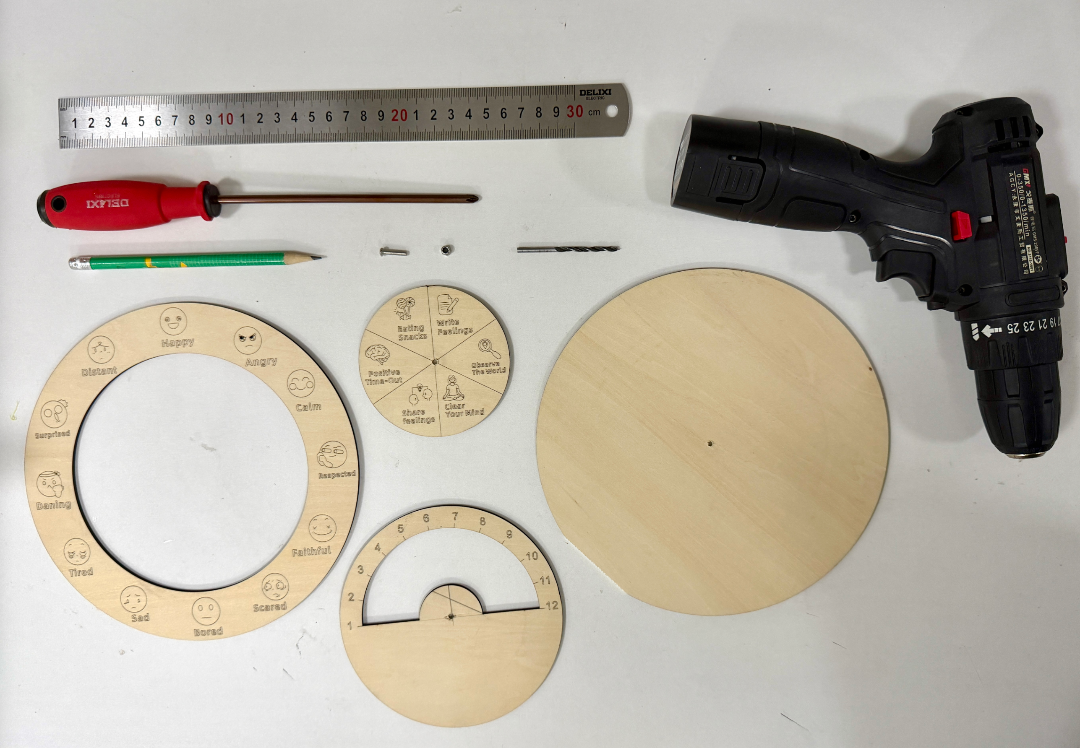
Step 1: Prototype Design We designed the prototype in CorelDRAW 2024. To suit outdoor camp scenarios and make it easy to carry, the teaching tool is designed with a diameter of 200 mm. It consists of four components: base, feelings wheel, emotion intensity wheel, and regulation strategy wheel. The feelings wheel includes 12 common emotions. The intensity scale ranges from 0 to 12, and the regulation wheel contains 5 coping strategies.
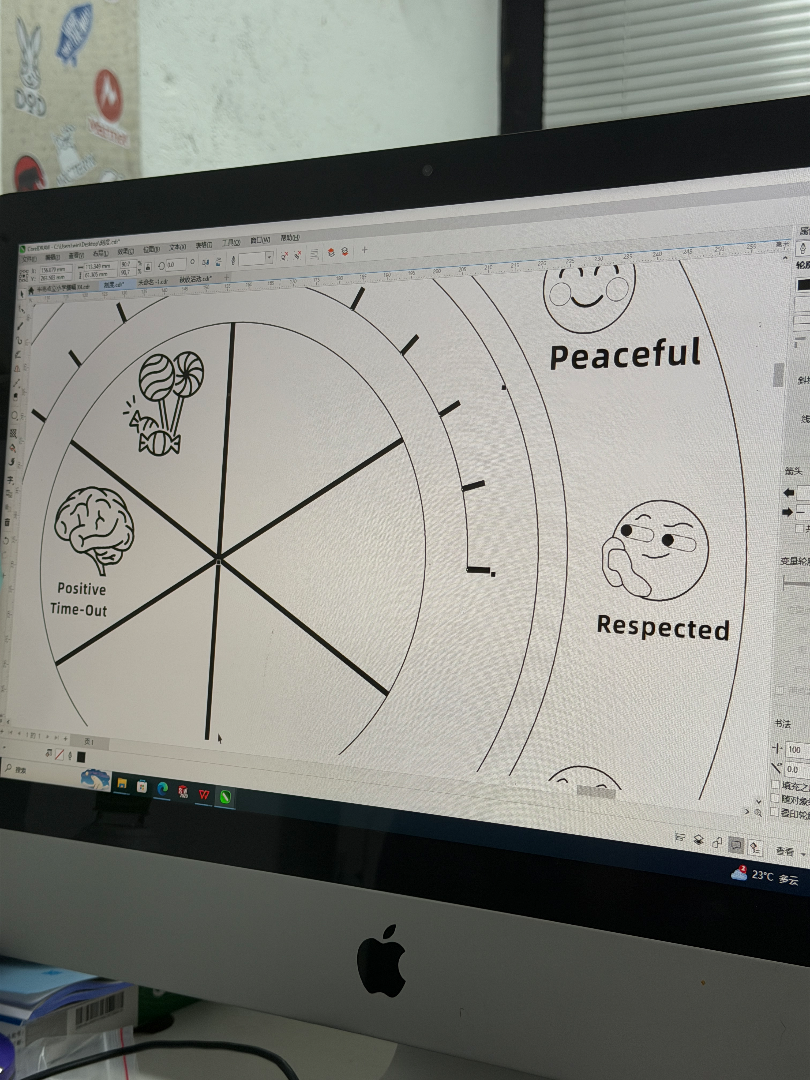
Step 2: Safety Preparation & Parameter Testing Power on the laser engraver and connect it to the computer. Prepare a test layout with 5 rows and 30 squares (3×3 cm each) to test the effects of line engraving, fill engraving and cutting under different power and speed settings. Place 3 mm basswood plywood, select the corresponding material profile, and start the test run.
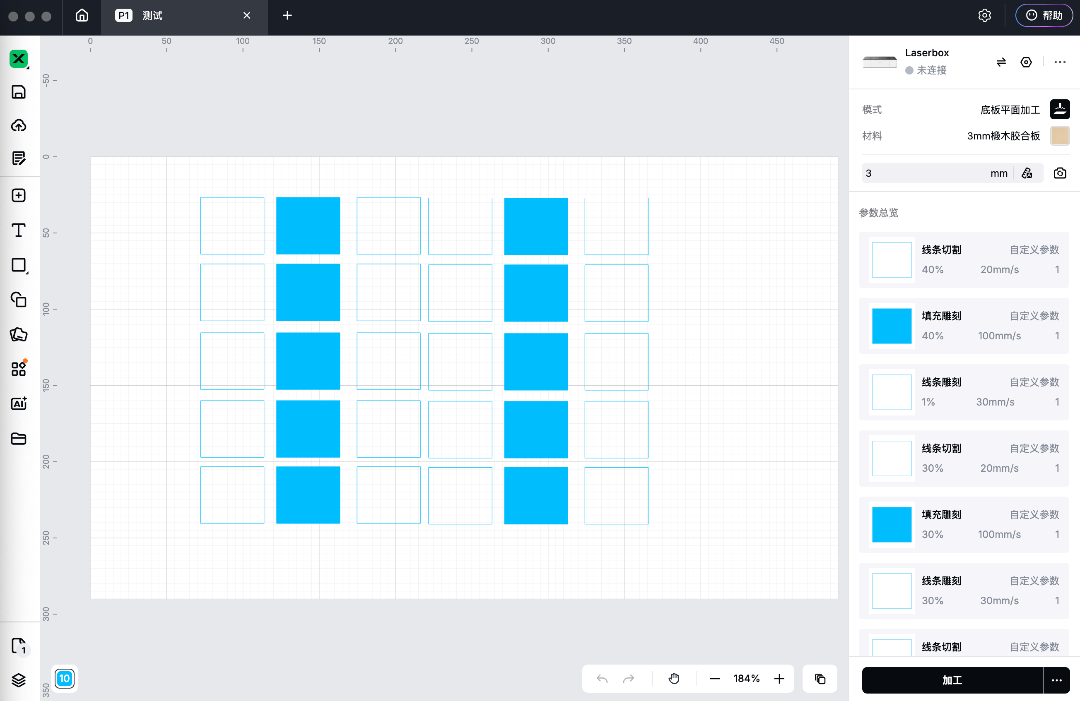 Safety notes:
- Wear protective goggles while laser processing.
- Adjust laser power according to materials to avoid combustion and fire hazards.
- Be careful of hot surfaces when removing finished parts.
Step 3: Export and Laser Fabrication Export the design as a DXF file and open it in Falcon Design Space. Connect to the laser engraver. Rearrange the graphics within the machine’s working area (381×305 mm) to make the layout compact and save material. All components can fit onto one 450×305 mm plywood sheet. Start the laser job for automatic engraving and cutting.
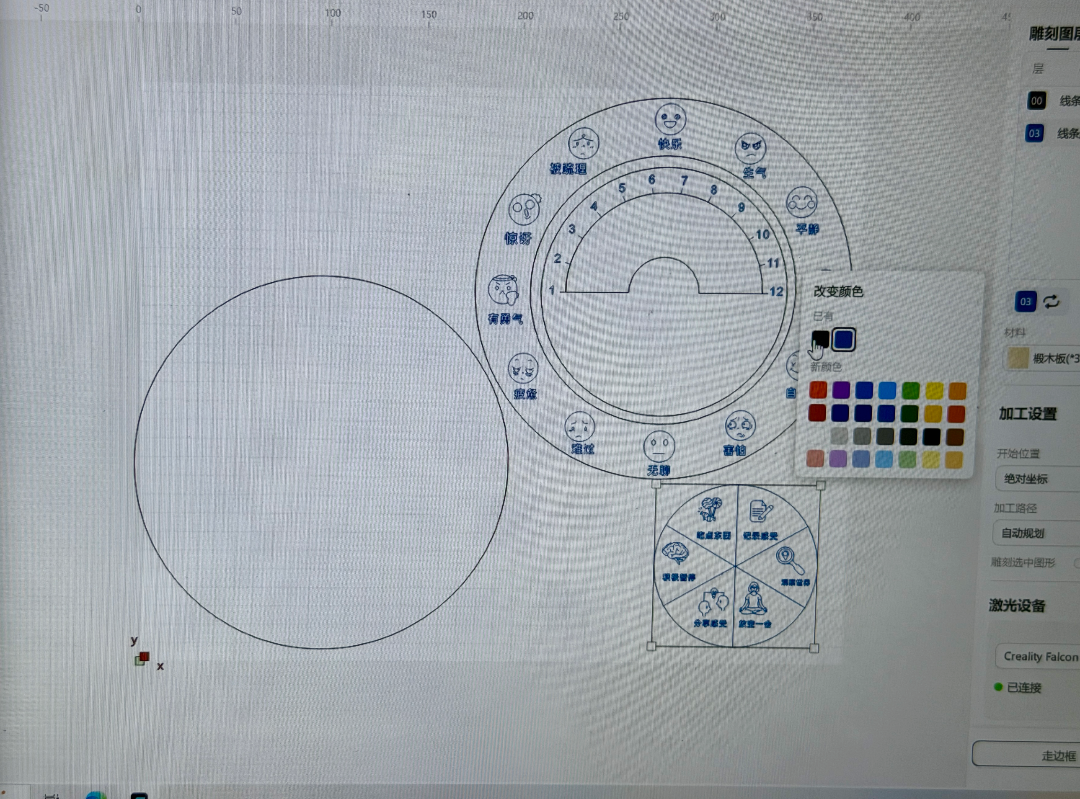
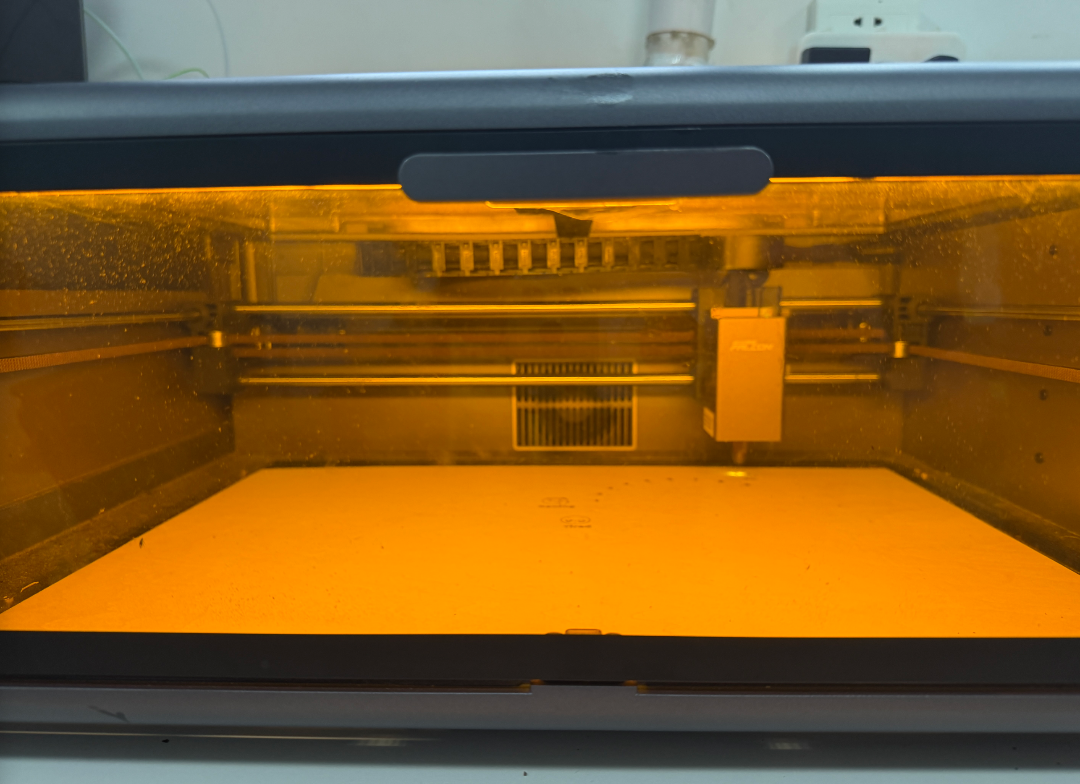
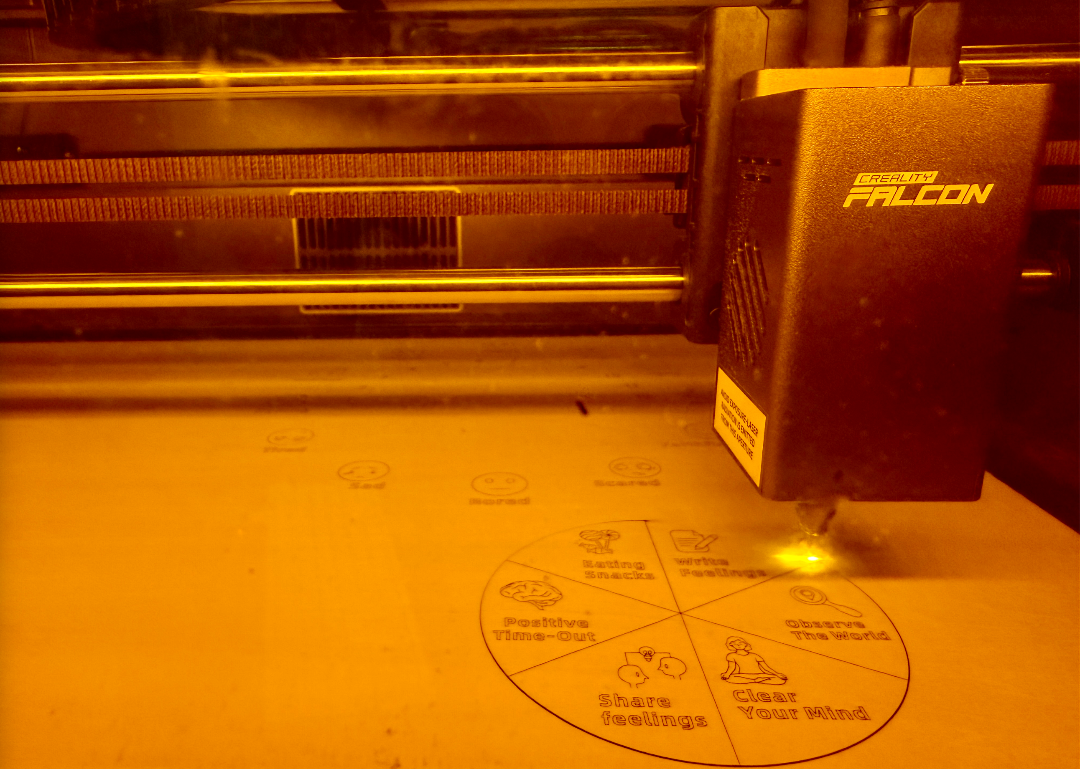
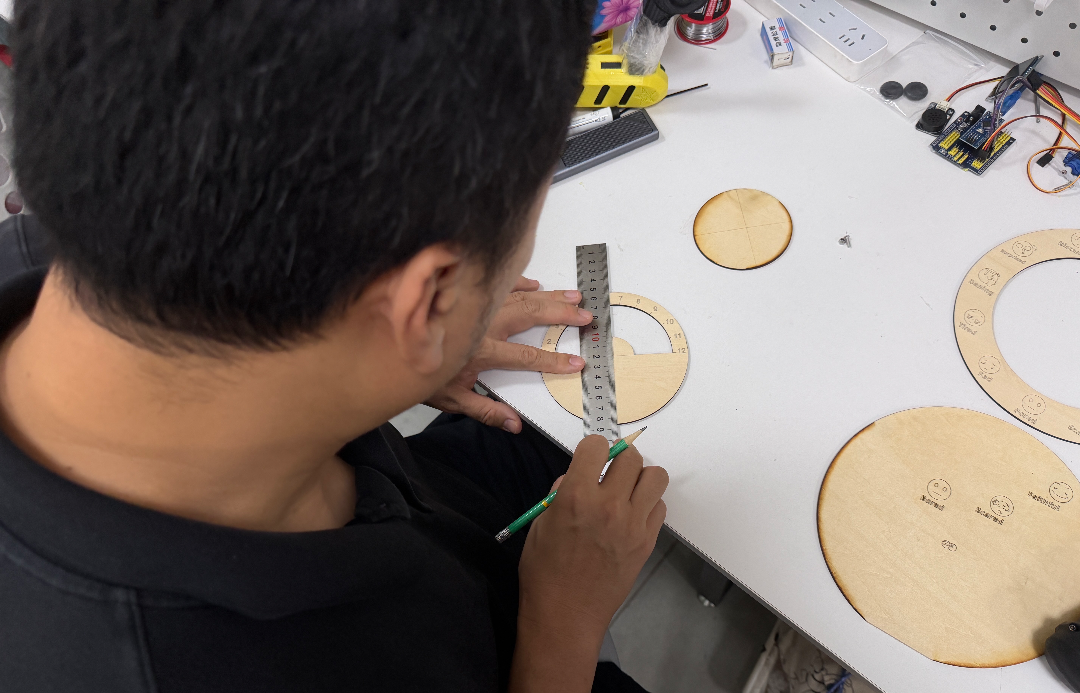
Step 4: Assembly Take out all cut parts for prototype assembly. Use a power drill to drill center holes for M4 screws on the base, intensity wheel and regulation wheel. Fasten the base and rotating wheels with M4 screws and nuts. Attach the feelings wheel to the outer edge of the base using non-toxic wood glue. Adjust the tightness of nuts so the wheels spin smoothly.
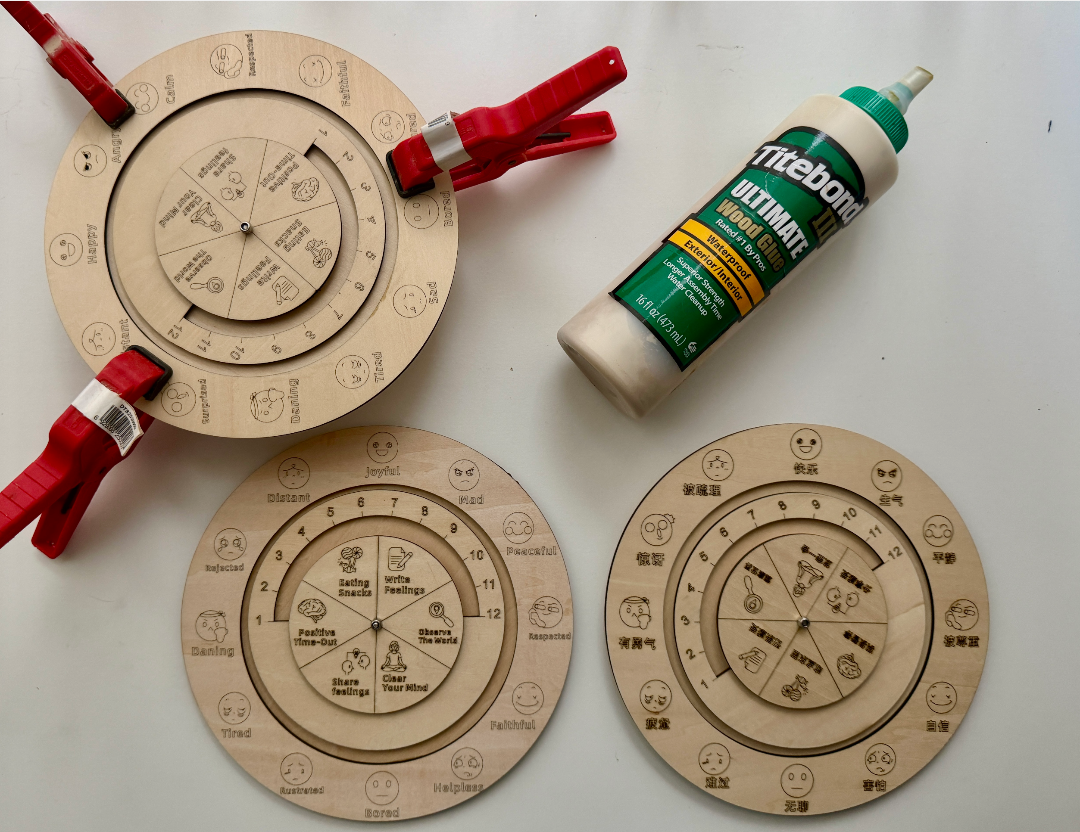
Step 5: Prototype Iteration Revise the emotion icons: replace abstract emotional labels with easier-to-recognize ones. For example, re-label “peaceful”, “helpless”, “rejected”, “frustrated” to “calm”, “scared”, “surprised”, “sad”. A Chinese version was developed to match the reading habits of local learners. The final Chinese version is used for teaching.