Week 2
Assignments
- Task 1: Design and cut out a sticker for my class.
- Task 2: Document this process in my learning diary.
Process
Step 1: Connect the computer to the Silhouette cutter, turn on the cutter, and verify that the machine connects correctly.
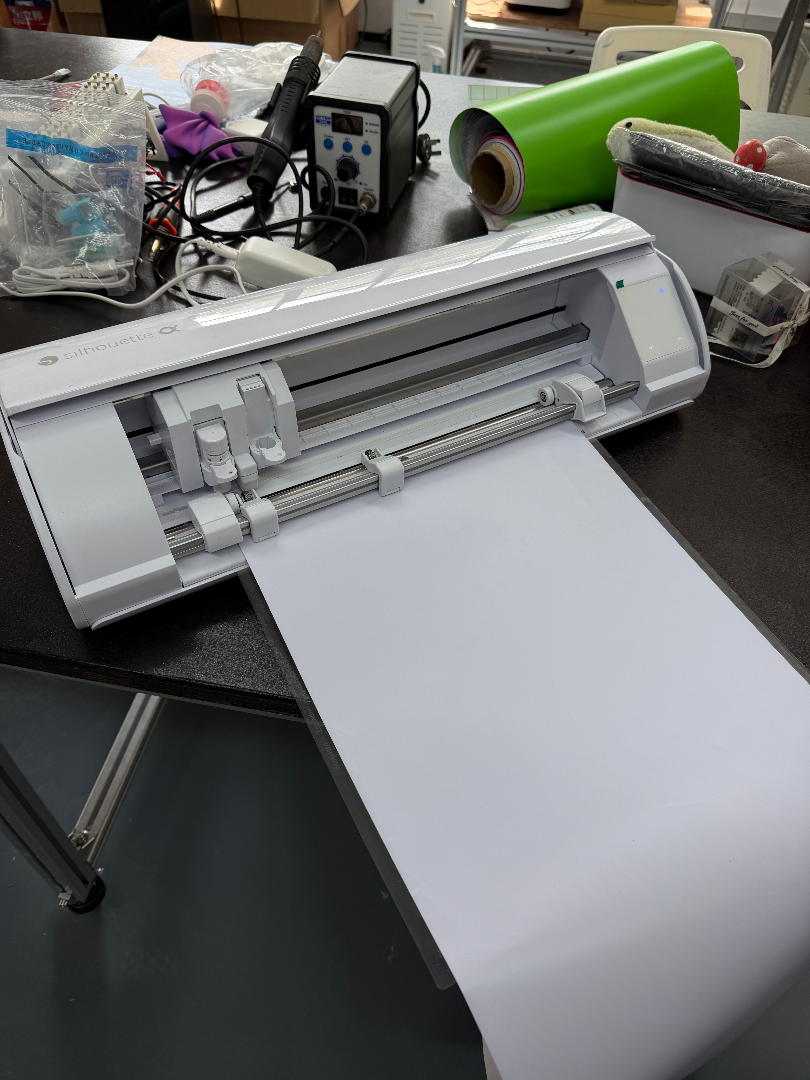
Step 2: Open Silhouette Studio for a cutting test. Create three rows of five 3×3 cm squares to test engraving depth and force. Set the engraving depth to 0.1 for the first row, 0.2 for the second row, and 0.3 for the third row. For each row, set the force values of the five squares from the first to the fifth as: 5, 10, 15, 20, 25.
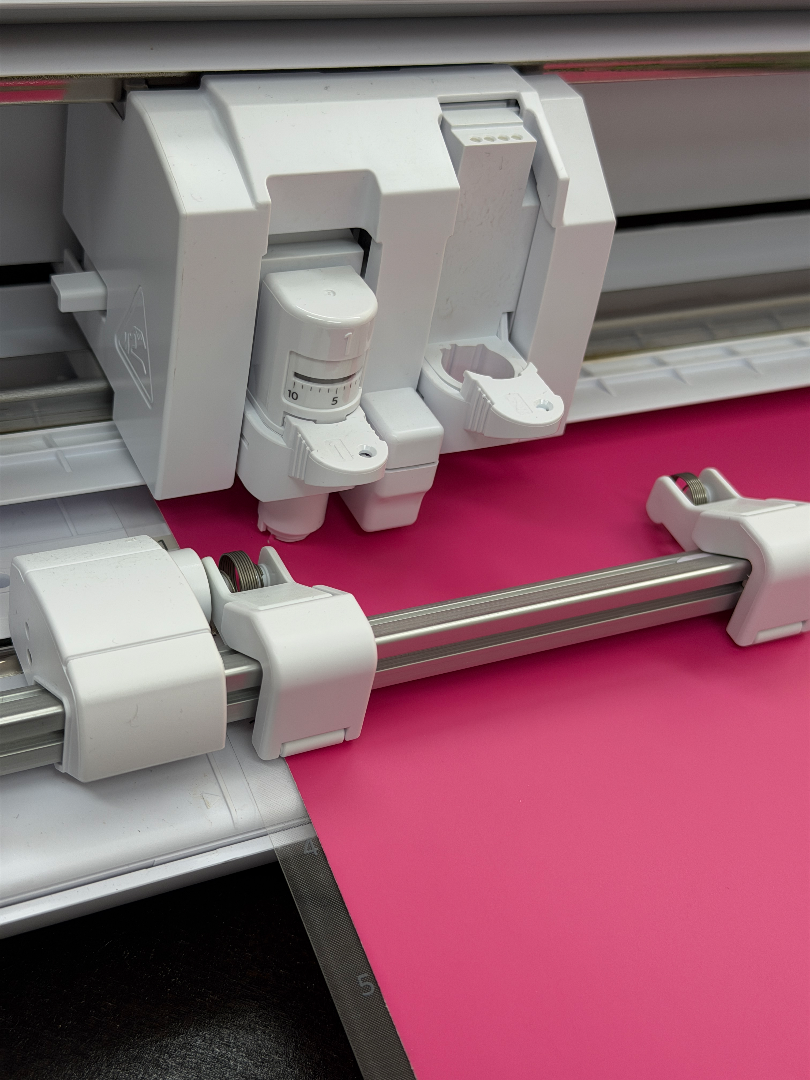
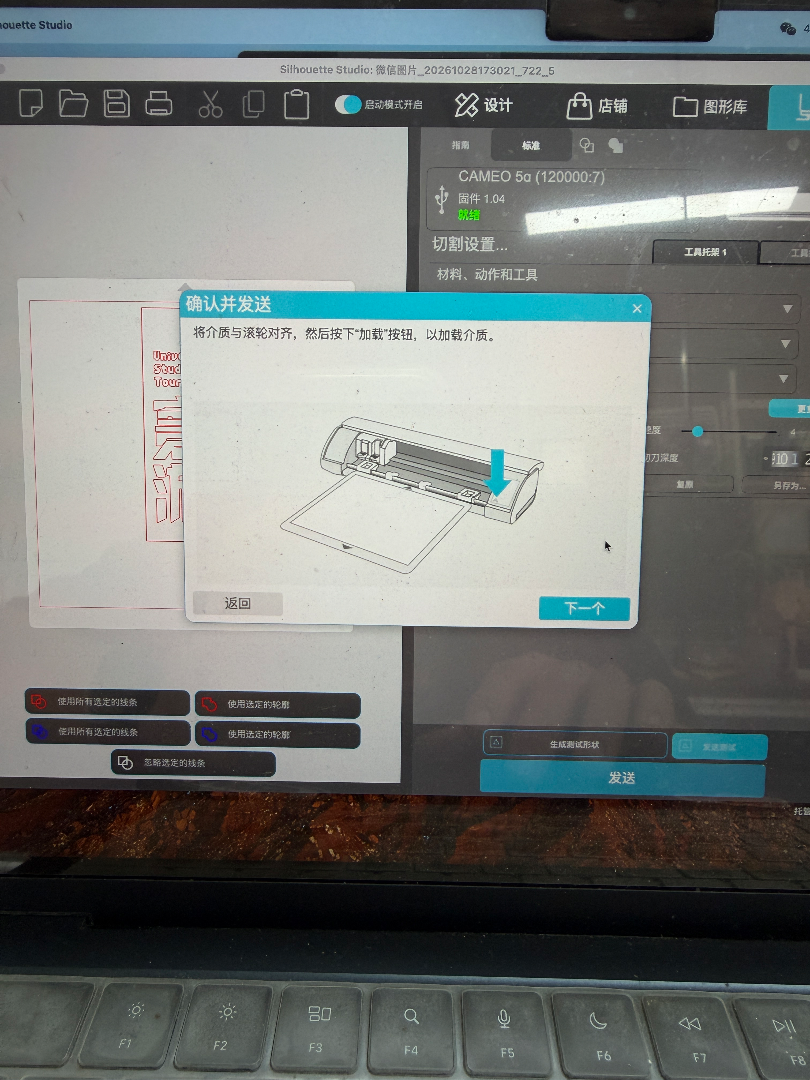
Step 3: Stick the sticker paper onto the cutting mat. Adjust the side feed rollers to align and press firmly against the edge of the mat. Line the sticker paper up with the feed guide marks.
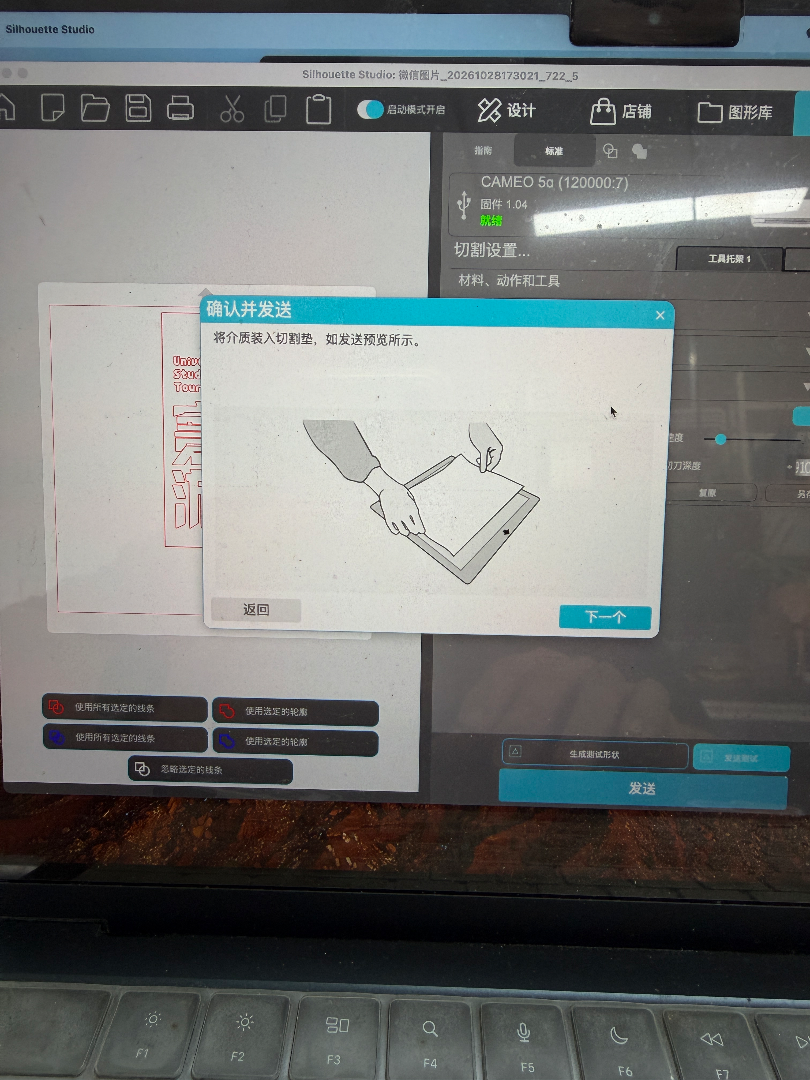
Step 4: Select sticker paper as the material in Silhouette Studio, then click Send to start cutting. Examine the test sticker samples and identify the suitable cutting parameters.
Step 5: Import the image in Silhouette Studio. Use the Trace tool to convert the image into cut lines. Delete the original image and keep only the linework. Check the paths for closed shapes or other issues that will cause cutting errors. Adjust the linework if necessary before cutting.
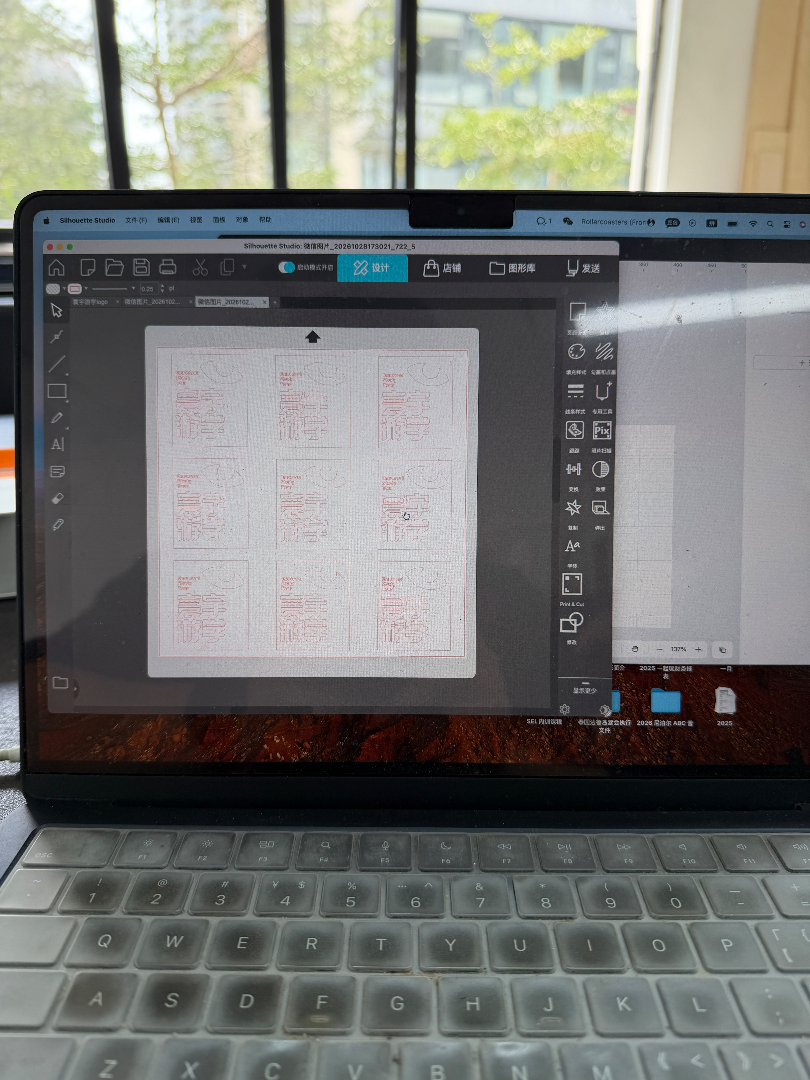
Step 6: Set the appropriate cutting parameters and send the design to the cutter.
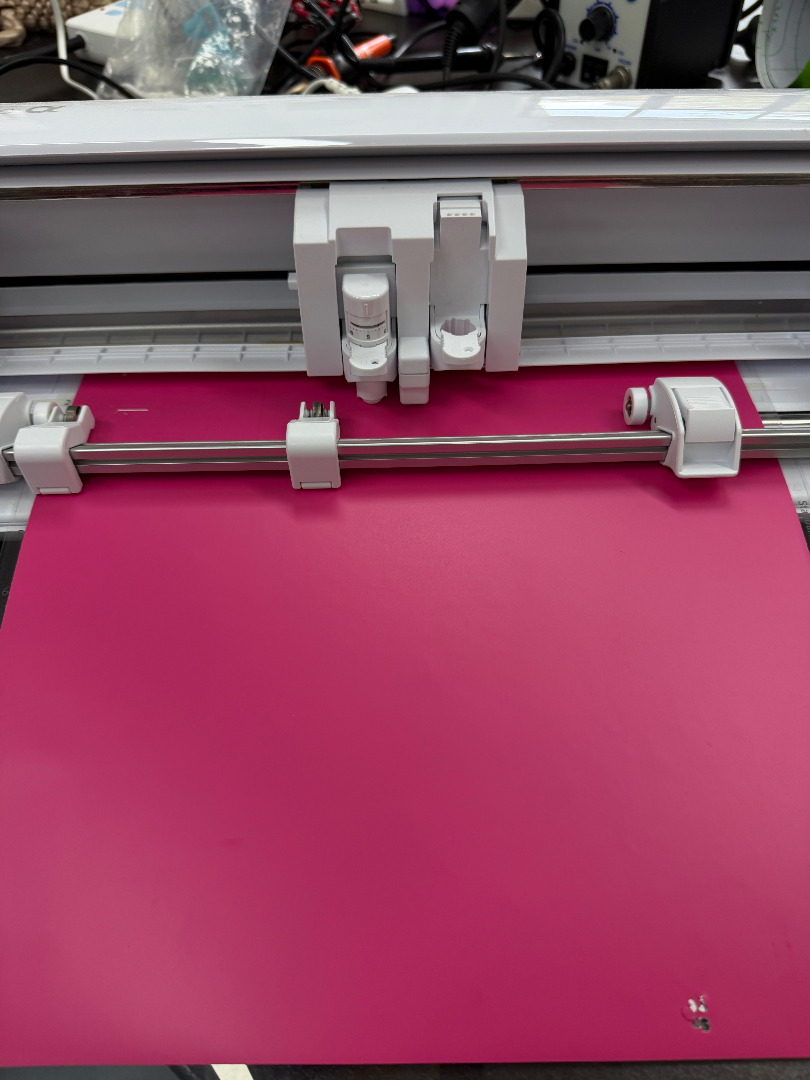
Step 7: When cutting finishes, press the unload button. Remove the sticker paper and inspect the result to confirm the graphics are cut completely.
- Challenges and solutions
- 1、If the feed rollers are not pressed onto the edge of the cutting mat, the material may shift during cutting and result in cutting failure.
- 2、Incorrect cutting force makes it hard to separate the sticker from the cutting mat.
- 3、If the cutting depth is too great, the whole sticker will be cut through. If the depth is too shallow, the sticker will not cut fully. It cannot be peeled off easily and the graphic will be damaged.
- 4、The cutter cannot cut very small text or ultra-fine details. The design file needs to be adjusted to suit the cutter.
- 5、If the design has hollow cut-outs in the middle, parts of the graphic may separate unexpectedly. Modify the design file to avoid this problem.
Reflection
- Key learnings
- I learned that systematic parameter testing is essential for Silhouette cutter work. Cutting depth and force must be calibrated carefully for sticker paper. Improper roller placement, too-shallow or too-deep cuts, tiny text and unmanaged hollow shapes all lead to failed outputs. It is important to test with a grid of samples before cutting the final design.
- I can apply this digital fabrication technique to daily teaching. For example, I can make teaching-aid stickers, reward stickers and self-adhesive badges. I can also take advantage of different cutting materials and machine features to create learning slogans, posters and more. I will keep exploring and applying this technology in my teaching practice.
- Next steps or improvements
- I will make a standard parameter reference sheet for sticker paper on this Silhouette cutter. I will also set design rules for minimum font size and thin-line limits. In future projects, I will add small bridging tabs to hollow shapes to prevent unwanted separation. I plan to let students design and cut their own emotion stickers in class.
Tools
- Tools or software used
- Silhouette cutter, Silhouette Studio 5, craft knife, Meitu Xiuxiu (photo editing software), Doubao AI (translation tool)
- References or tutorials followed