Week 12
Assignments
- [ ] Task 1:Use one development board (arduino, microbit …) and use it to sense something in your class (noise / light / movement) and produce some kind of response (audio, light, movement)
- [ ] In your documentation, describe briefly your project; name the board you are using, as well as the sensor and actuator; Explain what you are measuring and how you are using the actuators; if you are using external components, draw a simple diagram on how they are connected and finally provide your code (or link to your code). Include several pictures of your project. If possible you can include a video.
Process
- Understand the difference between sensor and actuator. A sensor is a component that detects or receives input from the physical environment. It collects real-world information (such as touch, light, sound, motion, or temperature) and sends signals to the control board (micro:bit). Sensors are the “input parts” of a system — they let the device “sense” what is happening around it.An actuator is a component that produces an output or action based on the signals it receives from the control board. It takes electrical signals and turns them into visible or physical changes.Actuators are the “output parts” of a system — they let the device “do” or “show” something.
-
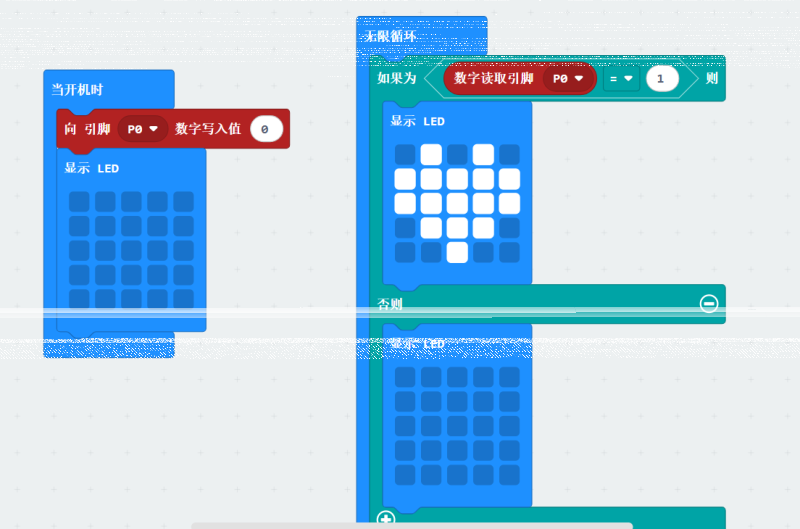
I used the micro:bit button A as a sensor — when I press the button, the sensor detects the touch input and sends a signal to the micro:bit.
-
The micro:bit processes this input signal.
-
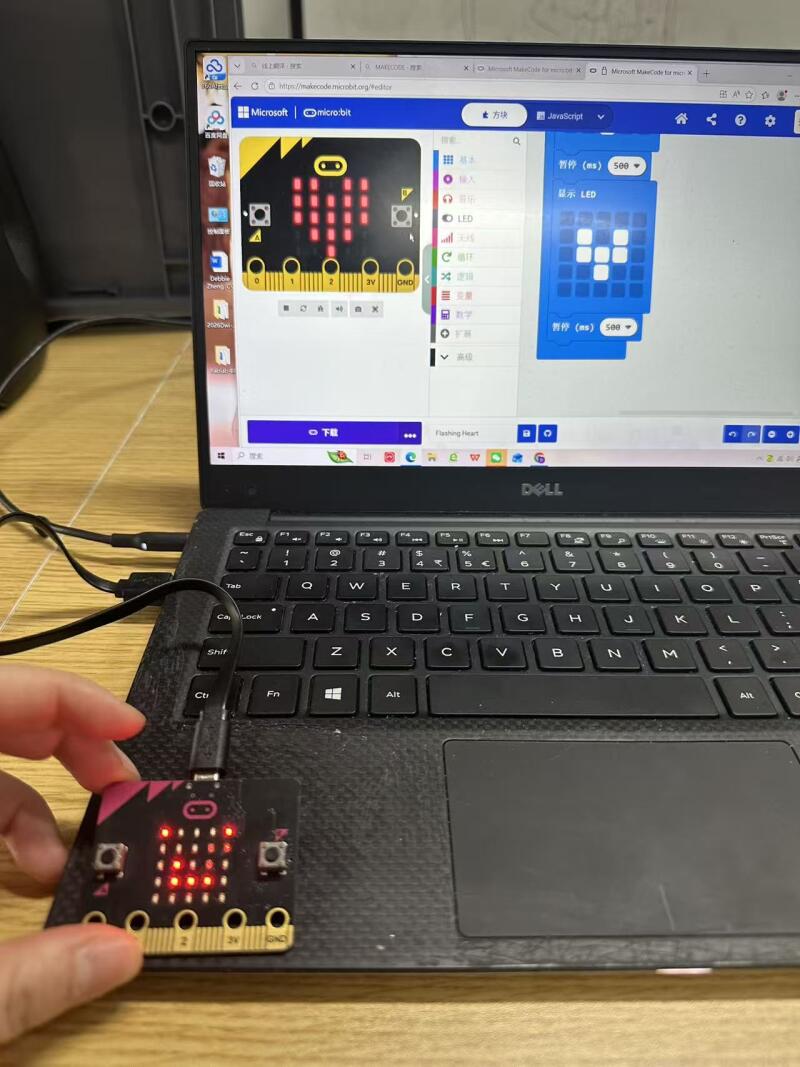
The LED matrix (actuator) then lights up and displays the heart shape only when the button is pressed.
This completes a full sensing–controlling–acting system: Sensor (Button) → Input Signal → micro:bit Control → Actuator (LED Heart Display)
- Explore different sensors and actuators with instructor guidance
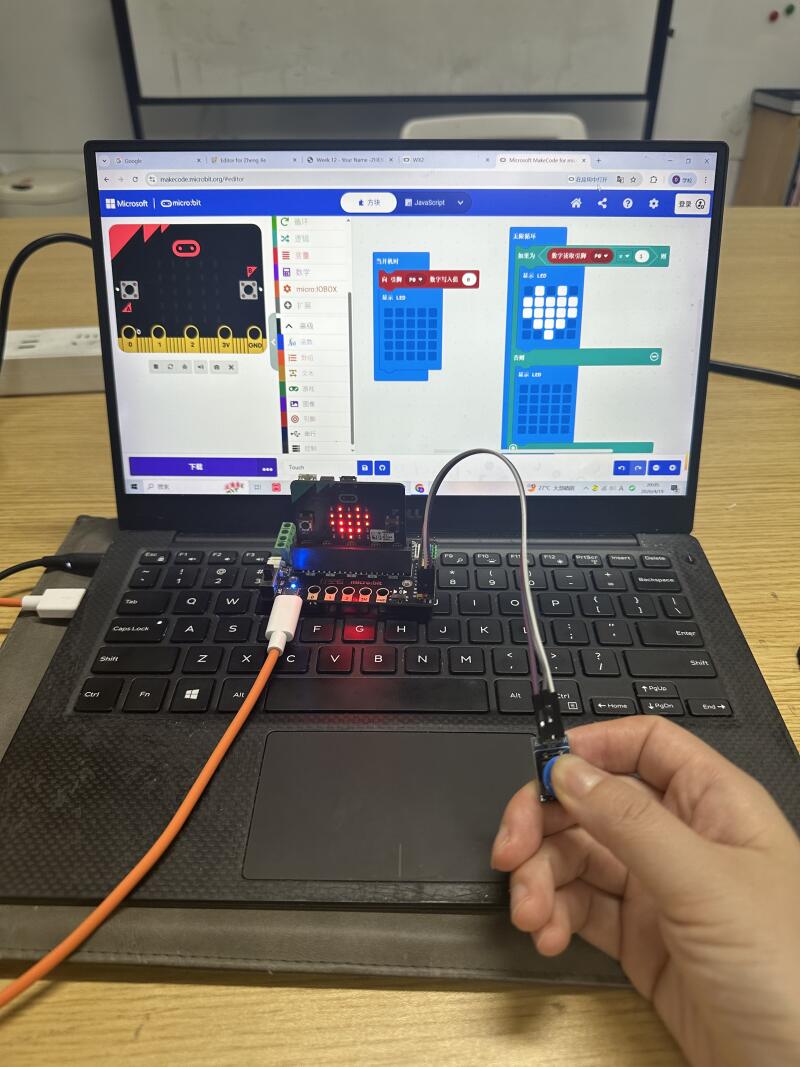
I connected a touch sensor to my development board. When I touch the button, it will show a heart.

I made a code about sonar sensor to my development board, when my hand close to the sensor (less than 10cm distance ) it will show a big heart. When my hand keep more than 10cm distance. it will show a small heart. 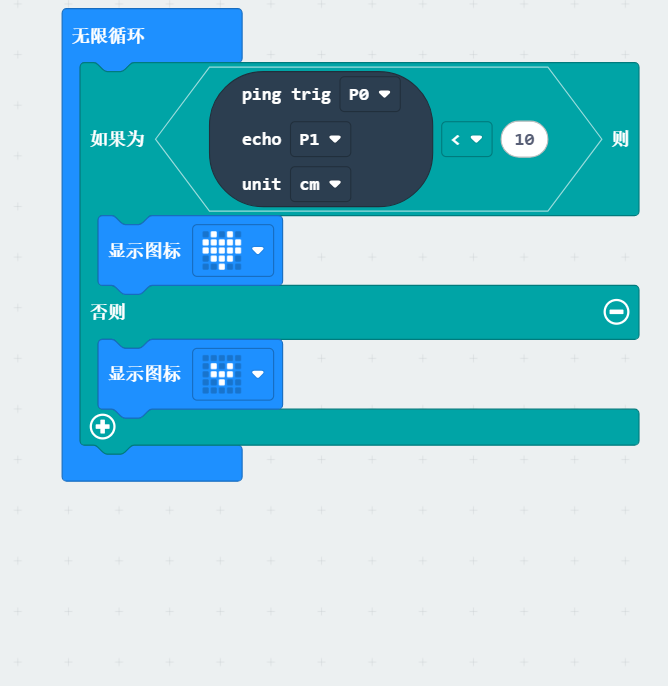
-Then I log in the microbit website and start to make code between PC with microbit.
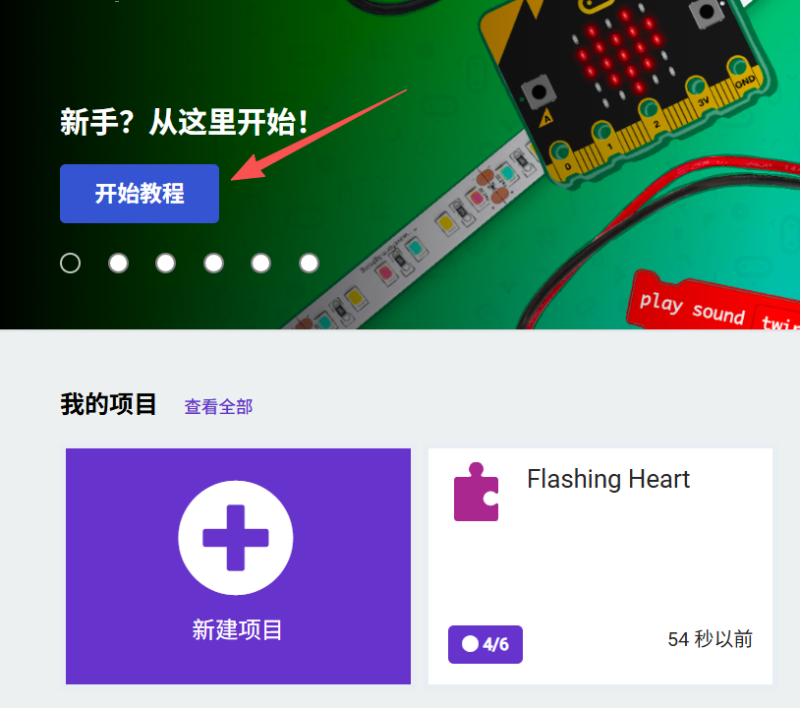 -Click “basic”and start editing some simple instructions.I tried editing which spaces of the LED would light up in the ‘Basic’ function, designing the ‘pause time’, and then putting it into the ‘Loop’ settings.
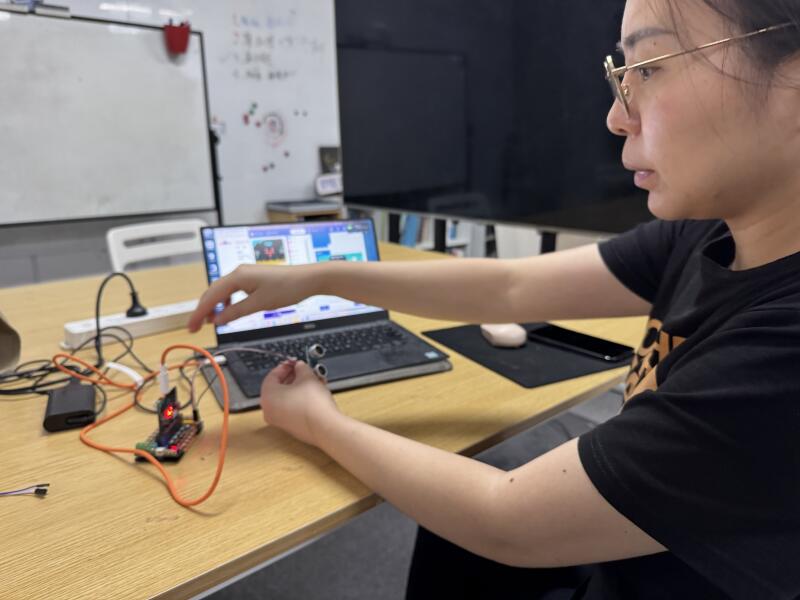
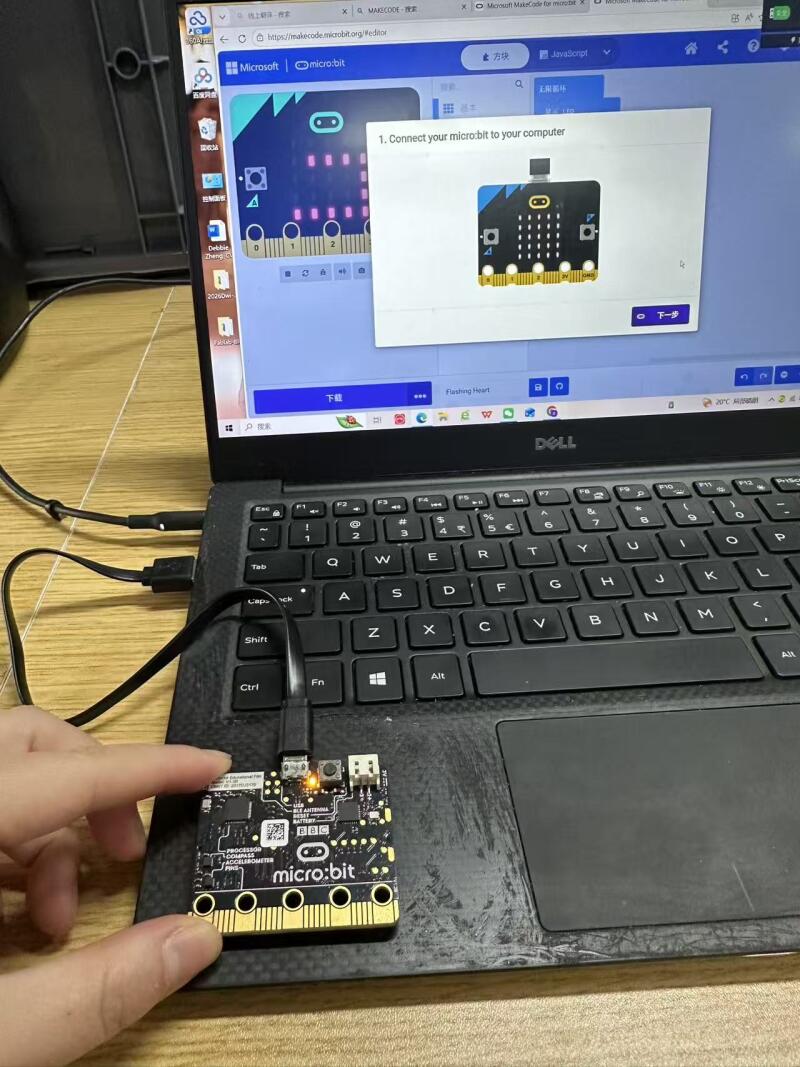
 - micro:bit V1 3B connects to the computer, download the relevant settings
- Challenges and solutions When I use the micro bit, I found that it is very friendly to beginners, and it is easy to get started. However, when operating, there are many settings, which I need to get familiar with. I am still in the process of getting familiar with it.
Reflection
-Did you bring several disciplines together in your own teaching? Do you collaborate with teachers in other disciplines? What are the opportunities and challenges. Yes, I integrate multiple disciplines in my teaching, especially when using tools like the micro:bit. I combine technology, art, and mathematics into project‑based learning.I regularly collaborate with teachers from other subjects, such as science teachers, art teachers, and math teachers. Opportunities: Students can solve real problems in a more creative and practical way. They understand knowledge better when subjects are connected. Challenges: It takes time to plan lessons together, align different curriculum goals, and manage different learning paces across subjects. -How do you envision a makerspace in your school? How does it look like? If you have one already, how would you modify it. I envision a makerspace that is open, flexible, and student‑centered. It should include: Simple electronics like micro:bit, sensors, and motors Craft materials, 3D pens, and building blocks A small area for designing, testing, and presenting projects Tables and screens that allow group work -After the definiton of computational thinking? Are you somehow using computational thinking in your teaching? How? Do you think you can take advantage of computational thinking? How? After learning about computational thinking, I do use it in my teaching, especially with micro:bit activities.I guide students to:Decompose big problems into small steps;Find patterns in similar tasks;Use logical sequencing when coding;Test and debug their programs. I believe computational thinking is very useful. It helps students develop problem‑solving skills, logical thinking, and creativity—not just for coding, but for all subjects and daily life.
Tools
- https://makecode.microbit.org/
- References or tutorials followed