1_ The Possibilities of Digital Fabrication in K-12 Education
The maker mindset, its impact in education and learning theories supporting these practices.
For this first week educators are asked to fill the "About me" section of our websites with relevant information,
both about ourselves and about our teaching environments.
To see the information pubkished on that section please visit the following link
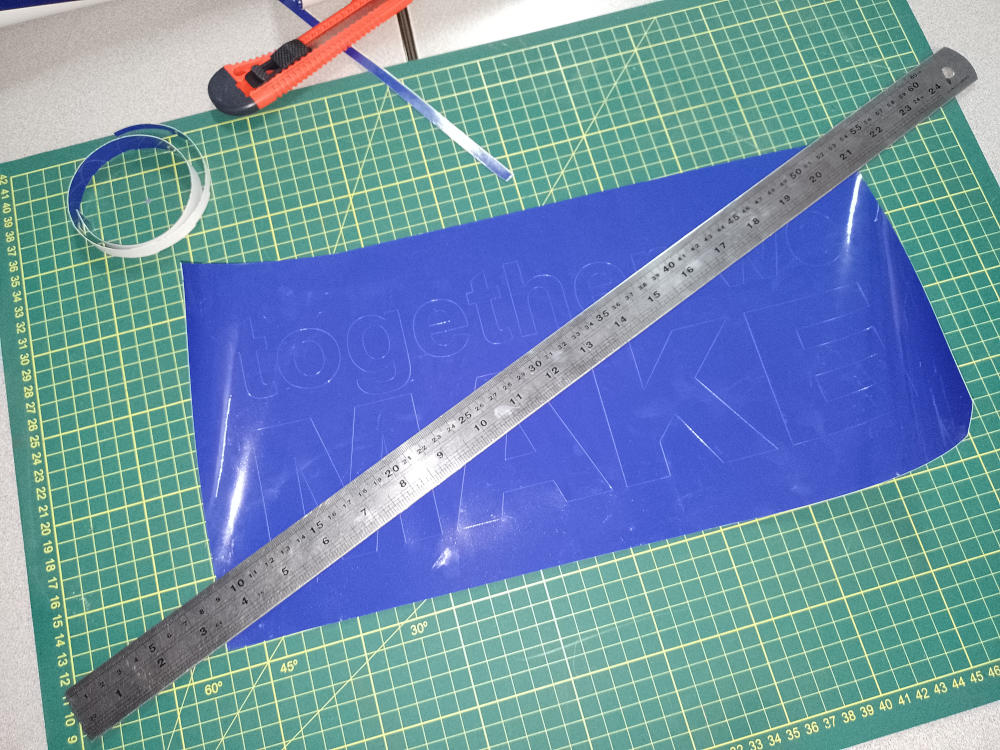
For the second week we were asked to design and cut a sticker for our classroom that reflects our understanding of the maker mindset.
I wanted to focus on the collaborative aspect of making and also have my sticker send its message clearly and constantly. I thought about a simple "catch-phrase" to be displayed in our Makerspace. I used a web based vector graphics editing software to design my sticker and after many versions that appeared to be almost impossible to cut (because of some technical issues that we finally were able to solve, fortunaltely) I ended up with a simple three word version that I really like, despite it not being my initial design.
Once ready, I cut the design using the FabLab's Roland machine and transfered it to the wall with the tool hanger on my school's Makerspace. I have to say that the whole transfer process was nerve-wrecking for me: I was sure I was going to somehow ruin the sticker (which is why I made two of them) but everything ended up working just fine, as you can see on the pictures below.
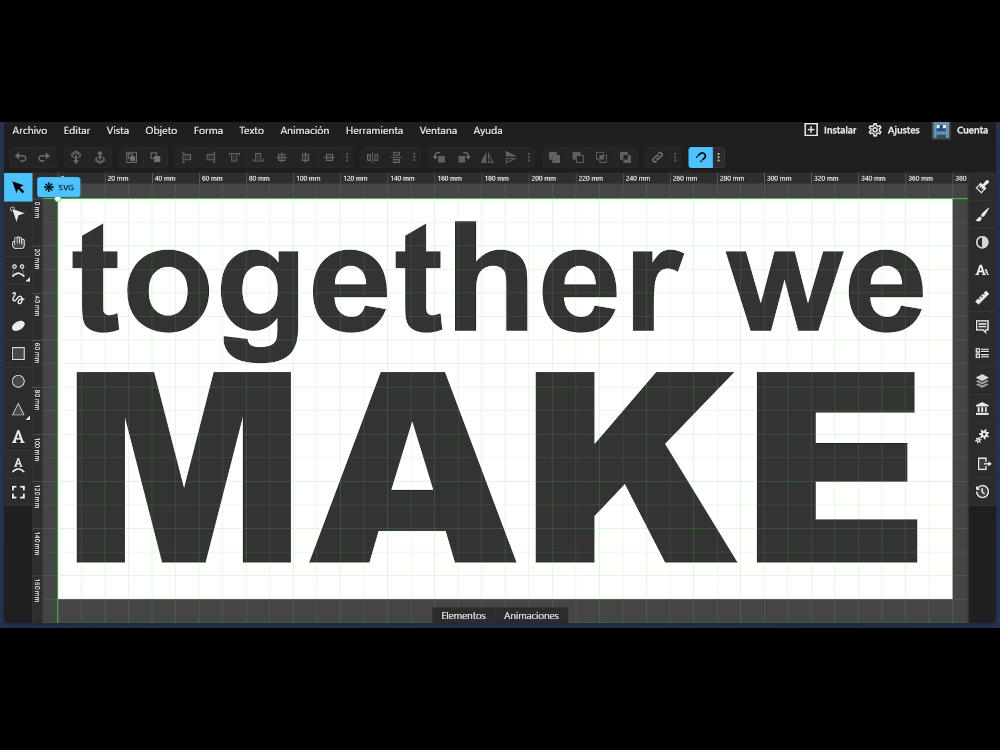
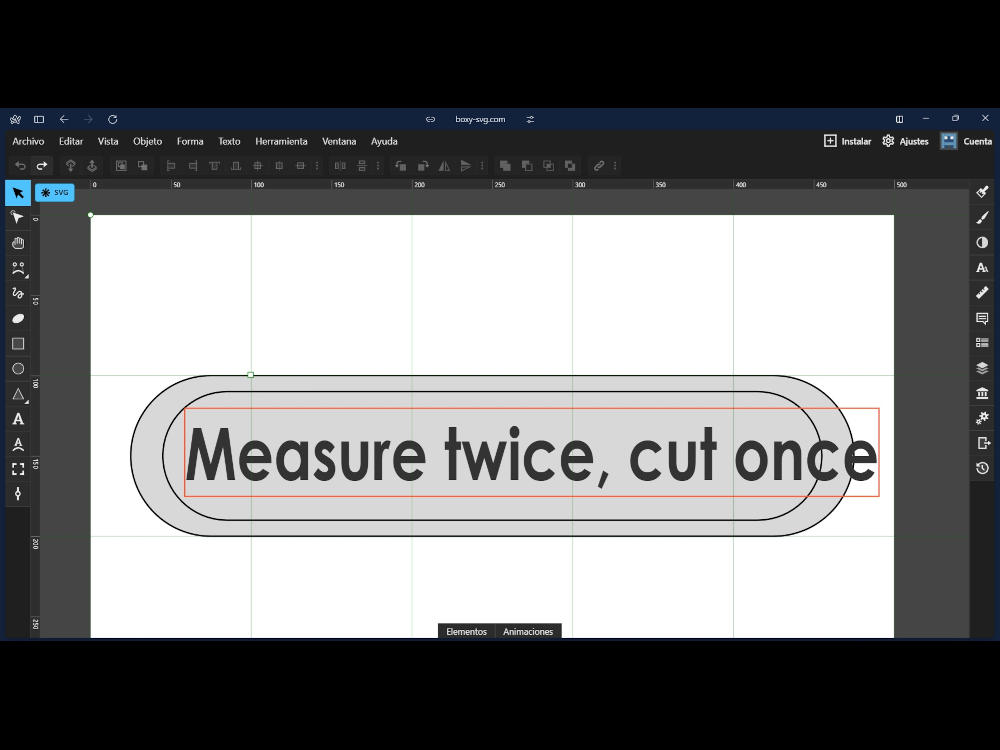
The design, in vector graphics.
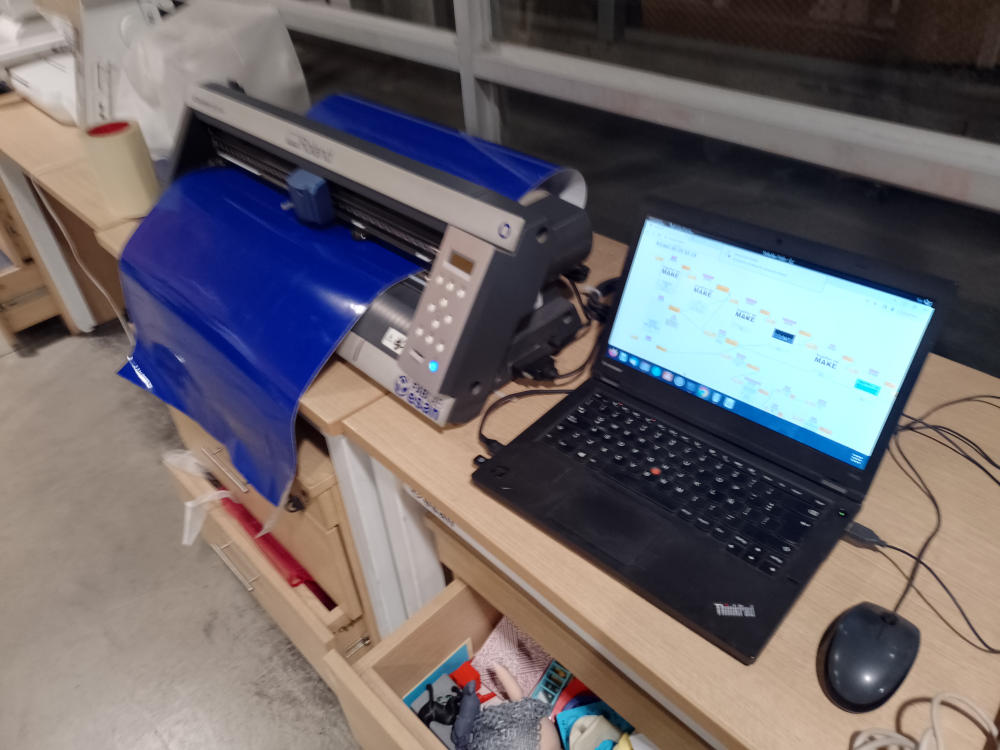
Vinil cutter in the FabLab.
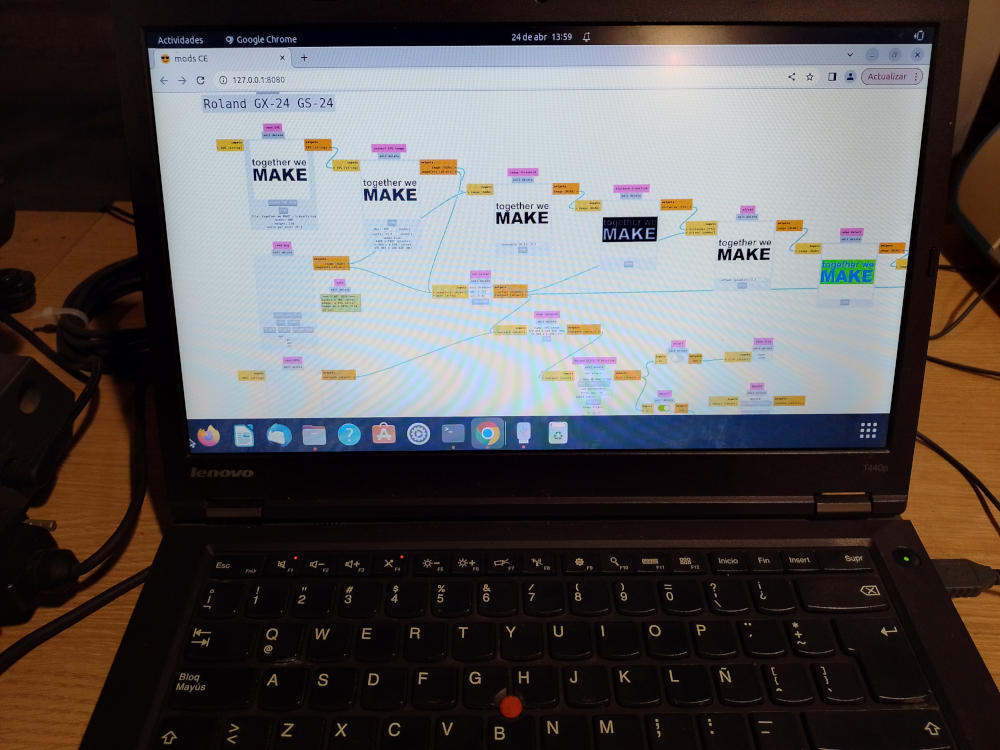
This is a very strange piece of software...
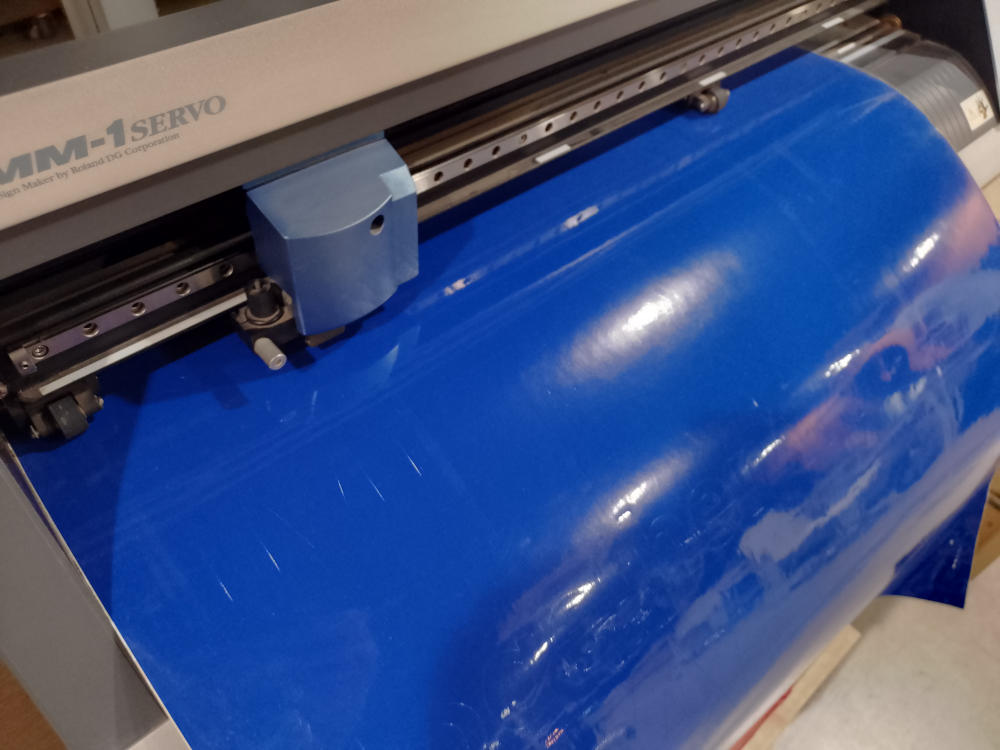
Cutting the sticker.
Getting ready to process the part.
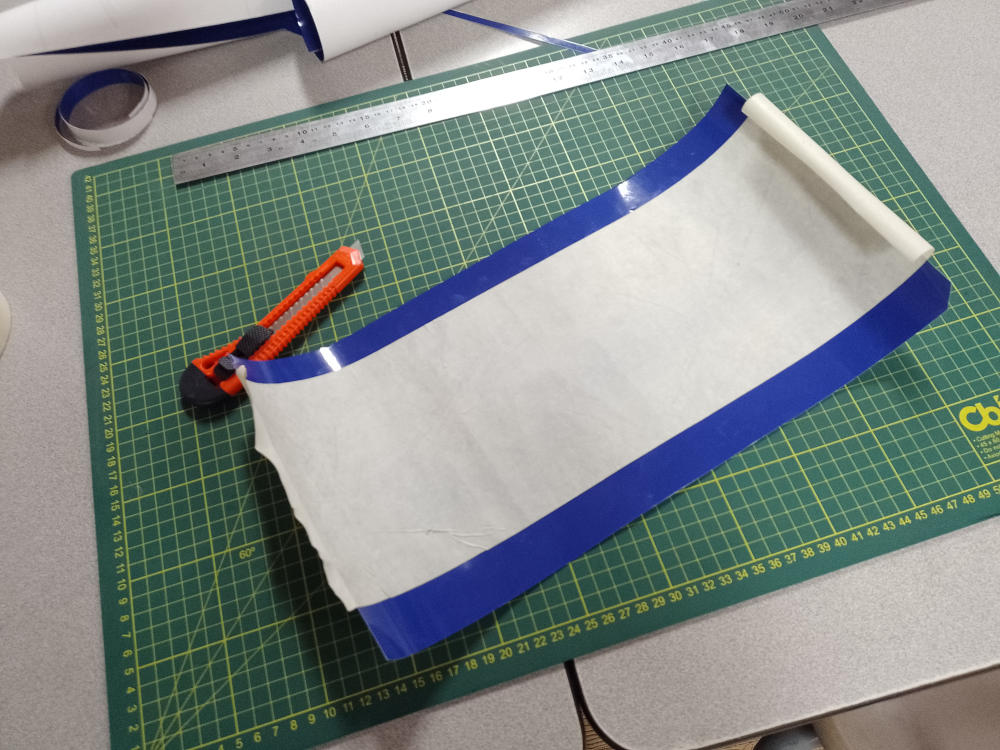
Applying transfer paper.
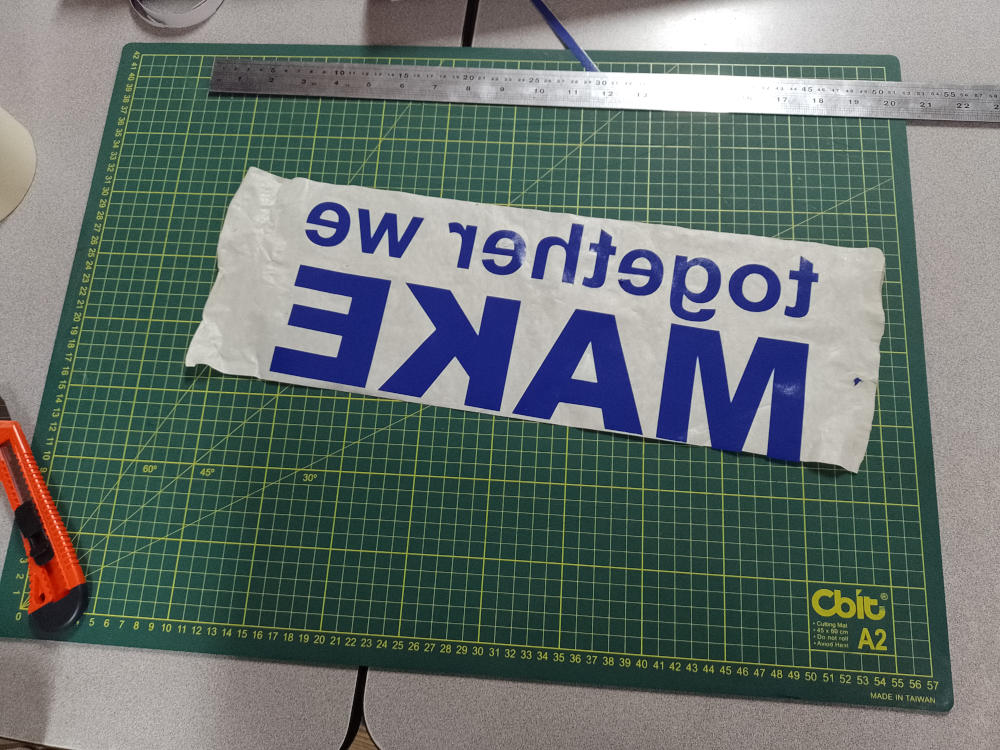
Ready to be put in the wall.
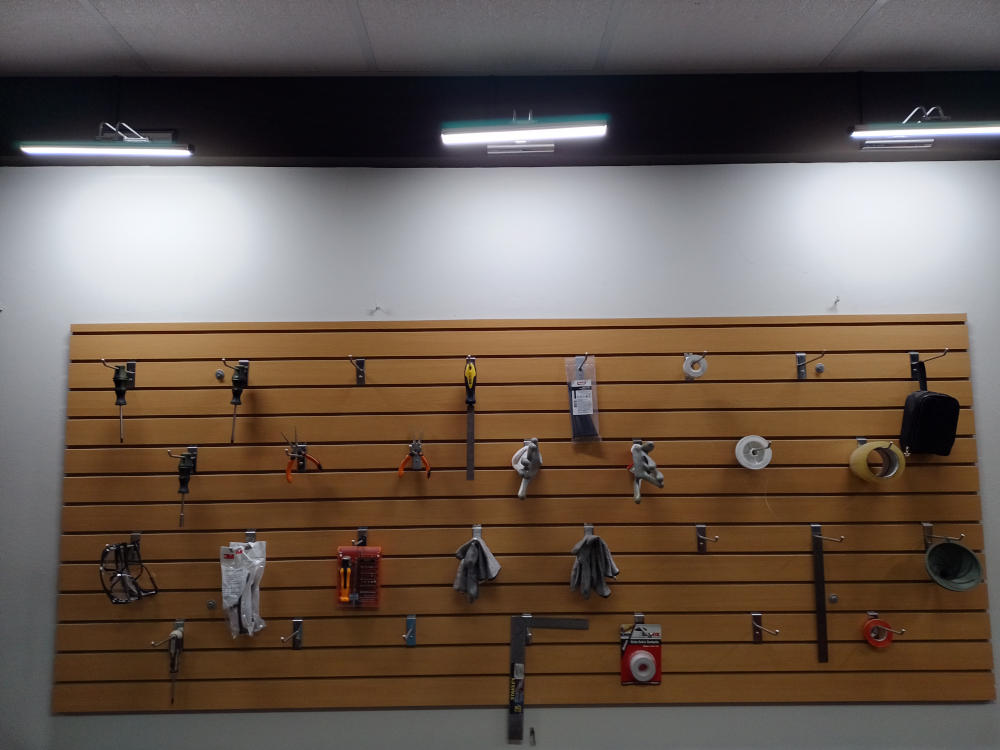
The wall.
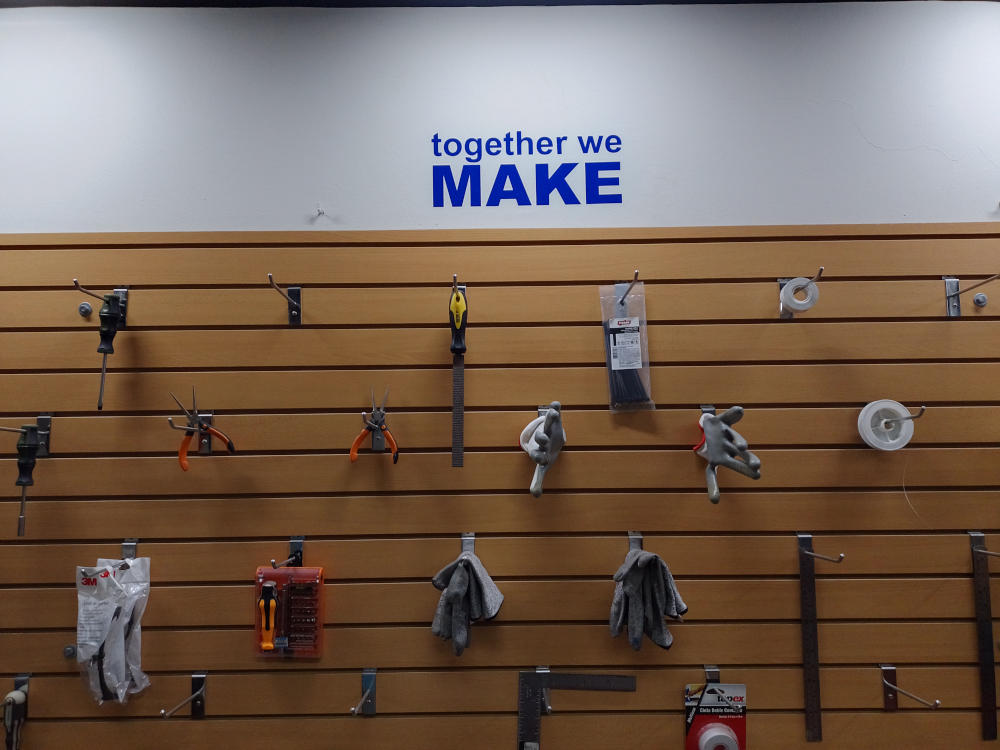
The wall, with the sticker on it.
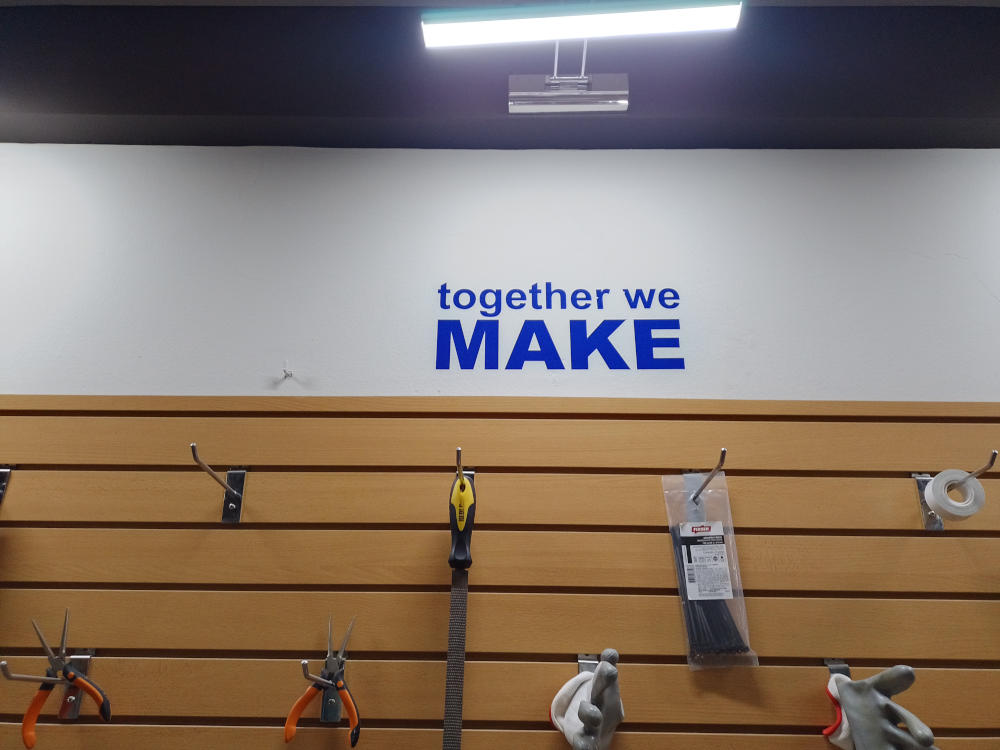
It looks great!
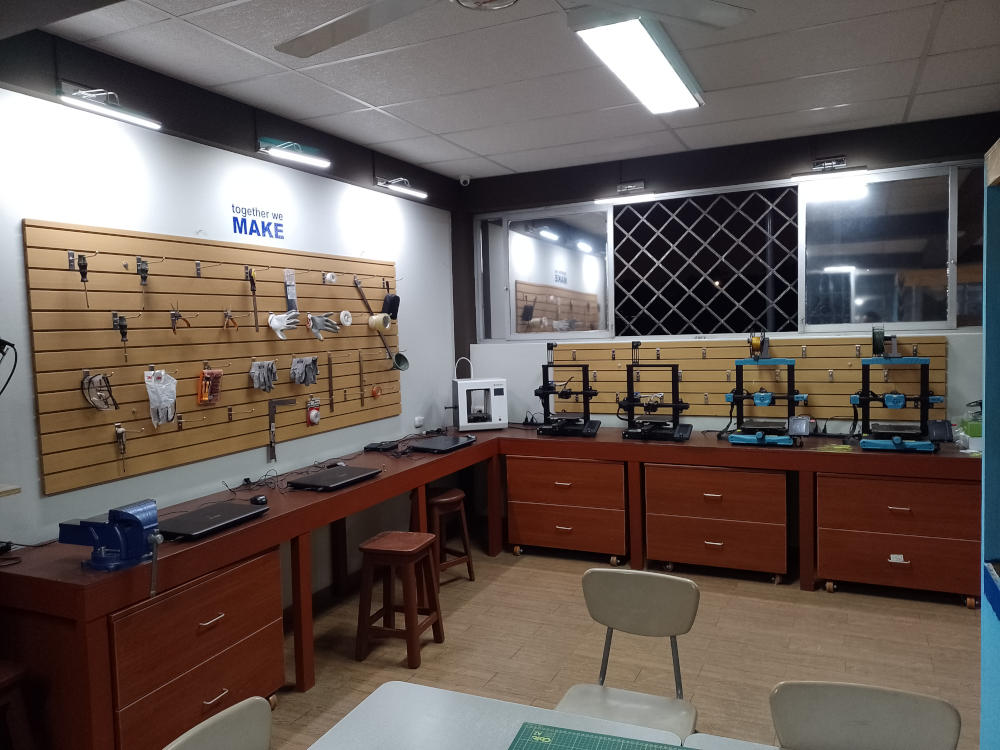
A little bit of context.
Reflection questions
-
How does this process relate to what you are teaching in the classroom?
During the past few years we have included digital fabrication as part of the techniques and tools that our students can use for their projects. By using it for changing / adapting / enhancing our teaching spaces I aim to inspire our students to do the same - using DF technologies as a tool to express themselve and find their own ways to solve problems.
-
How does this project inspire you?
In the past I´ve been focused on fabricating "things" that work by themselves or that complement other things. In this project I wanted to build something that changes a space. A sign like the one I designed might seem simple but for me is proof that small changes in a space can turn them form cold static places to something that talks to you, invites you to engage into a particular activity and ultimately adapts to your needs, or gives you different experiences to learn from.
-
Shortly describe an educational activity in which you could use a vinyl cutter. Explain how would you implement each one of the steps of the design process model explained in the Master Class. Do not forget to discuss about learning outcomes.
I can think of an activity aimed at designing and producing vinyl stickers that celebrate and bring visibility to diversity (culture, gender, neurodiversity, language). For this activity students should first be introduced to the theme and the goals of the activity. We can have school discussions about diversity and have students themselves talk about the aspects they find important to have represented in their products. They can also conduct some research in the form of interviews or research with other students and school staff to better understand their view of a diverse school and how that aspect is being experienced by them. After that they can start brainstorming symbols, words and visual styles based on the results of their interviews and / or surveys, and after that, they can begind designing their stickers. For that they will have to learn how to use vector graphics software and, depending on school policies, they will also operate the vinyl cutter to get the stickers made.
Once the stickers are ready they can identify places to put them, and of course they'll have to go through the transferring proccess. Finally, they'll have te opportunity to dhare their experience and reflect on the results through class discussion and presentations.
With this activity students will learn about digital design with vector graphics, deepen their understanding of diversity and inclusion and develop their visual communication skills. It will also encourage them to work collaboratively.
-
In which part of the digital fabrication continuum would you feel more comfortable? Why?
I feel comfortable in the three parts (DF for, DF with and DF by kids). I really think each part has advantages and opportunities and finding balance between them is key for building encouraging and transforming educational experiences.
For the third week.we were asked to design and cut an object that can be used in our classrooms.
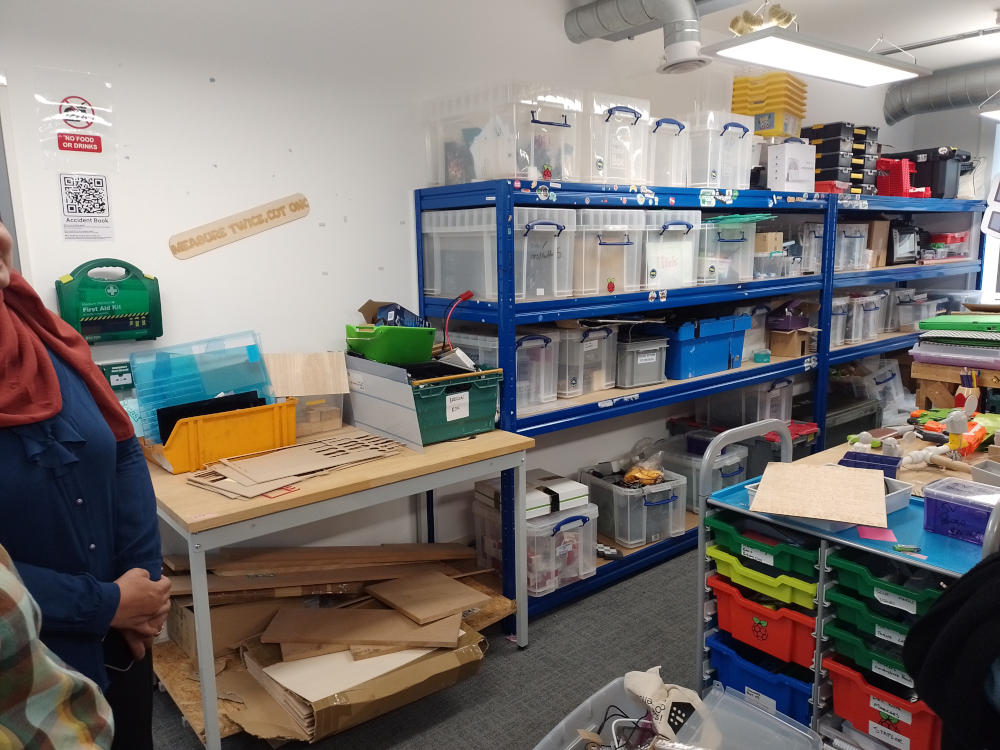
I chose to recreate a sign I saw some time ago at Raspberry Pi Foundation´s makerspace - it was there in one of the walls, and although it didn't hold a predominant spot on the place it said everything about how to work on a project: have fun, try to be as meticulous as possible when working on your designs but embrace mistakes and even celebrate them. I think (and hope) this sign will bring a smile to your face, and hopefully to the faces of my students!
Making this sign wasn't particularly difficult because I had already worked with vector graphics before. The hardest part of the process was taking the exported .svg into Corel Draw (because that's what they used at my local FabLab) - for some reason the design had changed size everytime I imported it. I ended up editing font type and size and rearranging the elements directly in Corel Draw before sending everything to the laser ccutter. Later I learnt that the problem was that I hadn't correctly set up the vector graphics software I was using.
Getting the design ready for laser engraving/cutting is simple but has to be done carefully to get the desired results. You basically have to tell the software which lines have to be engraved and which ones you want to have cut. This is usually done by assigning different colors to the different elements in the design, because those colors actually represent the different power levels and speeds that the laser can operate at. So for a line to be cut, you have to use a color that has high power and low speed associated to it. On the other hand, if you want something to be engraved, assign a color that means low power and high speed to it. And make sure to have engraved parts first, then cut parts!
When operating the laser cutter there are safety precautions you have to keep in mind. Mainly:
- Never operate the machine with the lid open.
- Never leave the machine unattended while in operation, as fire is always a possibility.
- Once a job is finished, wait for some time before opening the lid in order to let the venitlation system take away any residual smoke or dust.
The original sign... Can you find it?
Vector graphics software
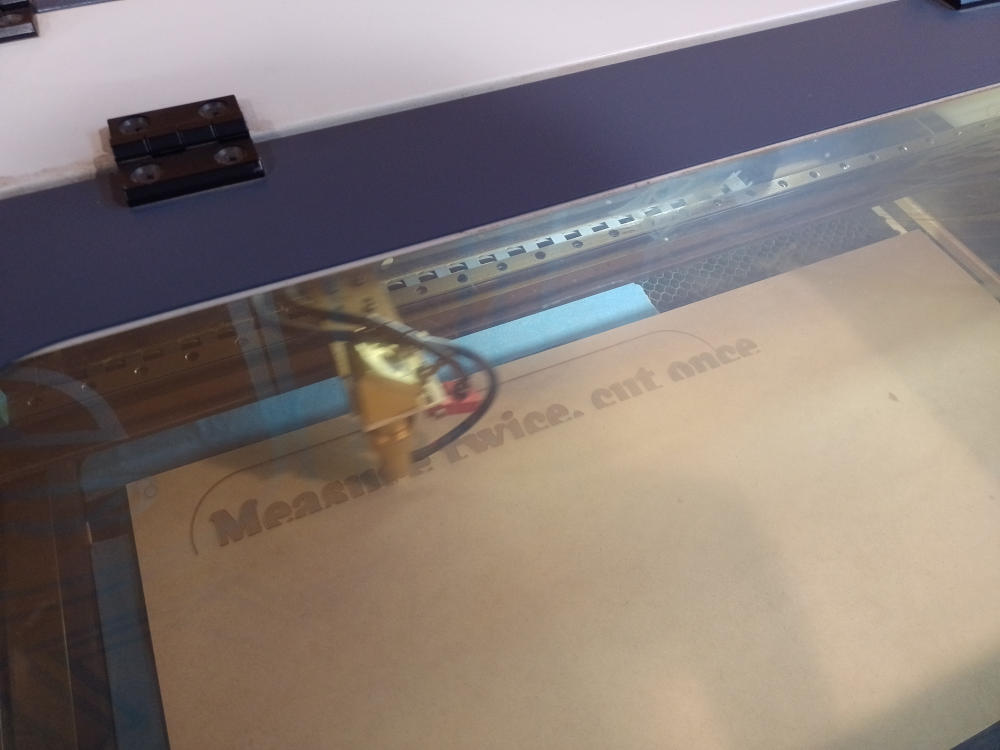
Cutting the part
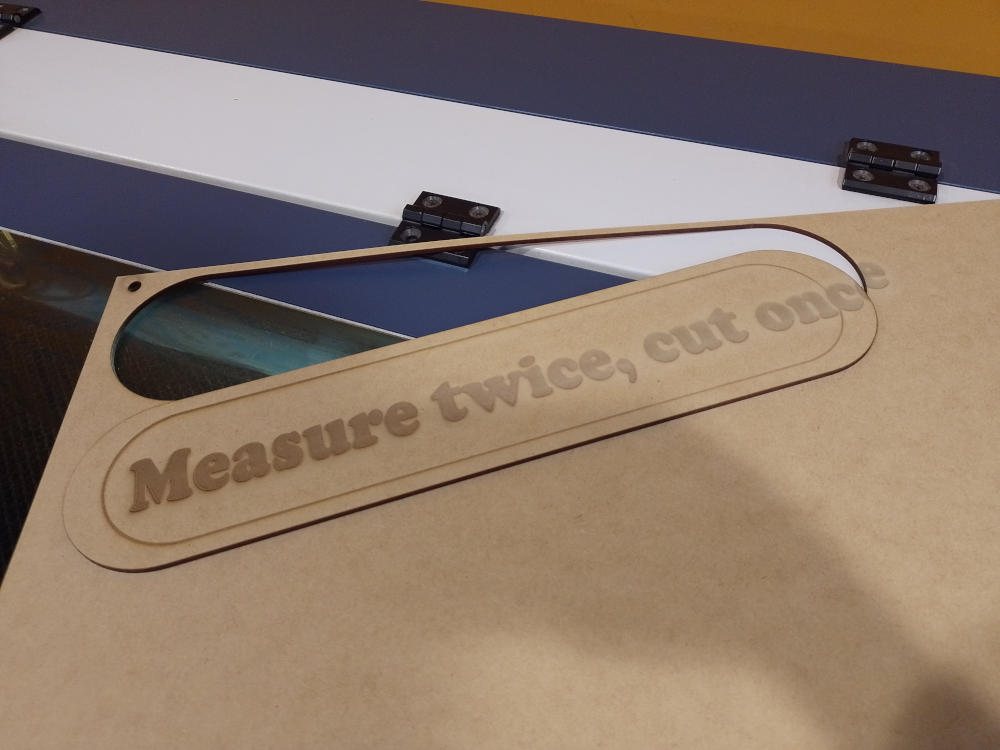
The finished object
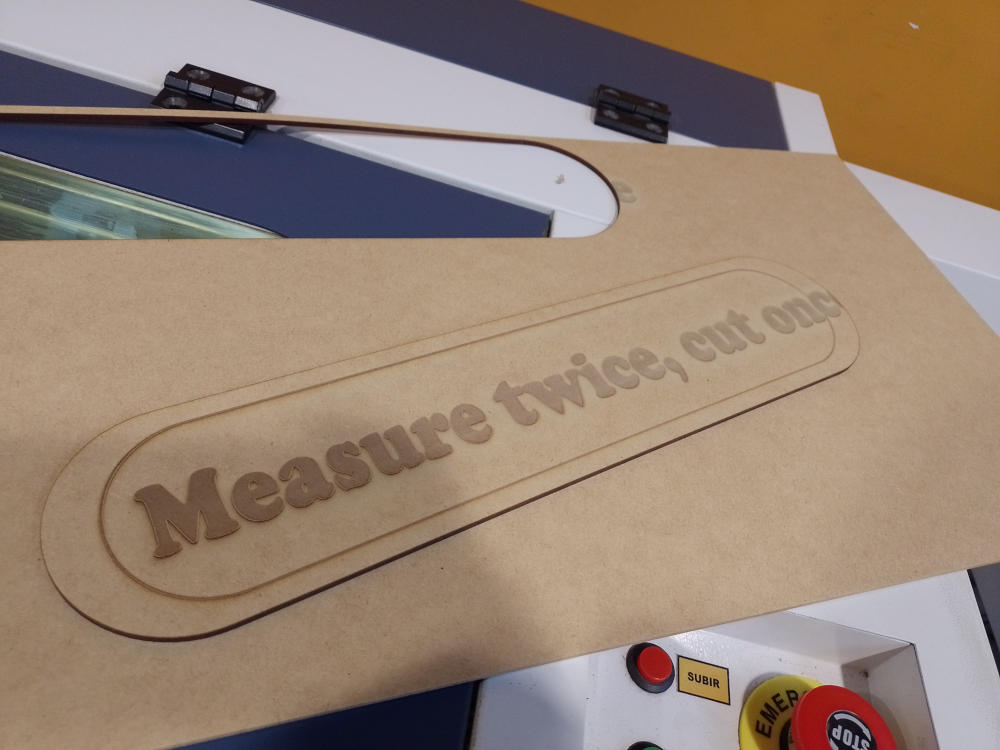
The finished object
Reflection questions
This year we are integrating a laser cutter to the equipment of our makerspace, so thinking about activities involving this technology is not optional anymore! We've already been talking about asking our students to model certain things and objects but taking care of scale and dimensions, not only of the pieces themselves but also of the objects that will interact with those pieces. For example, if they are designing an enclosure for electronic modules (motors, LCD screens, LEDs) then they will have to make sure to measure those thing carefully, so once the enclosure is done, everything fits as intended. Having them work with dimensions will be one of our intended learning outcomes for these kind of activities.
When designing my learning activities I always try to find things that I think will be relevant to my students. I try to take into account their experiences and preferences, but also try to find what they might find challenging but valuable enough to make it worth the effort. and for me everything is about the process. Many times my students ask me (specially during the first weeks of classes) what will happe if they work on something that ends up not working as expected. I always tell them that I don't expect it to work at first try - but if they can explain why something is not working and plan a course of action to fix what is wrong, that tells me they are at the next level.
For this module's Field Activity we were asked to design a lesson plan for a subject that we teach. The idea is that the lesson plan must include a physical teaching aid (object, model, or manipulative) that we design and fabricate for use in the classroom.
For this actvity I will work around a lesson for learning the basics of robot control systems using a small mobile robot with IR sensors for line following. The idea is that the students learn how a robot can follow a line using its sensors and some basic programming.
Usually, a line follower is placed on a prebuilt track that has a black line on it. This track can be built by drawing or printing the line on a large sheet of paper, or by sticking black tape on the floor. My idea was to make some kind of modular track with laser cut squares with line engraved on them and some way of joining them together. That way one can reconfigure the track easily by rearranging its pieces, with the added benefit of making it easier to store the track when not using it.
I designed two different pieces for the track: one with a straight line and the other with a curved 90° turn on it. I also made a simple mechanism to interlock the pieces of the track.
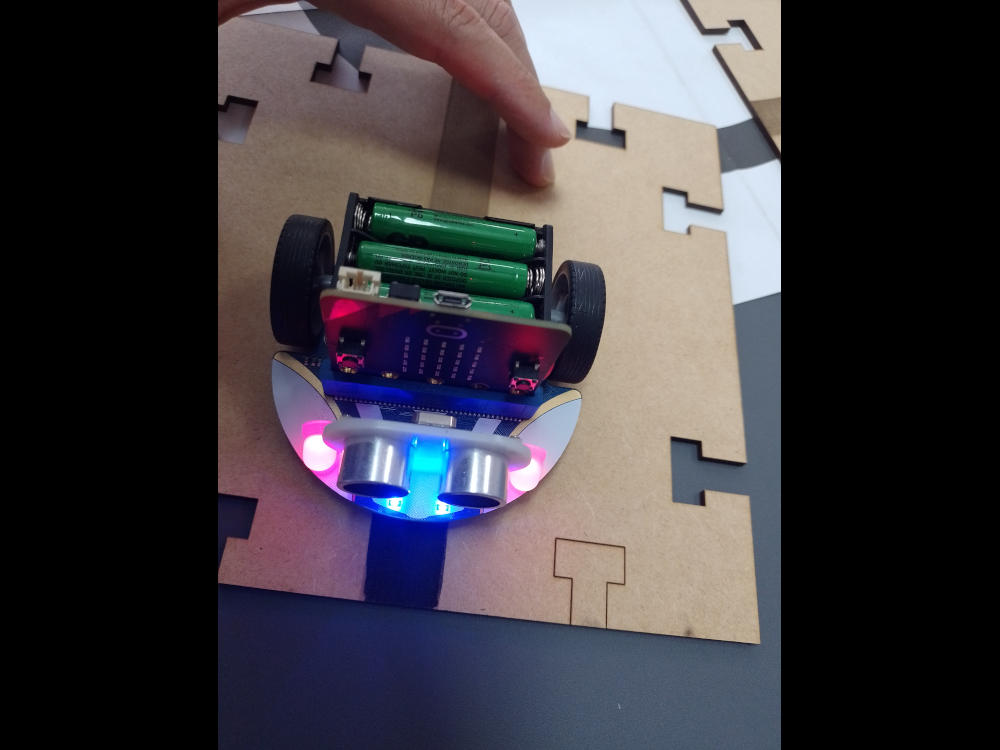
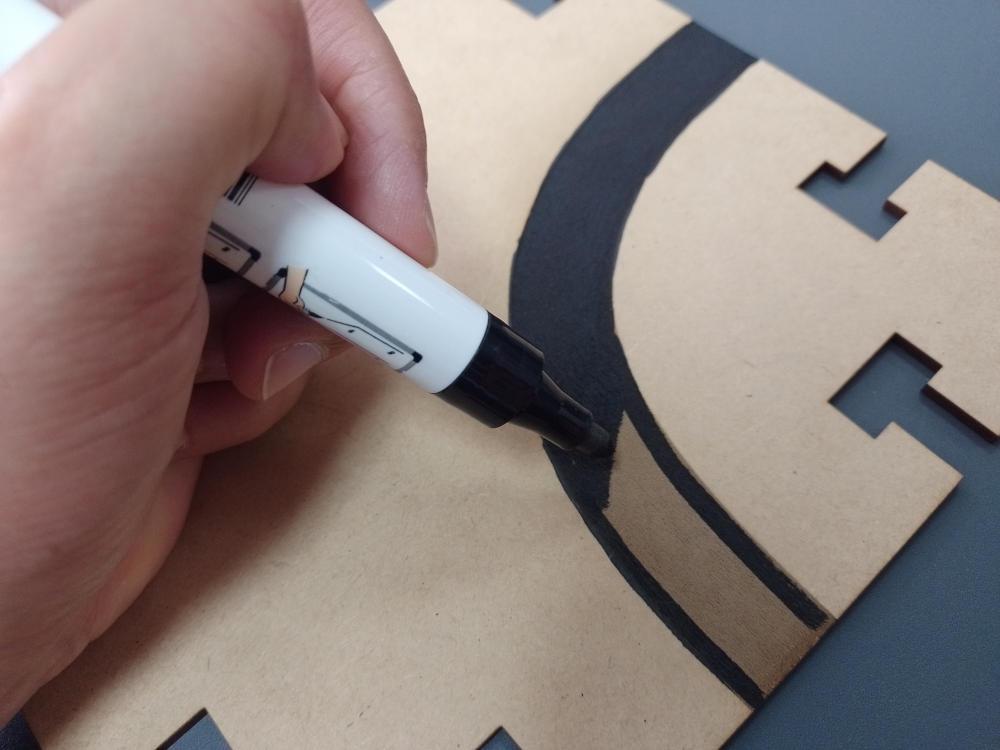
I cut 2 pieces to test the idea, and turns out the engraved track wasn't dark enough to trigger the sensors. On the pictures posted below you can see that when put agains the original printed on paper track, the robot's sensors detect the black line, but when using the laser cut track, the sensors detect nothing. To fix it I decided to paint the lines by hand using a black marker, and amazingly that simple fix worked. As you can see on the pictures below, once painted the track is easily detected by the robot's sensors.
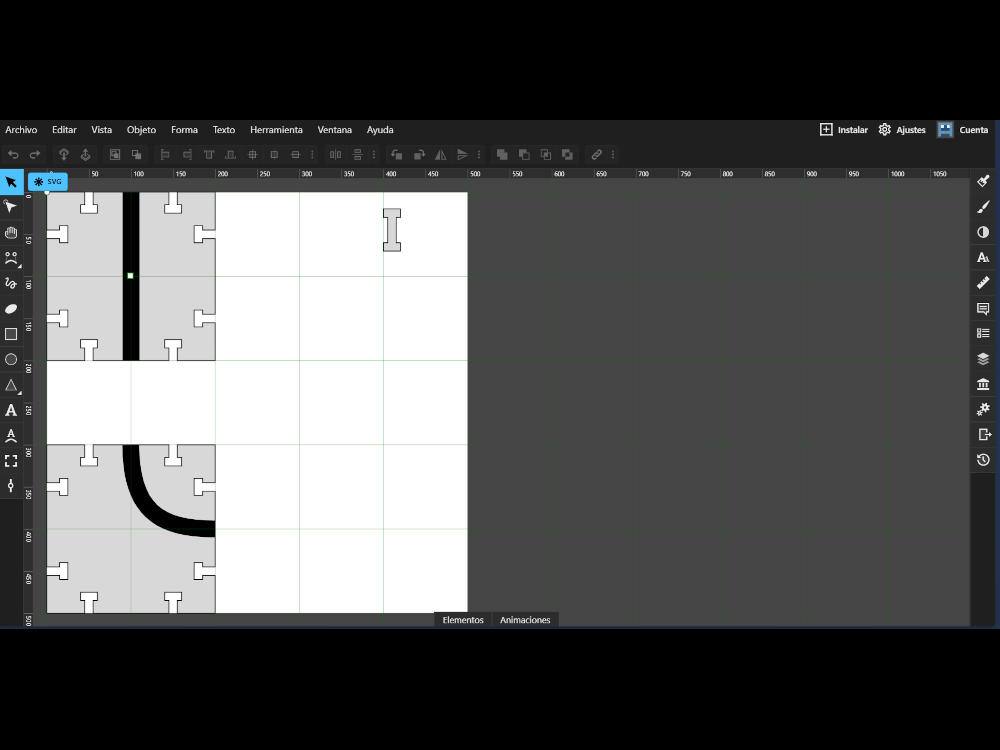
Designing the parts for the modular track.
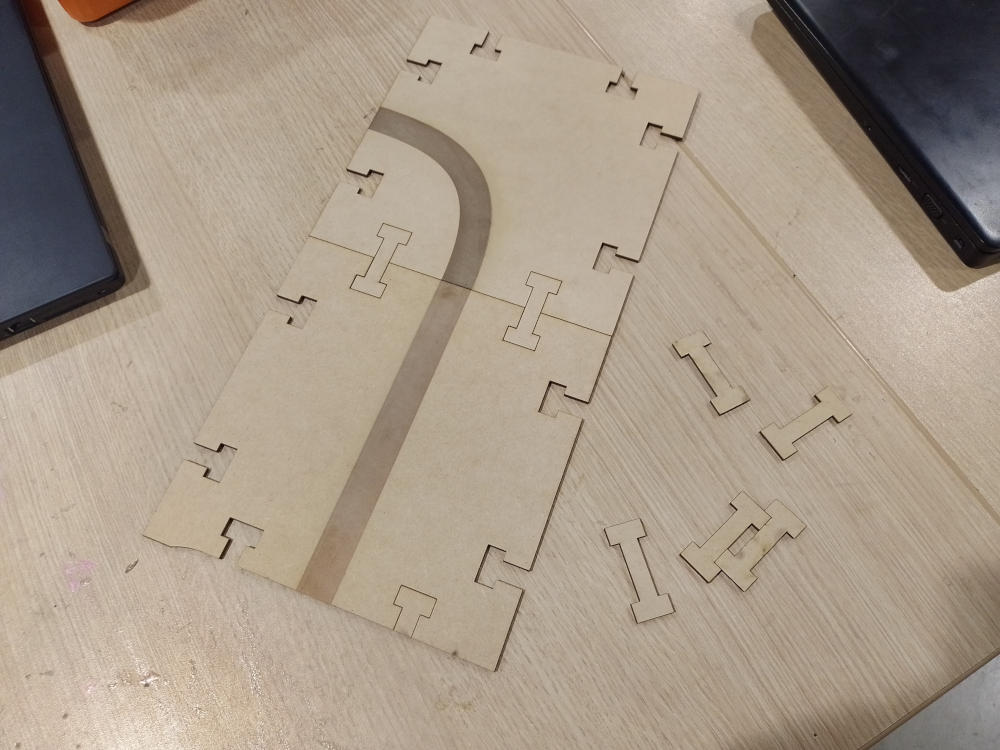
Test cuts
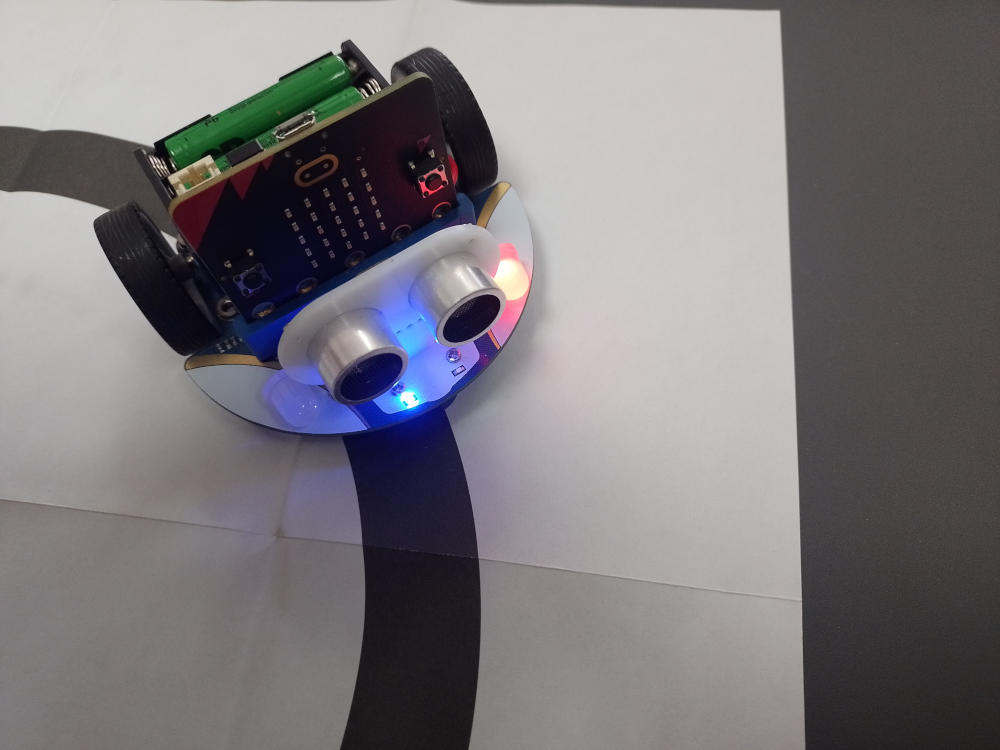
Testing sensors against a printed track on paper

Testing sensors on the test cuts - not working!
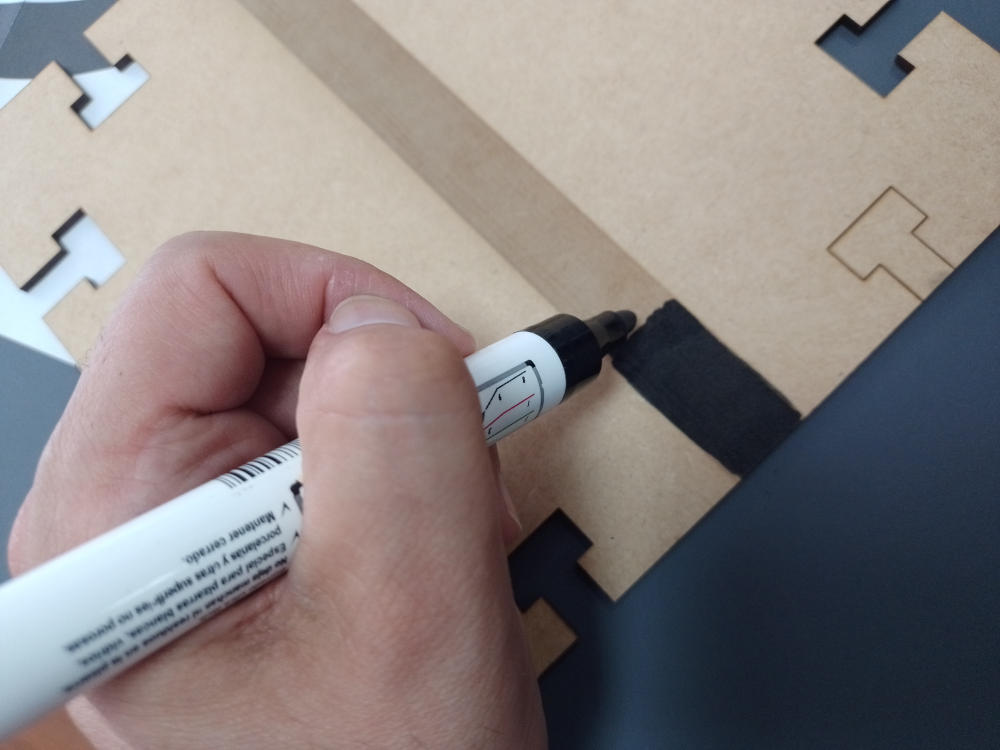
Painting the engraved tracks
Testing painted tracks - now it works!
Painting the rest of the cut parts
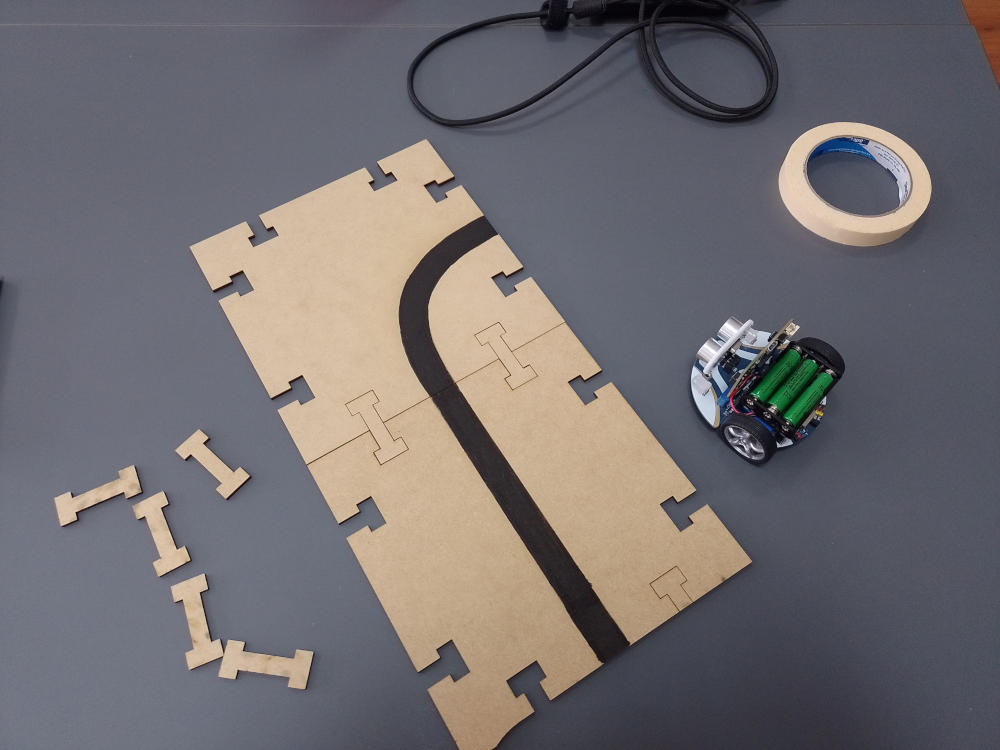
The test track ready to be tested!
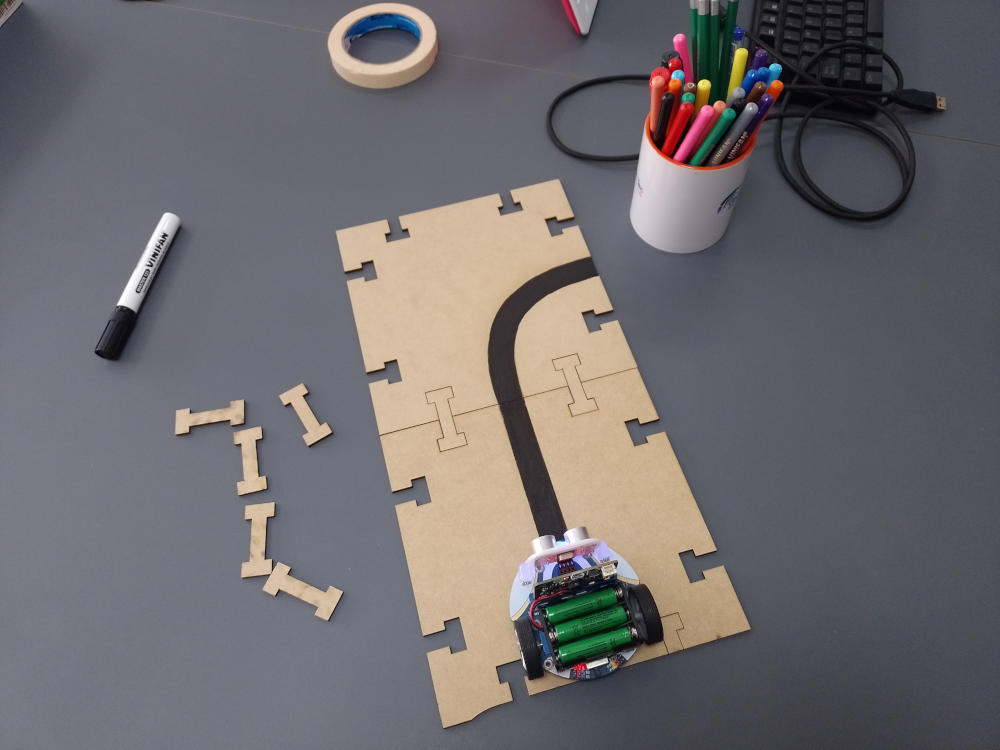
Testing the track with a line folowing robot.
You can see the test track working with the robot in the following video:
With the tests completed, I can now cut many copies of each model of pieces (straight line and curved line) and have my students and assemble tracks of different shapes to test my student's programs running on the robot. And no matter how long the track, at the end of every class storing the pieces is very easy because each part is only 200 x 200 mm.
You can find the lesson plan that uses this modular track using this link.
You can download the design file for the modular track using this link.
Reflection
This kind of activity is always engaging and motivating for the majority or students. Using actual robots has great impact, specially when students witness how their code changes the way the robot behaves. The challenges that they face help them refine their logic and think of better (or different) was of solving problems.
The modular track is a nice addition as it helps to change and adapt the dificulty level and offers space for creativity. Having it built using freely available software + laser cutting enables the teacher to easily adapt the activity - creating new parts for the tracks is as simple as changing the design and cutting the new parts. This could even be transformed into an activity on its own, having the stundets design and create new paths with their own graphics. This could be don eusing traditional methods like drawing by hand and cutting the material with cutters or saws (which has its value, of course), but using digital fabrication for this makes it easier and faster to redesign, replicate and build the different parts, and even replaced those tath become damaged during use. This is an added value that shouldn't be underestimated.
This activity poses some challenges related to programming. I'm sure not all students will be able to complete it at the same speed, and for some it might be a little difficult to understand how the logic behind line tracking .
Finally, I can say that this being one of the first times using a laser cutter helped me understand how it all works, what are the precautions that have to be taken when designing parts for laser cutting and how what you expect from a laser cut part could not line up with reality - in my case the engraved parts weren't ss dark as needed, so I had to resort to some extra post processing to make it work. This, I think, adds to my experience - laser cutting is not a magical fabrication method. It is just a tool that can help you get closer to your objectives, but extra work will always be neededd to get your products in a finished state.