4_ Makerspaces in schools and beyond the classroom
Integration of multidisciplinary content and computational thinking through educational projects that use electronics to interact with the real world.
For this week's asignment we were asked to use some development board to sense something in our classes (noise / light / movement) and produce some kind of response (audio, light, movement).
The proyect I'm presenting is one I built and used some time ago. It is built around the micro:bit board and its goal is to get the students' attention and curiosity and get them trying to "guess" the working of the system without knowing how it is built. From there we can begin discussing about sensors, what they know about them, how they work, what types of sensors exist, and how can the information from one board be transmitted to another one.
The project uses 2 micro:bit boards. One (the transmitter) is programmed to send a radio message when shaken (detected by the onboard accelerometer). The other board (the receptor) is programmed to play back some sounds and shine its LEDs when receiving a message. For this it uses its onboard buzzer and LED matrix. For communications between the boards a radio module is used - this module is also part of the micro:bit board.
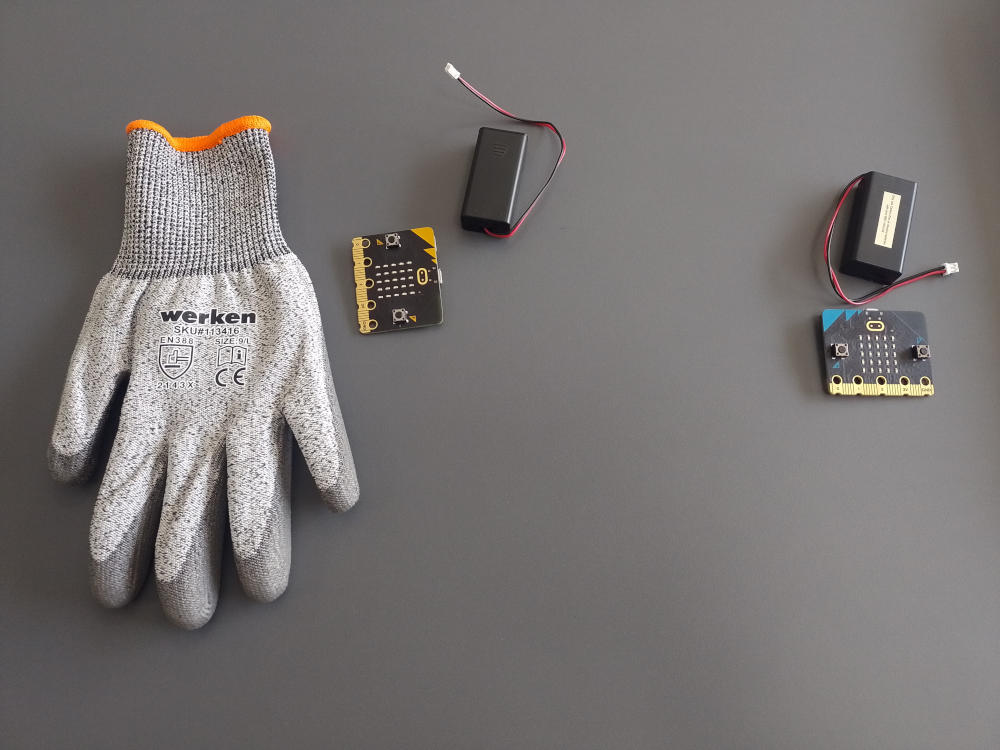
micro:bit boards with battery holders and the glove
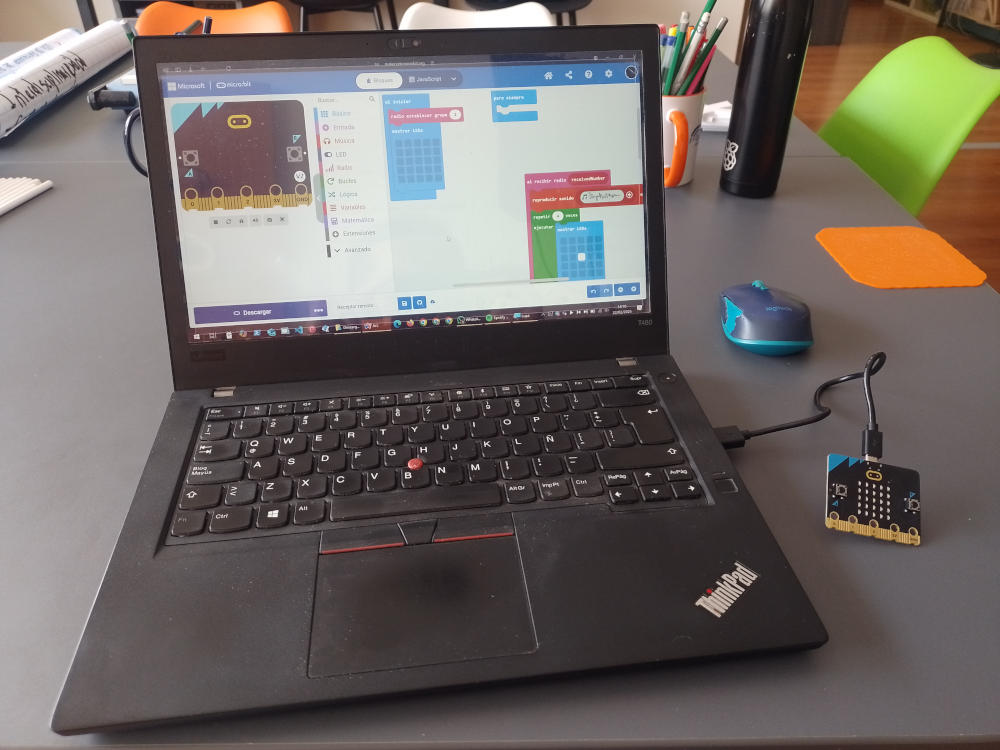
Programming the receiver micro:bit
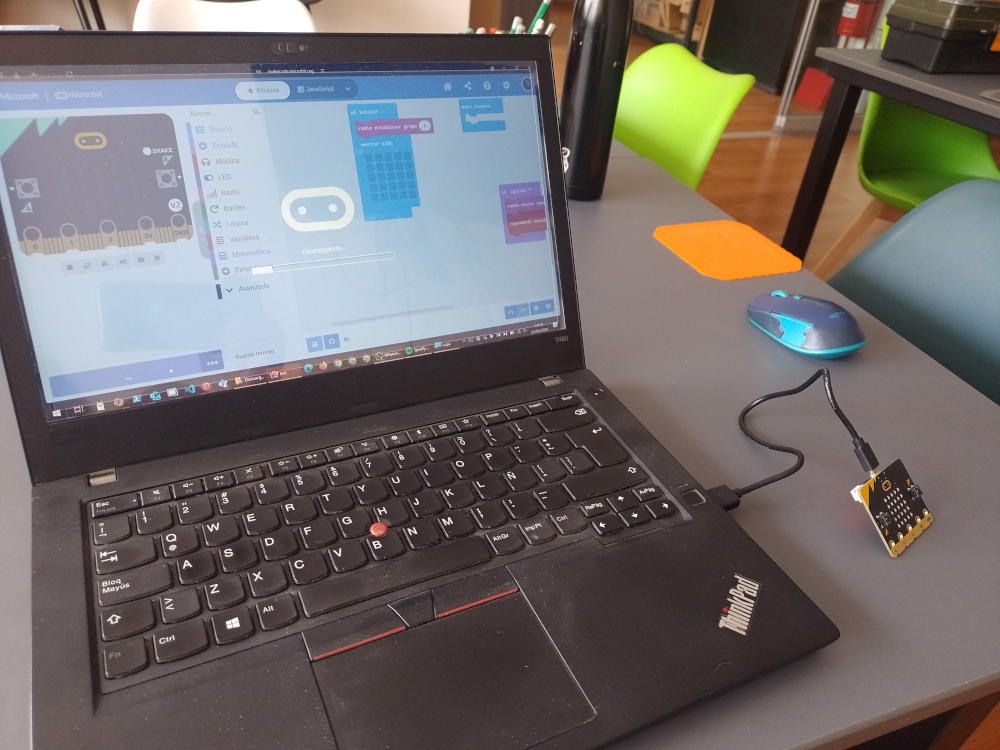
Programming the transmitter micro:bit
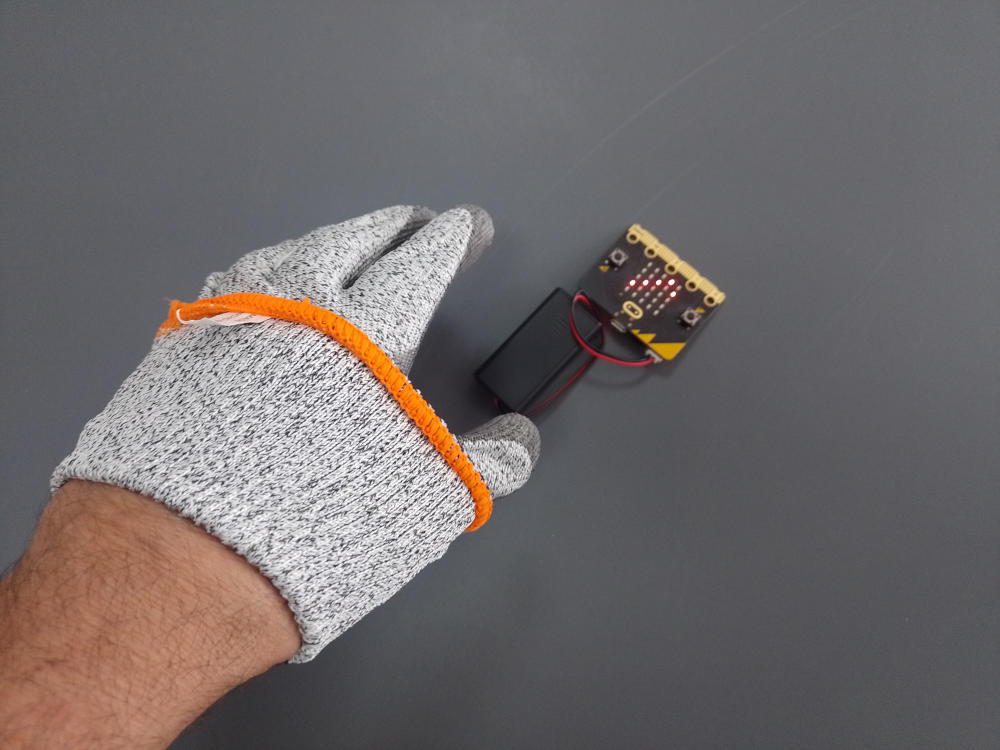
The glove and the micro:bit
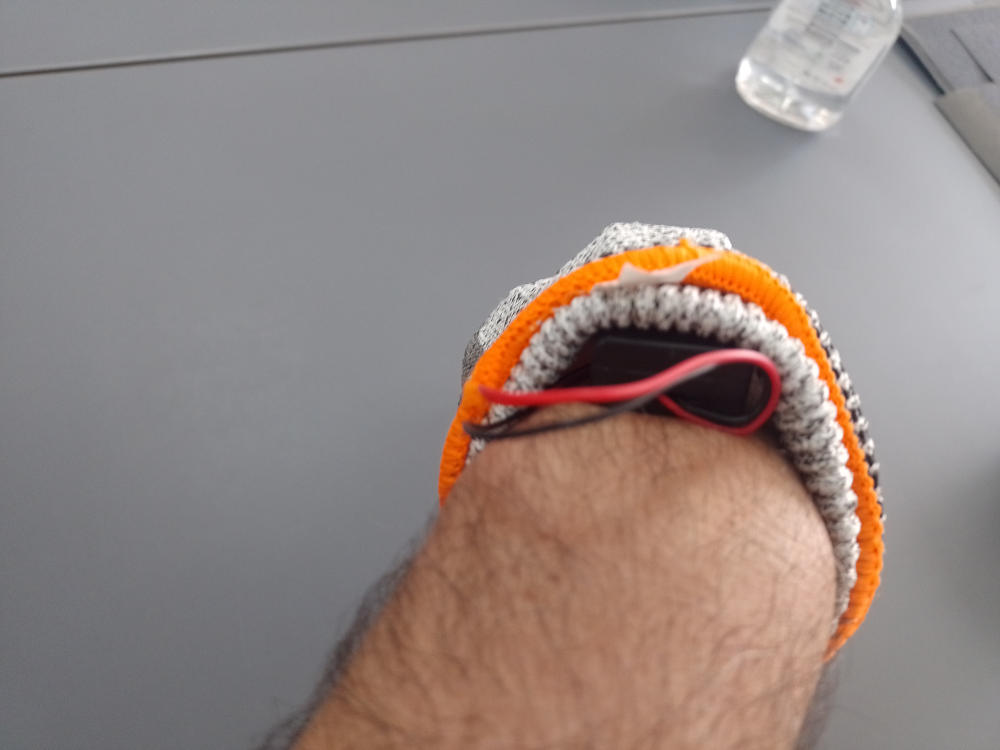
Hiding everything inside the glove

The complete glove system
The transmitter board is hidden inside a glove, and when I present the system to the students I do it as some kind of magic act. I ask one of the to hold the receiver board, and quickly point (shake) my emitter hand at the receiver board. What happens then is that the receiver comes alive and makes sound and animations, as if by magic! After doing it a couple of times with different volunteers I reveal the parts of the system inside the glove, and have them try it many times, trying to find different ways of triggering the effect, or even trying to move the glove without triggering it, in order to find the limits of the system.
You can see the project in action on the following video
If you want to replicate this project you can use the following links to get the code for both the transmitter and the receiver.
On makerspaces and interdisciplinary work
During the past couple of years we've been trying to consolidate a more interdisciplinary oriented way of working at my school. And for this, our STEAM lab has been a great aid. This place, a small makerspace, has given the students the tools but more importantly the space to investigate, design, build and test all kinds of creations. It has also made possible for other teachers to think differently about project based work and what students can do when left to exercise their imagination and autonomy.
Right now this space is undergoing a renovation - it will have new furniture, more storage space and it will be powered by a grid of solar panels! Here are some renders of how it should look like when finished. Here you will also find a few images of a private Makerspace I've been setting up. The idea is to have this space available to everyone with some project or idea who needs the tools, space or knowledge to complete his or her vision.
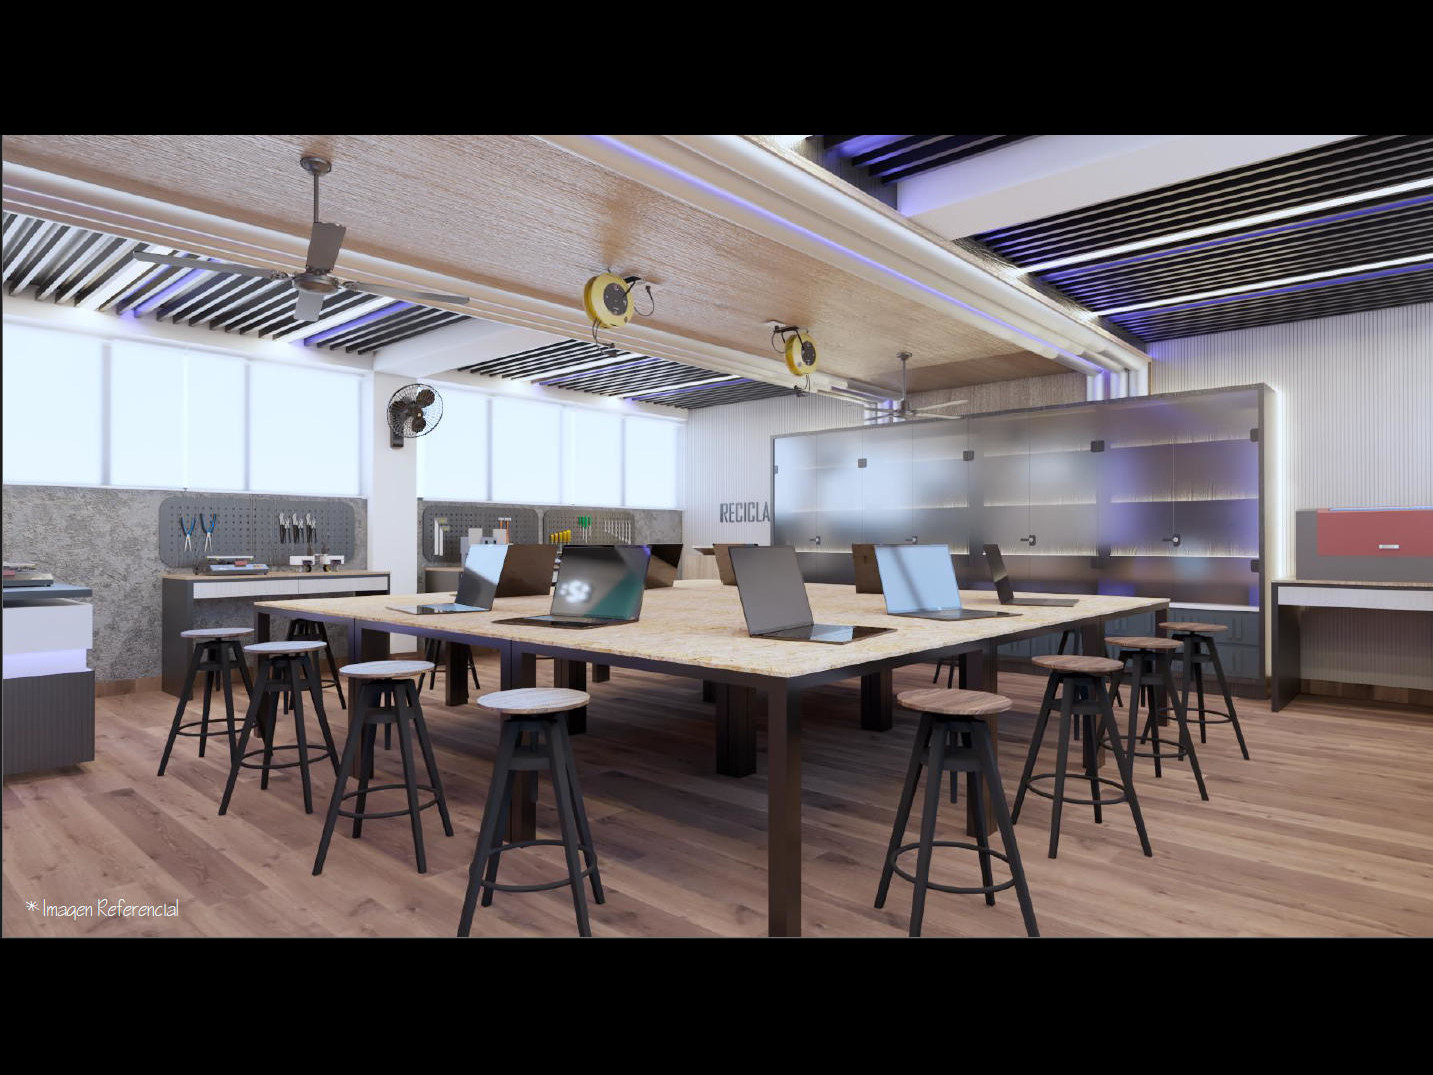
STEAM lab render
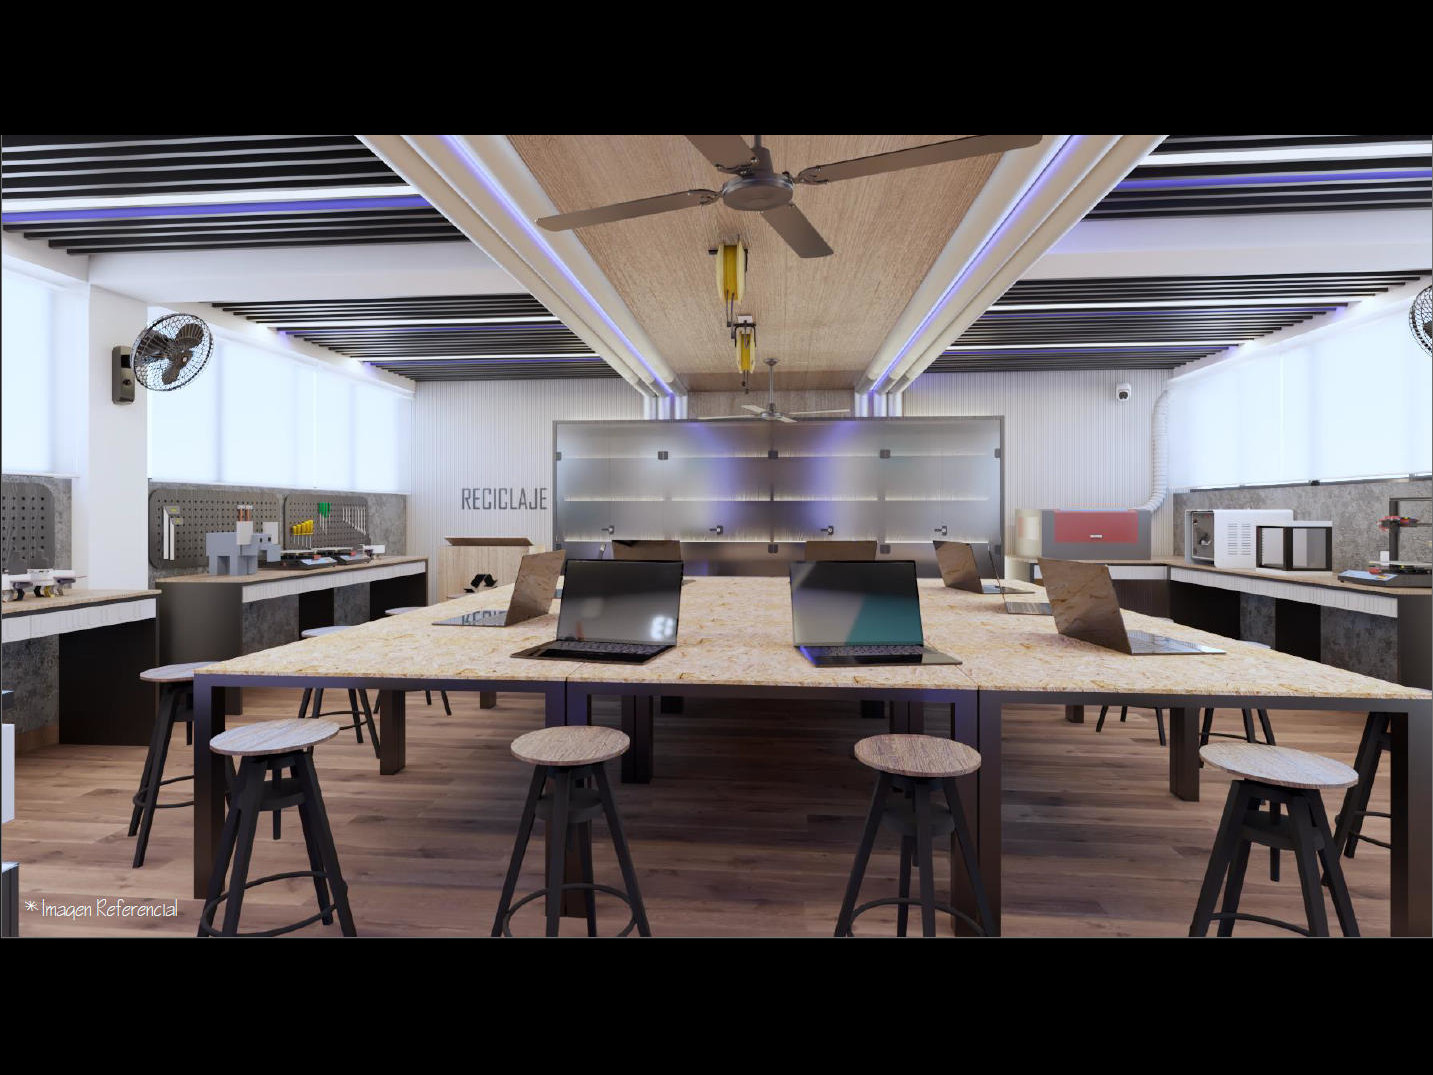
STEAM lab render
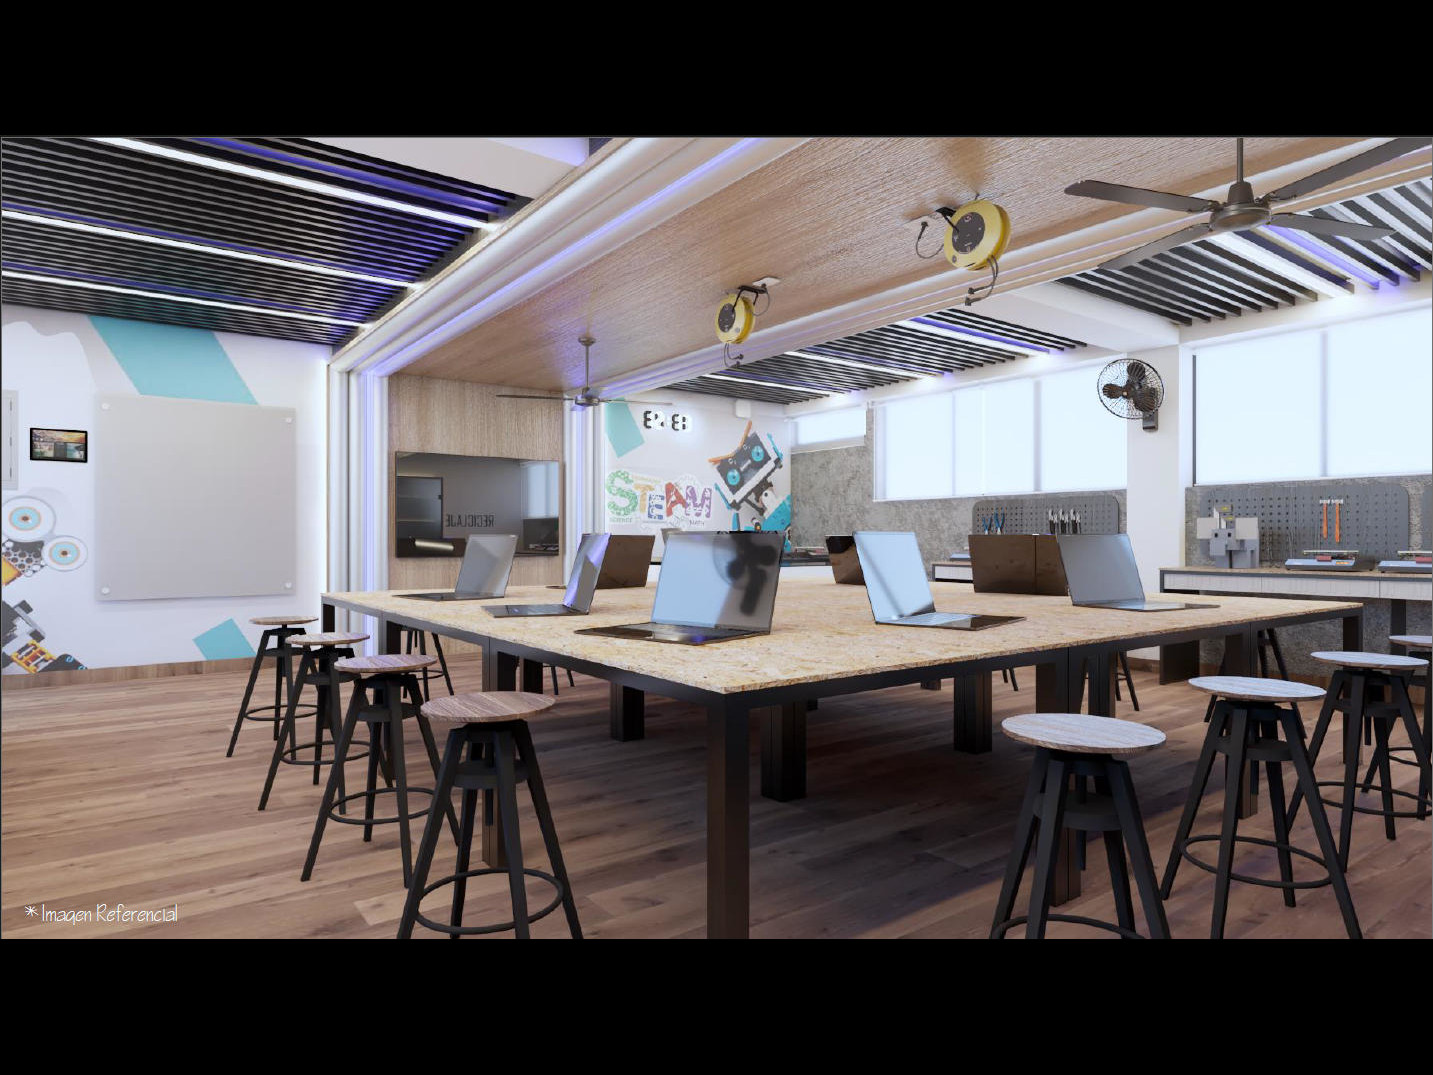
STEAM lab render
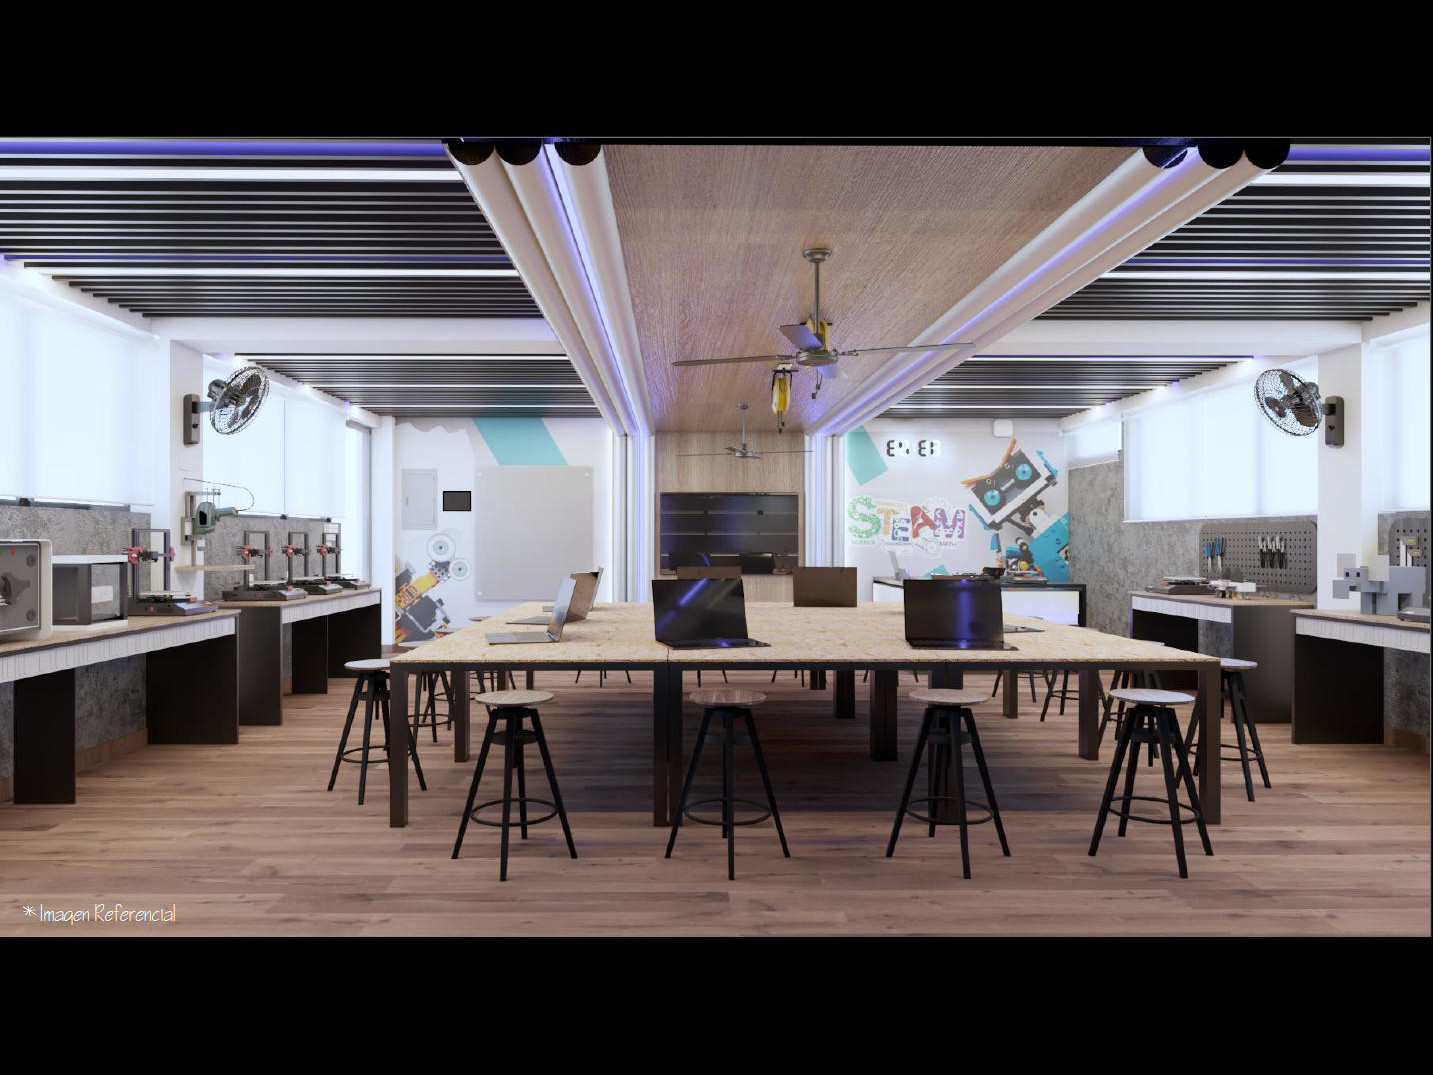
STEAM lab render
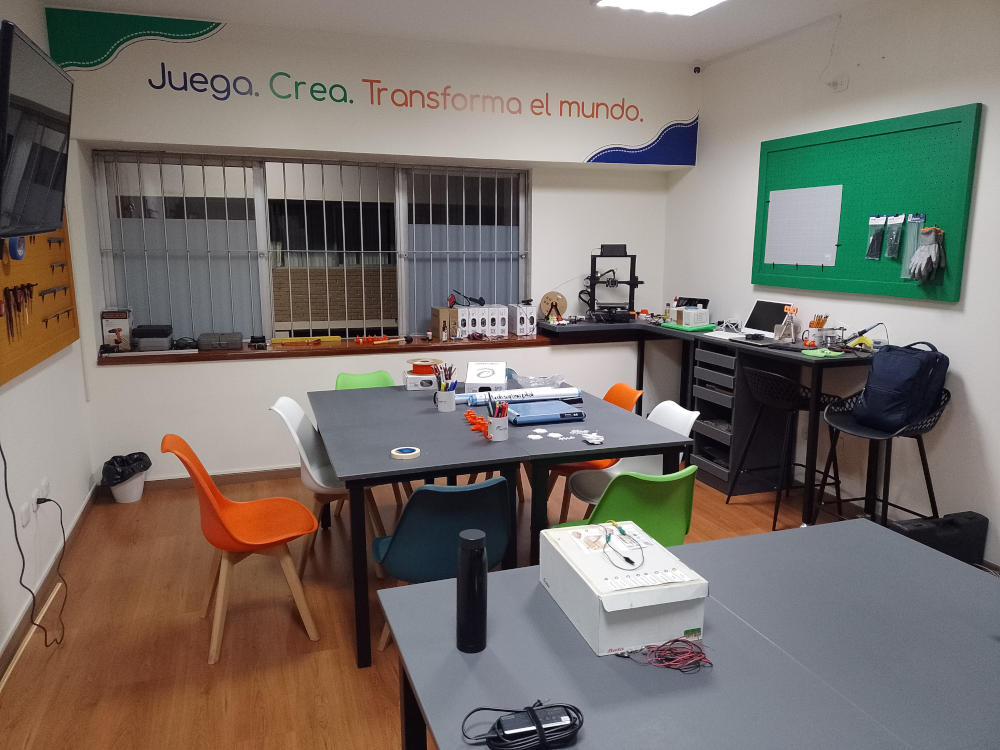
Maker space WIP
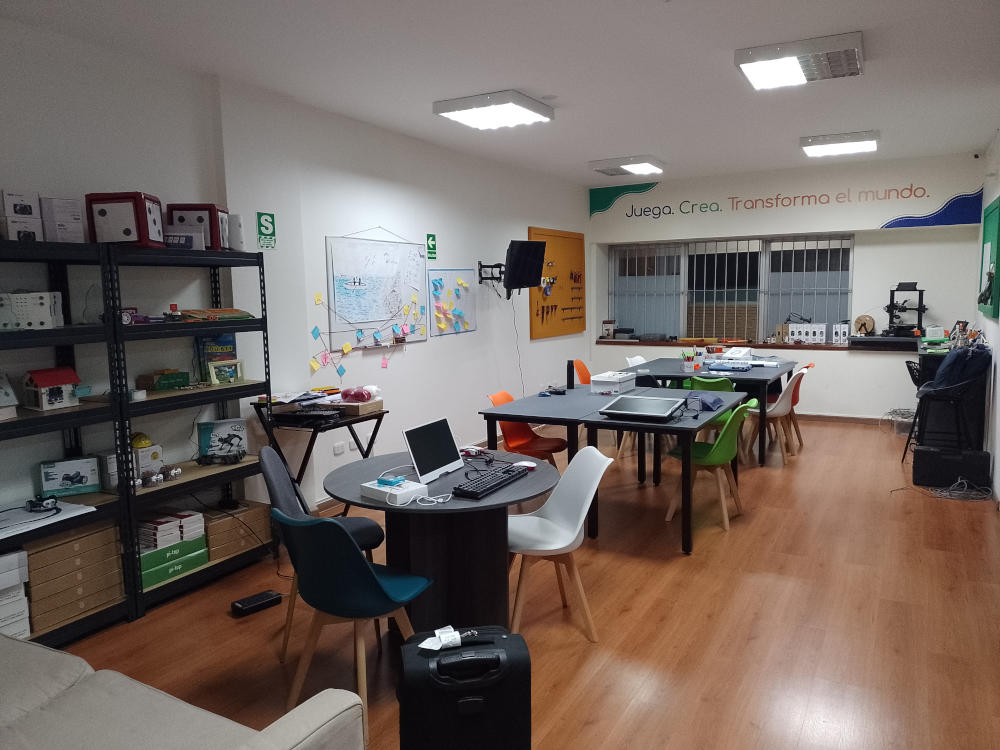
Maker space WIP
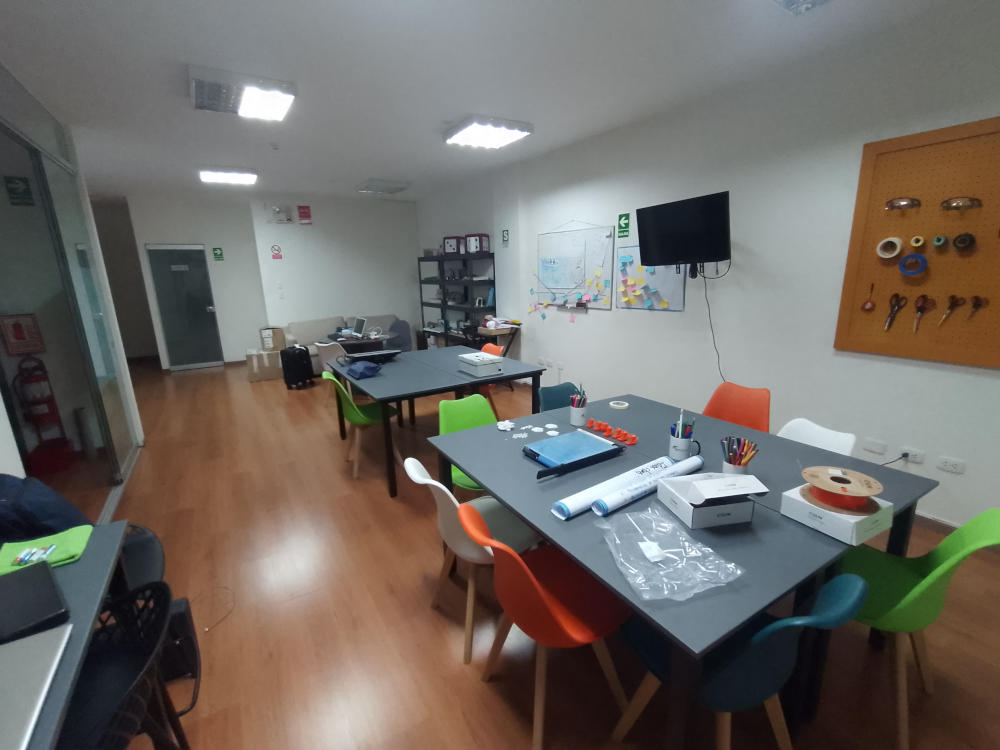
Maker space WIP
The task for the the second week is to program a microcontroller board, connect it to another device and communicate data generated or sensed.
For this task I decided to use micro:bit boards. The plan is to have one micro:bit placed outdoors sensing the UV index at different times of day and send that data to some cloud service. A second micro:bit will be placed somewhere else and programmed to periodically read the data made available by the first board. The idea of this setup is to have a system that alerts of UV levels outside of the classroom (or any other place at school) so students and teachers can take the necessary precuations before going outside, or even decide not to go outside if UV levels are too high. In addition, both boards will alert of the different levels using lights and sounds, in case somebody can't read the attached displays.
The components used in this project are:
- 2 microbit boards
- 2 Reka:bit expansion boards for micro:bit
- 2 16x2 I2C LCD displays with Grove connectors
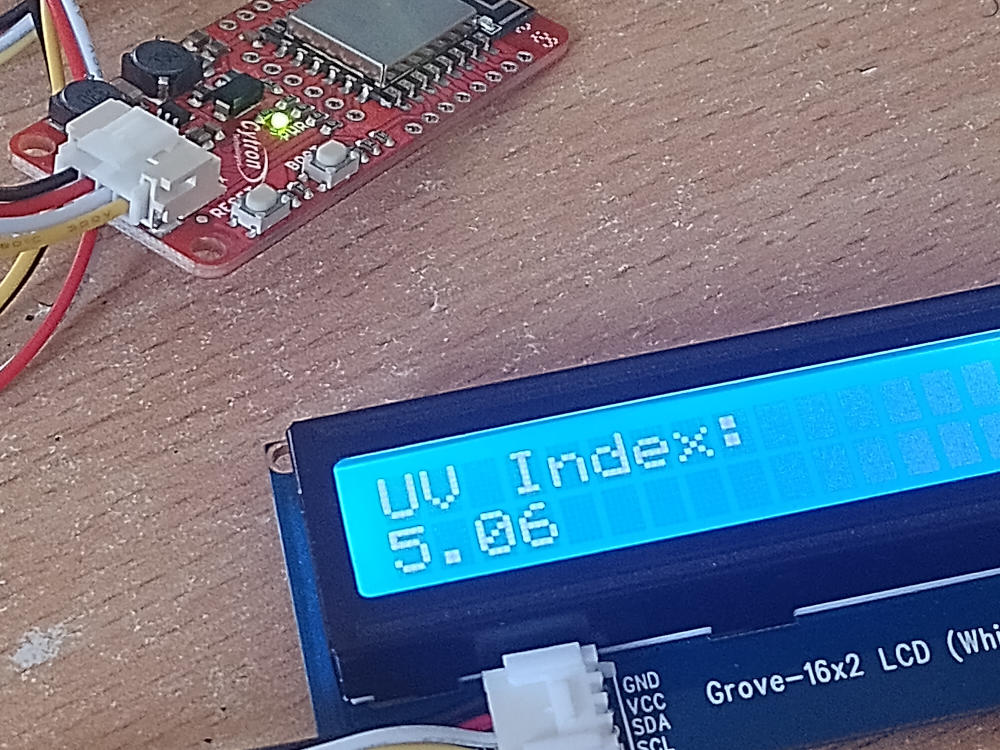
- 2 WiFi modules for micro:bit with Grove connectors
- 1 UV sensor with Grove connectors
- 2 4xAAA battery packs, or nay other suitable power source
- USB-micro USB cable for programming the micro:bit boards
- A user account at Blynk, the cloud service used as interface for connecting both boards.
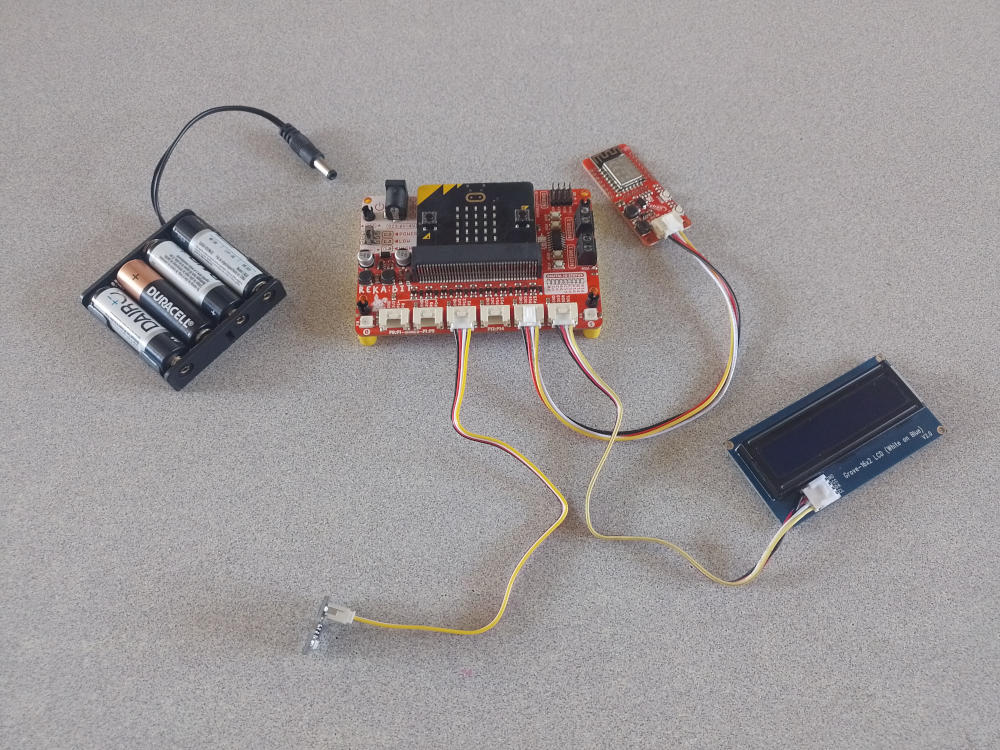
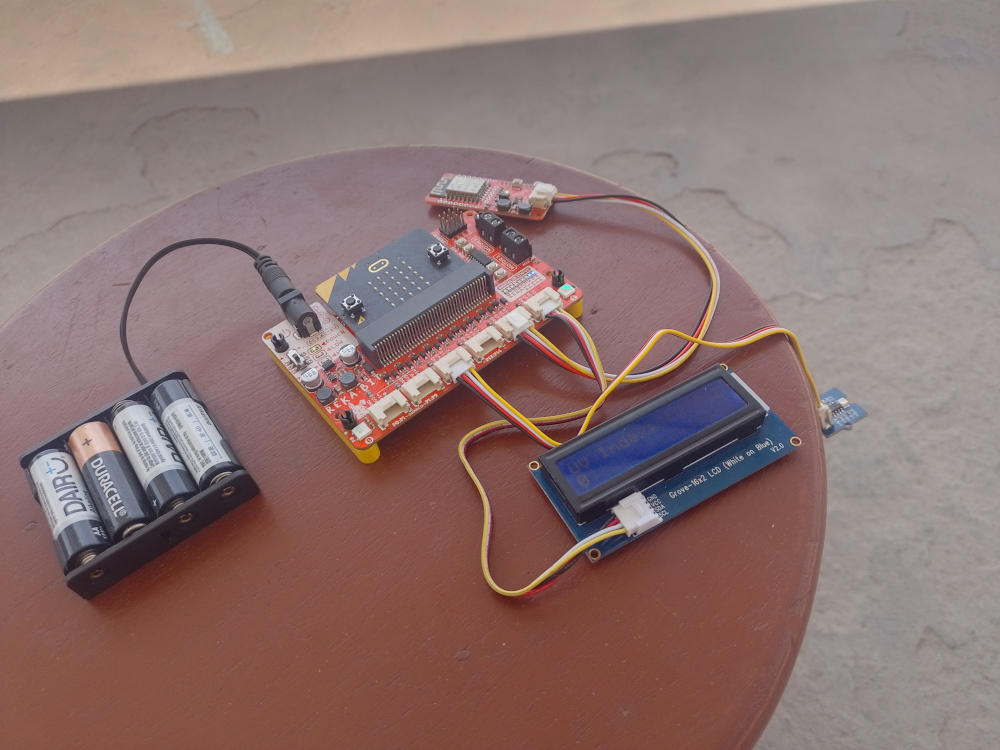
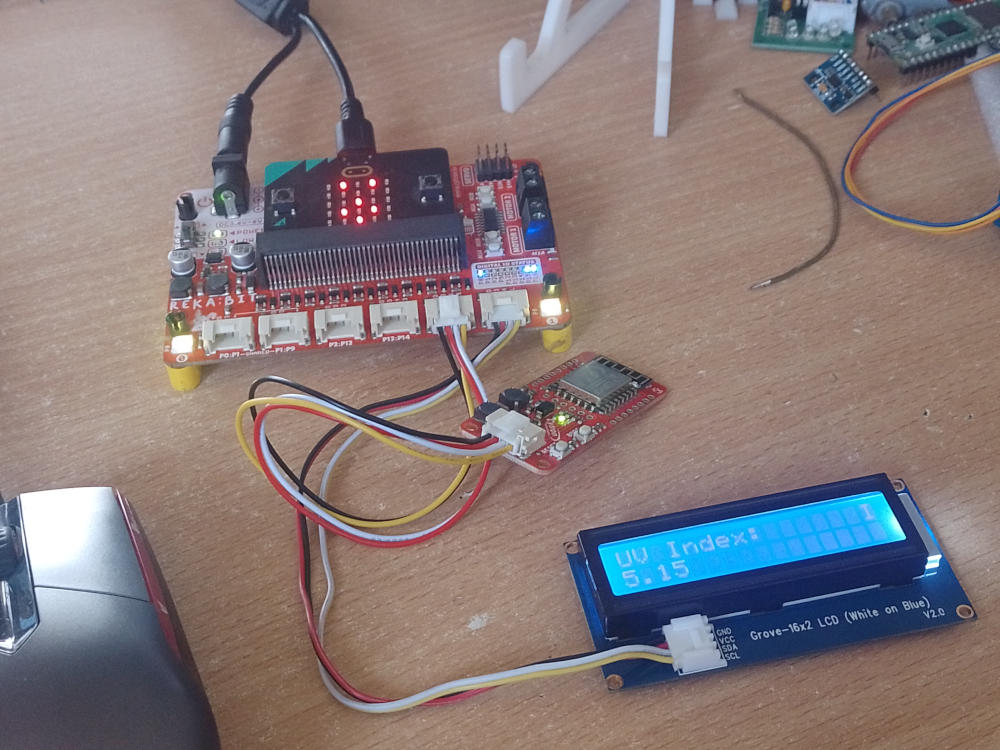
micro:bit, Reka:bit, LCD screen, WiFi module, UV sensor and baterry pack
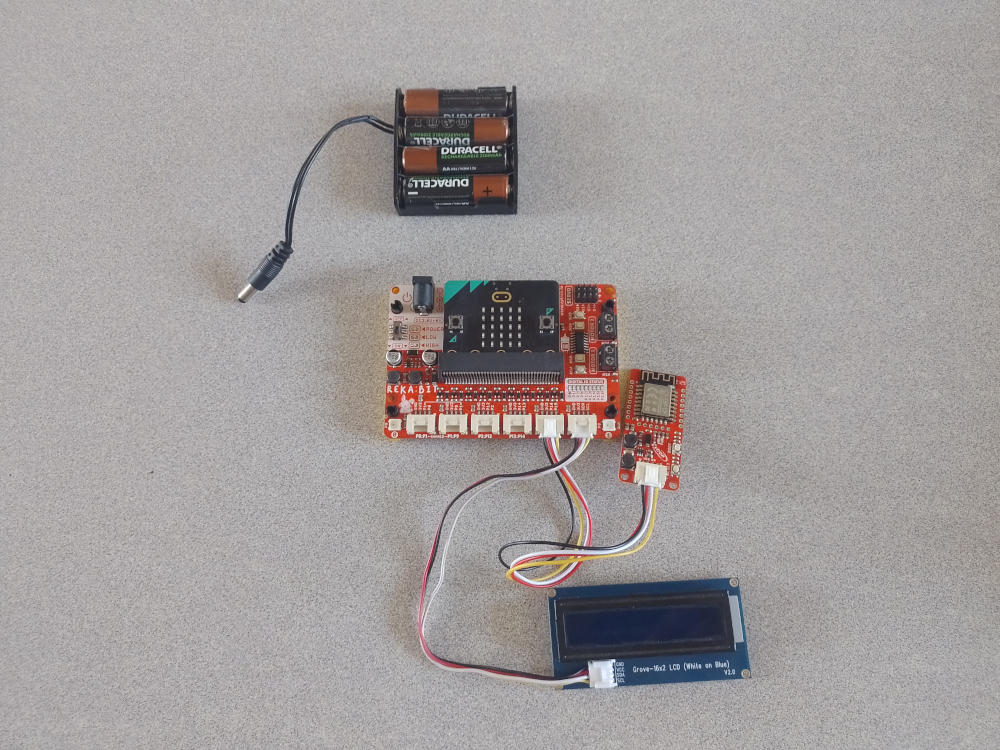
micro:bit, Reka:bit, LCD screen, WiFi module and battery pack
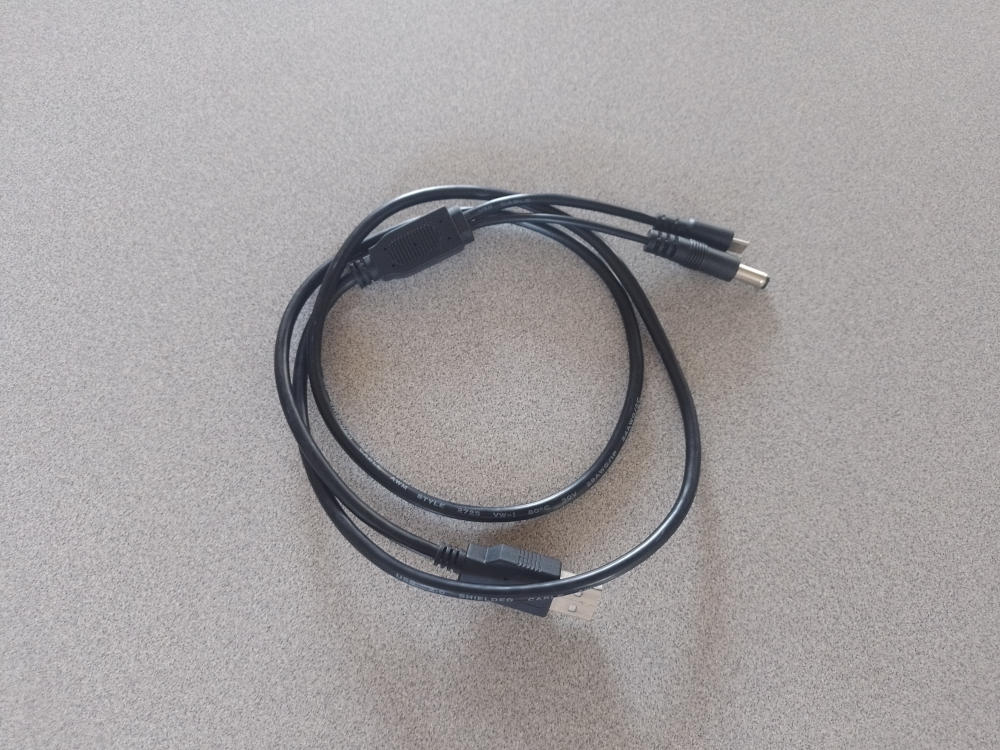
Usb to micro USB cable
The programming platform used for this project is Makecode. All programming was done using the blocks interface. After connecting to the Internet using the WiFi module, the UV sensing board gets, every five seconds, the UV level read by the sensor, does some calculations and transforms that reading into a standard UV index. It then stores the value in a local variable, shows the value on the LCD screen and also sends it to Blynk (the cloud service). In parallel, another part of the code reads the last produced value and turns the onboard RGB LEDs to different colors and makes some noises depending on how high the UV index is.
The "indoors" part of the system connects to the Internet every 5 seconds retrieves the last value received by Blynk. It then shows the value on the LCD screen and turns the onboard RGB lights to a color related to the level received.
Placing the system in the shadow
In the shadow UV index is 0
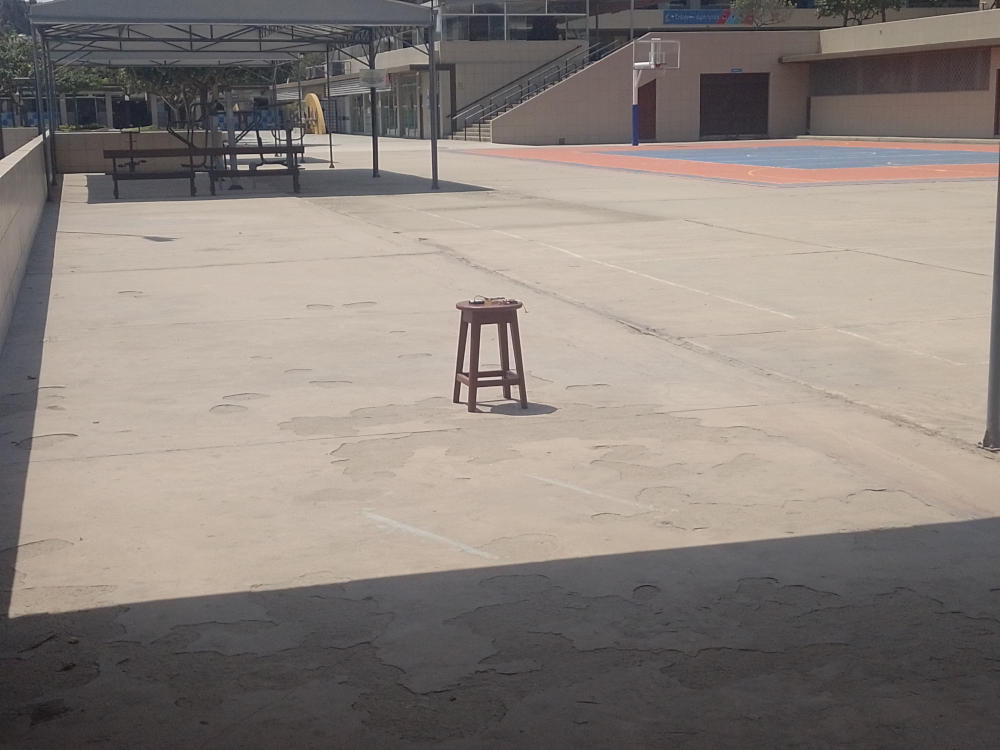
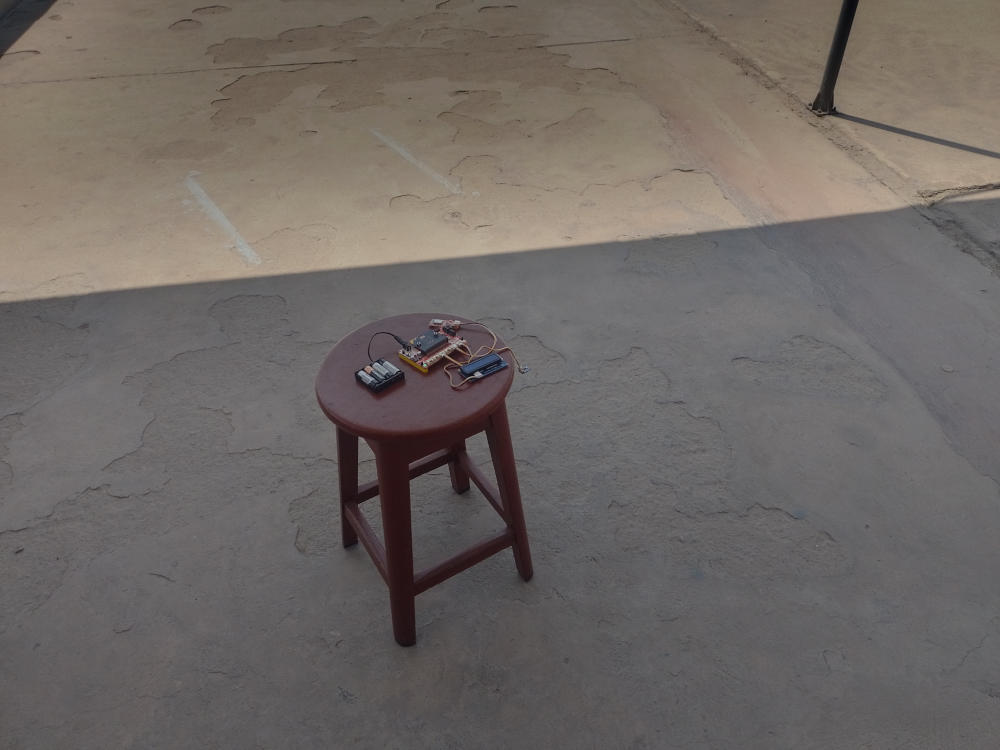
Placing the system under the sun around midday

The system under the sun
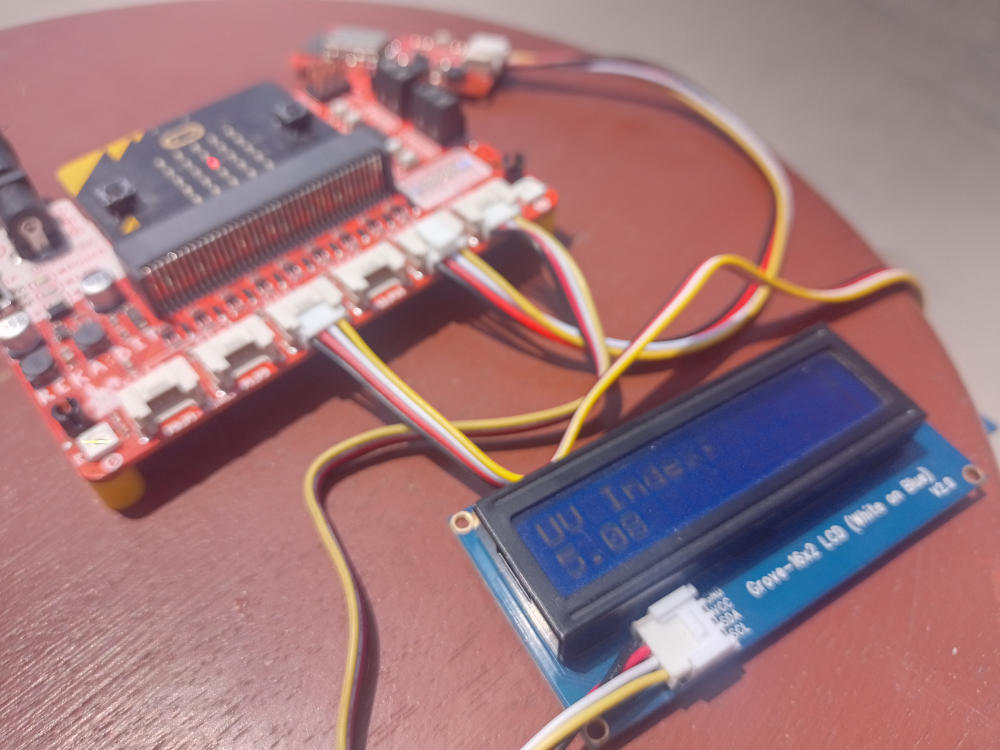
The system under the sun
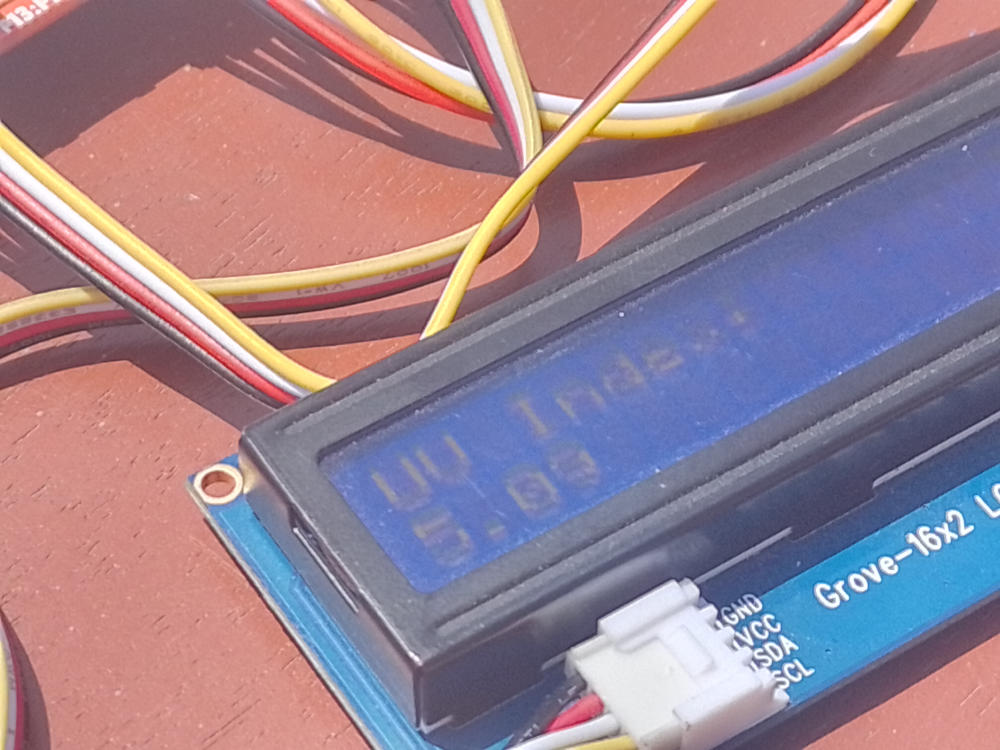
The system reports a UV index of 5
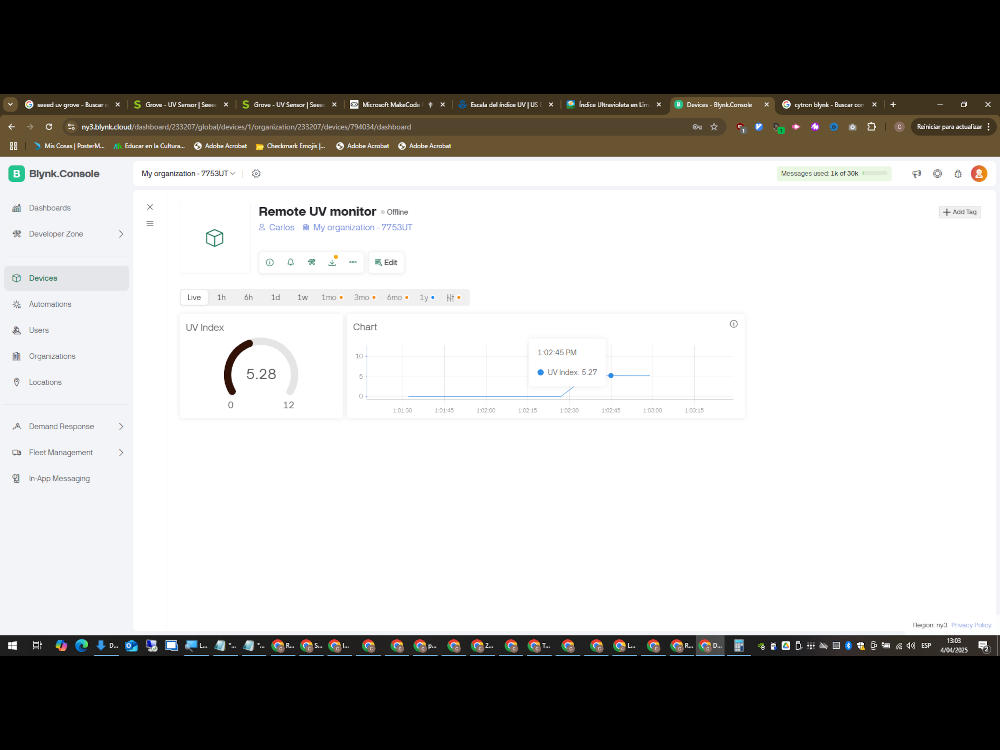
The cloud service receives the values produced by the system
The "indoor" system receives the data stored in the cloud...
... and displays in on the LCD screen
Here are the links to the code I used for this project:
If you want to use it, remember that you need to setup an account on the Blynk site. After setting up a new project there, retrieve the token and copy it on the appropriate place on the code for both the indoor and outdoor modules. You'll also need to setup WiFi access for both parts of the system - just add your WiFi SSID and password in the code.Reflection questions
Regarding collaboration in my local community, I have a very good relationship with some schools and universities and we are working together on some projects related to technology, digital fabrication and STEAM education. I hope that the implementation of my own makerspace will allow me to offer a space to further develop projects on those topics and have them open to the general public, be it children, young people, students or teachers that want to learn and get a hands on experience.
In my school we already have a makerspace, and although it is small, it has already captured the imagination of the students. What comes next is get other teachers to learn about the possibilities that arise when integrating some of the technologies that we have into their classes in an interdisciplinary way when develpoing projects. For the past few years I've already been integrating physical computing and IoT in my teaching and I'm sure that it can be a really powerful tool if students begin to apply those techniques and technologies in projects for other areas, or even better, in projects that include teachers from many different areas.
The Field Activity for module 4 was to to create a lesson plan involving robotics, physical computing or programming and test it in real educational environment. The lesson plan should include certain aspect of interdisciplinarity, multidisciplinarity or transdisciplinarity.
You can review the lesson plan I created for this Field Activity using this link.
Below you will find a small video showing some of the finished models built by my students as part of the activity.
For assesing students understanding after the activity, I propose the following assesment tool, which includes aspects of both areas involved (Technology and Science):
| Assesment type | Expected outcome | Bloom level |
|---|---|---|
| Observation during gardening tasks | Students identify the challenges in maintaining a garden (watering needs, pest control, lighting, etc.) | Analyzing |
| Activity log | Students document steps taken during gardening tasks, problems encountered and thoughts and ideas on what can be improved with technology | Understanding, Analyzing |
| Design sketches | Students use CAD software or other tools to create a model of the greenhouse and include spaces for automation systems | Applying, Creating |
| Review of model plan | Students give and receive feedback on their design plans and proposed automation systems | Evaluating |
| Prototype construction | Students build a model with working automation system using different materials and tools | Applying, Creating |
| Final demosntration | Students show the working model and exlain what it does and how it works, along with plans for improvement | Applying, Creating |
| Self and peer assesment | Students reflect on their contribution, teamwork and what they have learnt during the project and provide constructive feedback to others | Evaluating |
This activity is aligned to the following competencies of the peruvian National Education Curriculum:
-
Area: ICT (Cross-curricular Competency)
Competency 28: Effectively navigates virtual environments generated by ICT. This involves the student interpreting, modifying, and optimizing digital environments to create objects, collaborate, and manage information.
Associated capacities:
- Customizes virtual environments.
- Manages information within virtual environments.
- Interacts in virtual environments.
- Creates virtual objects in various formats.
Learning standard for Cycle VII (Secondary):
“Effectively navigates virtual environments by optimizing their strategies for participation, creation, knowledge construction, and expression of individuality…” -
Area: Science and Technology (for the example given in the activity)
Competency 22: Designs and builds technological solutions to solve problems in their environment.
The student is capable of constructing technological objects or systems based on scientific and technological knowledge, responding to contextual problems with creativity and perseverance.Associated capacities:
- Determines a technological solution alternative.
- Designs the alternative (structure, functionality, requirements).
- Implements the alternative (assembles, tests, and verifies).
- Evaluates and communicates the functionality and impact of the solution.
Learning standard at the end of Cycle VII (Secondary)
“Designs and builds technological solutions by justifying the scope of the technological problem and its possible solutions based on scientific knowledge... Verifies functionality and makes adjustments.”
Reflection questions
-
How did you collaborate with your partner? What did they contribute and how did their perspective influence the lesson?
When we first spoke about the activity the idea was to have a more tight collaboration - she would have our students do gardening tasks and they would use programmable boards with sensors to measure different environmental variables to see how those affect the plants. But because of time constraints and our inability to coordinate our schedules we couldn't do what we wanted to. In the end the project was divided into 2 phases: one, in which she first worked with the students planting and growing, and the other in whci the students built their automated systems in my classes.
-
What instructional challenges did you encounter and how did you address them? How are diverse learners supported?
One of the main challenges we had was that of students not knowing how to work collaboratively. It happened that in some groups one student would wanto to do all the work for the electronics, programming and construction tasks and found difficult to let the others express their opinions or try their ideas to solve problemas, even when that one student was facing a problem that didn't know how to solve.
Regarding diverse learners, during the activity we tried to make sure that everyone had something to give to the project and the team, so everyone's input is clearly shown in the final product or in the documentation that accompanies it. But again, it is always a challenge when in the same group some students are not willing to "wait" for those who go at a different pace, so monitoring and support in every sessions is important to make sure that every student is being an active part of the project, even if not at all moments.
-
Where does your lesson fall on the disciplinary integration continuum? How might you evolve it further?
The lesson can be easily done in a transdisciplinary way, even if when I did it it ended up being done in a multidisciplinary way.
-
Did you use AI during the process? If so, how?
I didn't, but some students used AI to get ideas and as a programming aid.
-
How has your teaching changed during the course? What would you like to learn more about? How can you support other teachers?
I have learned a lot about the different ways in which making can be applied in the educational environment—not as an end in itself, but as a tool that can enrich classroom dynamics and the learning process. I now have a clearer understanding of the differences between the various levels of the Digital Fabrication Continuum, and I’ve discovered new technologies and tools that I hope to use in the near future, such as biomaterials. These also present a great opportunity for transdisciplinary work, and I hope to inspire my fellow teachers to explore the maker world and embrace its advantages—all to ensure that students’ learning journeys are meaningful, engaging, and transformative.