M2 Week 2
Assignments
Option 2: Use any of the tools presented in the master class (see Tools to create 3D shapes with laser cutters below), and create a 3D object using any of the joint techniques presented: finger joints, stacking… You can use either a CAD tool to build your 3D object, or you can use any of the tools to build objects such as boxes.py. Put all the parts together, and snap a photo. If needed, don’t be afraid of using e.g. glue.
Show a picture of your creation in your learning diary. You can add a few pictures and a short explanation of the process if you like.
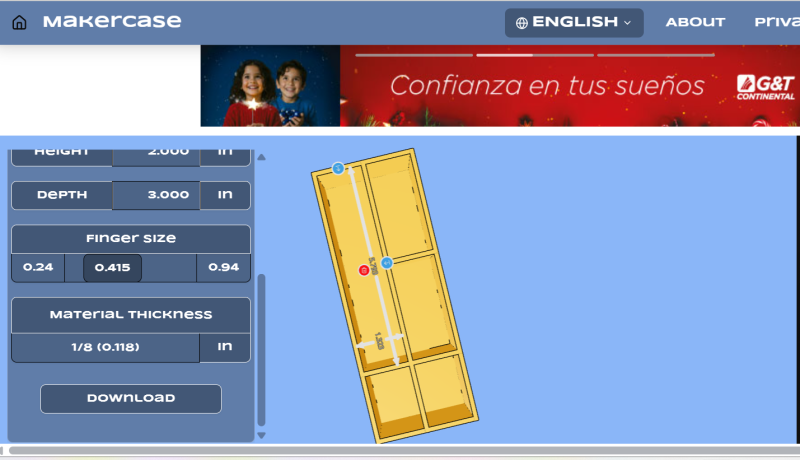
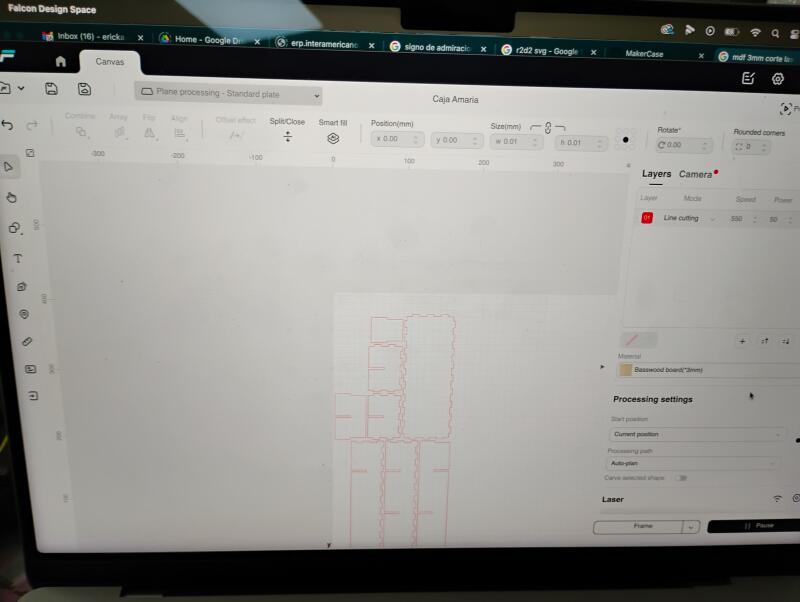
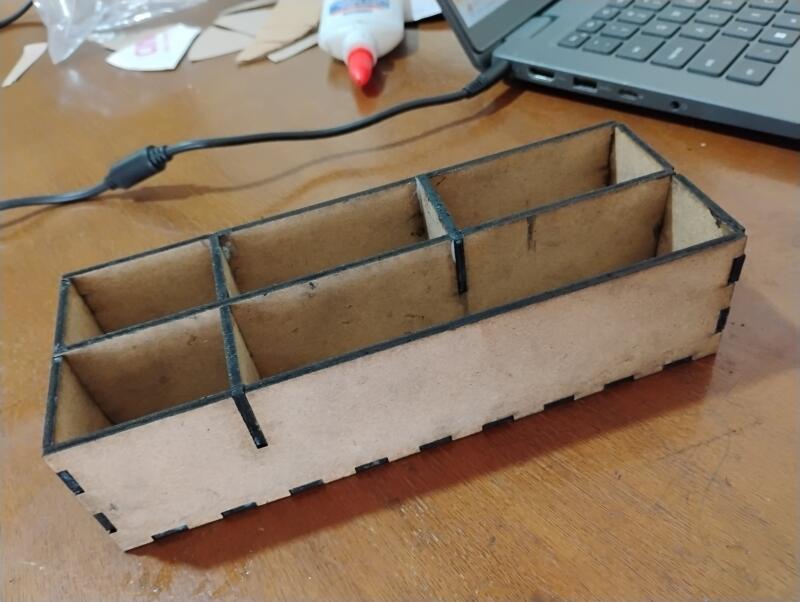
I utilized a laser cutter to fabricate a six-sided box. I designed the pieces using Makercase, which provided a valuable introduction to web-based CAD software. During the production phase, I encountered technical challenges when the laser failed to penetrate the material on the first attempt. Through iterative testing and assistance from Ericka, we calibrated the machine by increasing the power settings and implementing multiple passes (repetition). To ensure safety during the process, I utilized the protective red shielding to prevent direct eye exposure to the laser beam. This experience underscored the importance of machine calibration and safety protocols in digital fabrication. Through testing, I discovered that standard white craft glue, while functional, resulted in fragile joints that lacked the necessary structural integrity for these projects. I found that wood glue is a far superior alternative, as it creates a much stronger, more durable bond between the laser-cut pieces.
**Answer the following reflection questions:
**How can your press-fit / 3D object be used in education? How could other teachers use it?
Initially, I explored the use of press-fit joints and 3D modeling to create prototypes for a unit on biomimicry. My first objective was to design a 3D model of a ‘Roly-Poly’ (isopod) to study how its biological structure allows it to roll into a ball for protection. However, during the design process, I realized that the complexity of the articulating segments would require more time than the current project timeline allowed. This led me to pivot to the six-sided box construction, which provided a more immediate and successful structural result. While I adjusted the scope for this specific task, I see immense potential in using these tools to create specialized machine parts or complex biological models in future learning experiences and other teacher to design their own teaching materials or to promote a PBL experience with students.
How could you integrate it into an activity that aligns with your curriculum or standards?
In digital fabrication, every artifact created must serve a clear educational purpose, ensuring that students are gaining deep conceptual knowledge rather than just producing a physical object. My methodology integrates the Engineering Design Process (EDP) with NGSS standards to provide a strong framework for these creations. Looking forward, I see a rich opportunity to design 3D Mayan pyramids. This project would allow students to explore the intersection of advanced ancient architecture, mathematical precision, and cultural history. By constructing these models, students can move beyond 2D diagrams to experience the scale, geometry, and engineering ingenuity of the Mayan civilization in a hands on three-dimensional way. The standard that this activity can addres is: K-2-ETS1-2. Develop a simple sketch, drawing, or physical model to illustrate how the shape of an object helps it function as needed to solve a given problem.
Have you ever built an education portfolio? Why or why not? What could be the possible advantages?
Not yet but I would love to do it and learn how to make one that fits into a fab lab teacher experience besides the one I am creating now as a diary. The biggest win of keeping a portfolio is that it lets me professionally document all the evidence, wins, and even the ‘fails’ I’ve collected throughout my career. It’s more than just a gallery; it’s a way to track my insights and experiences as my teaching practice constantly evolves. Having all that proof in one place really supports my growth and shows exactly how my methods have shifted and improved over time.
**When you execute a learning activity, how do you evaluate its success? How do you keep track of possible modifications or improvements? Do you include them in your education portfolio or learning diary? **
I approach assessment through both objective and subjective lenses, focusing primarily on how students evolve through the learning experience and the creative process. To capture this growth, I utilize a blend of formal rubrics and summative assessments, alongside continuous qualitative measures such as direct observations and interviews during the construction phase. A unique advantage of my position is the ability to track student development from 1st through 5th grade. This relationship allows for meaningful exit interviews in their final year, where I engage them in informal dialogues about their most impactful projects. It is fascinating to hear them recap these experiences, as they consistently identify the projects that were most personally meaningful, articulating exactly how those challenges shaped their understanding over time.
Tools
Laser cutter