Week 4
Assignments
- [ ] Task 1: [Design a simple electronic circuit using a simulator]
Process
- Steps followed
- This activity was done together with my students. In second grade, we start learning about circuits and computers. The students create their own computer out of paper. They learn about the basic hardware like screen, keyboard and touchpads. I take this opportunity to teach them about circuits and how they help our computer work. I give them a small led lightbulb, a button battery and some copper tape. Together, we create a circuit to “turn on” our computers.
The learning goals for this activity are:
Identify the basic components of a simple electrical circuit Construct a working paper circuit. Explain how electricity flows in a closed circuit. Apply creativity and design thinking to technology projects.
- Photos / screenshots of key stages
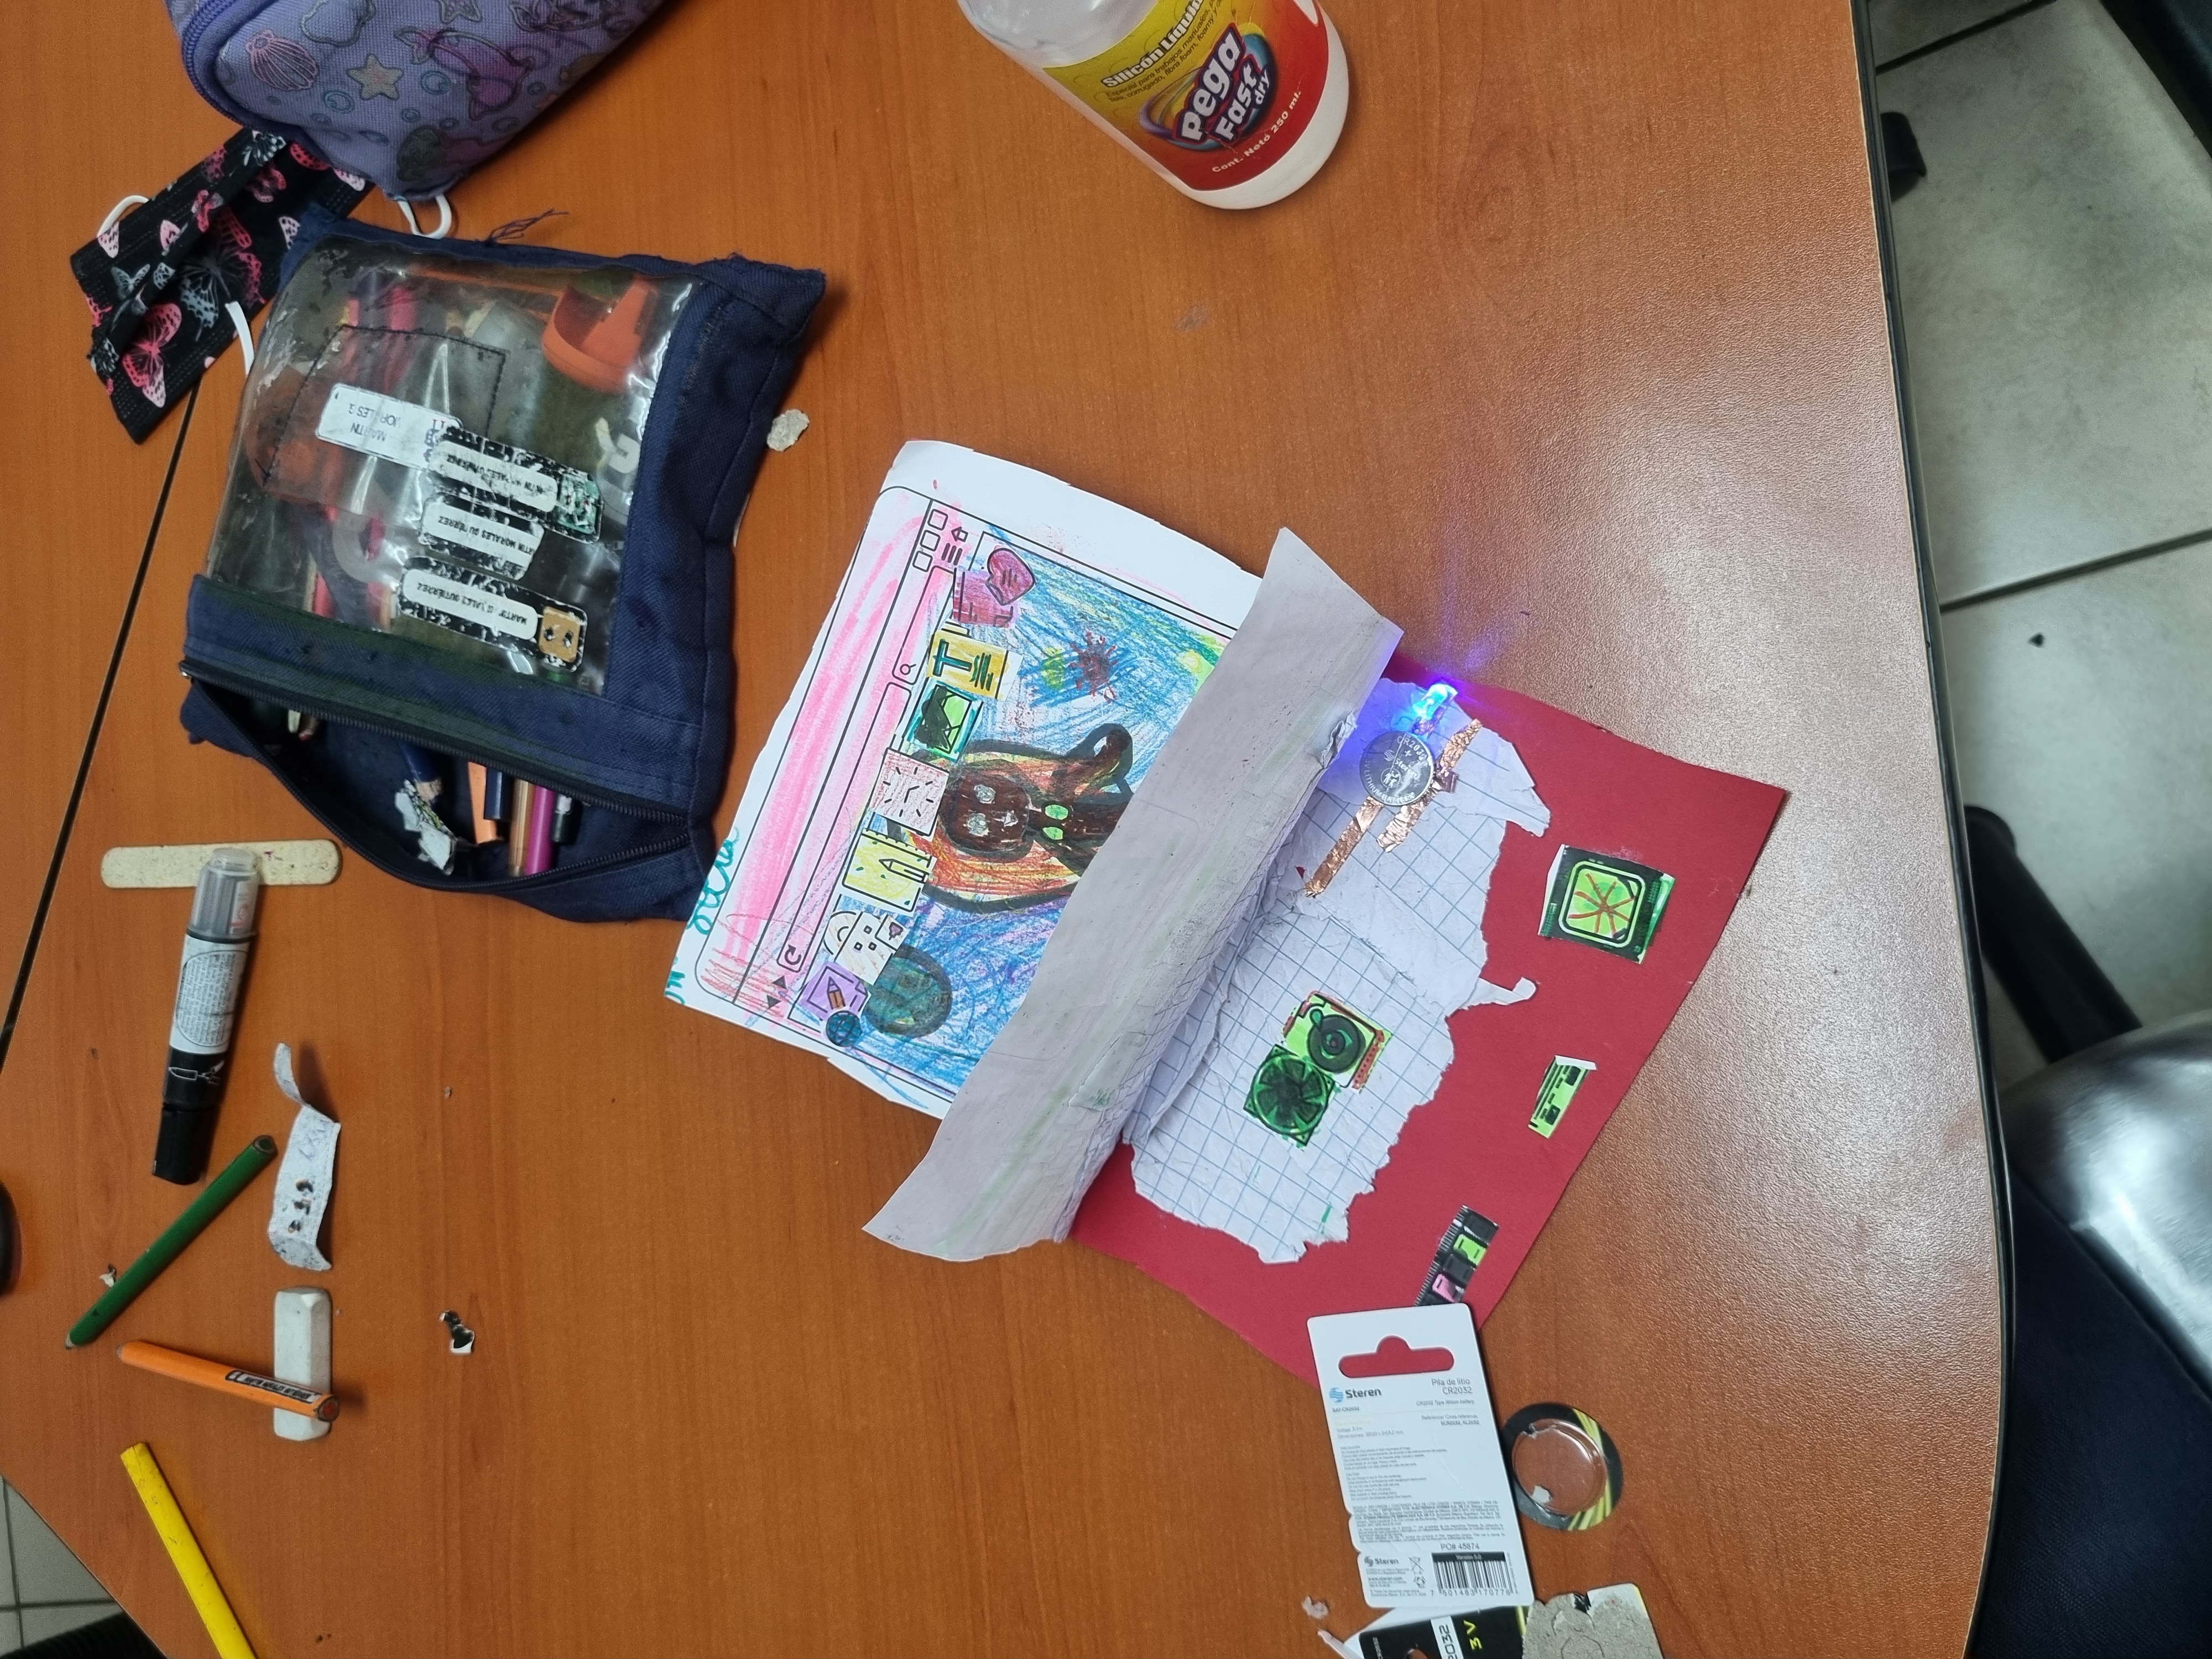
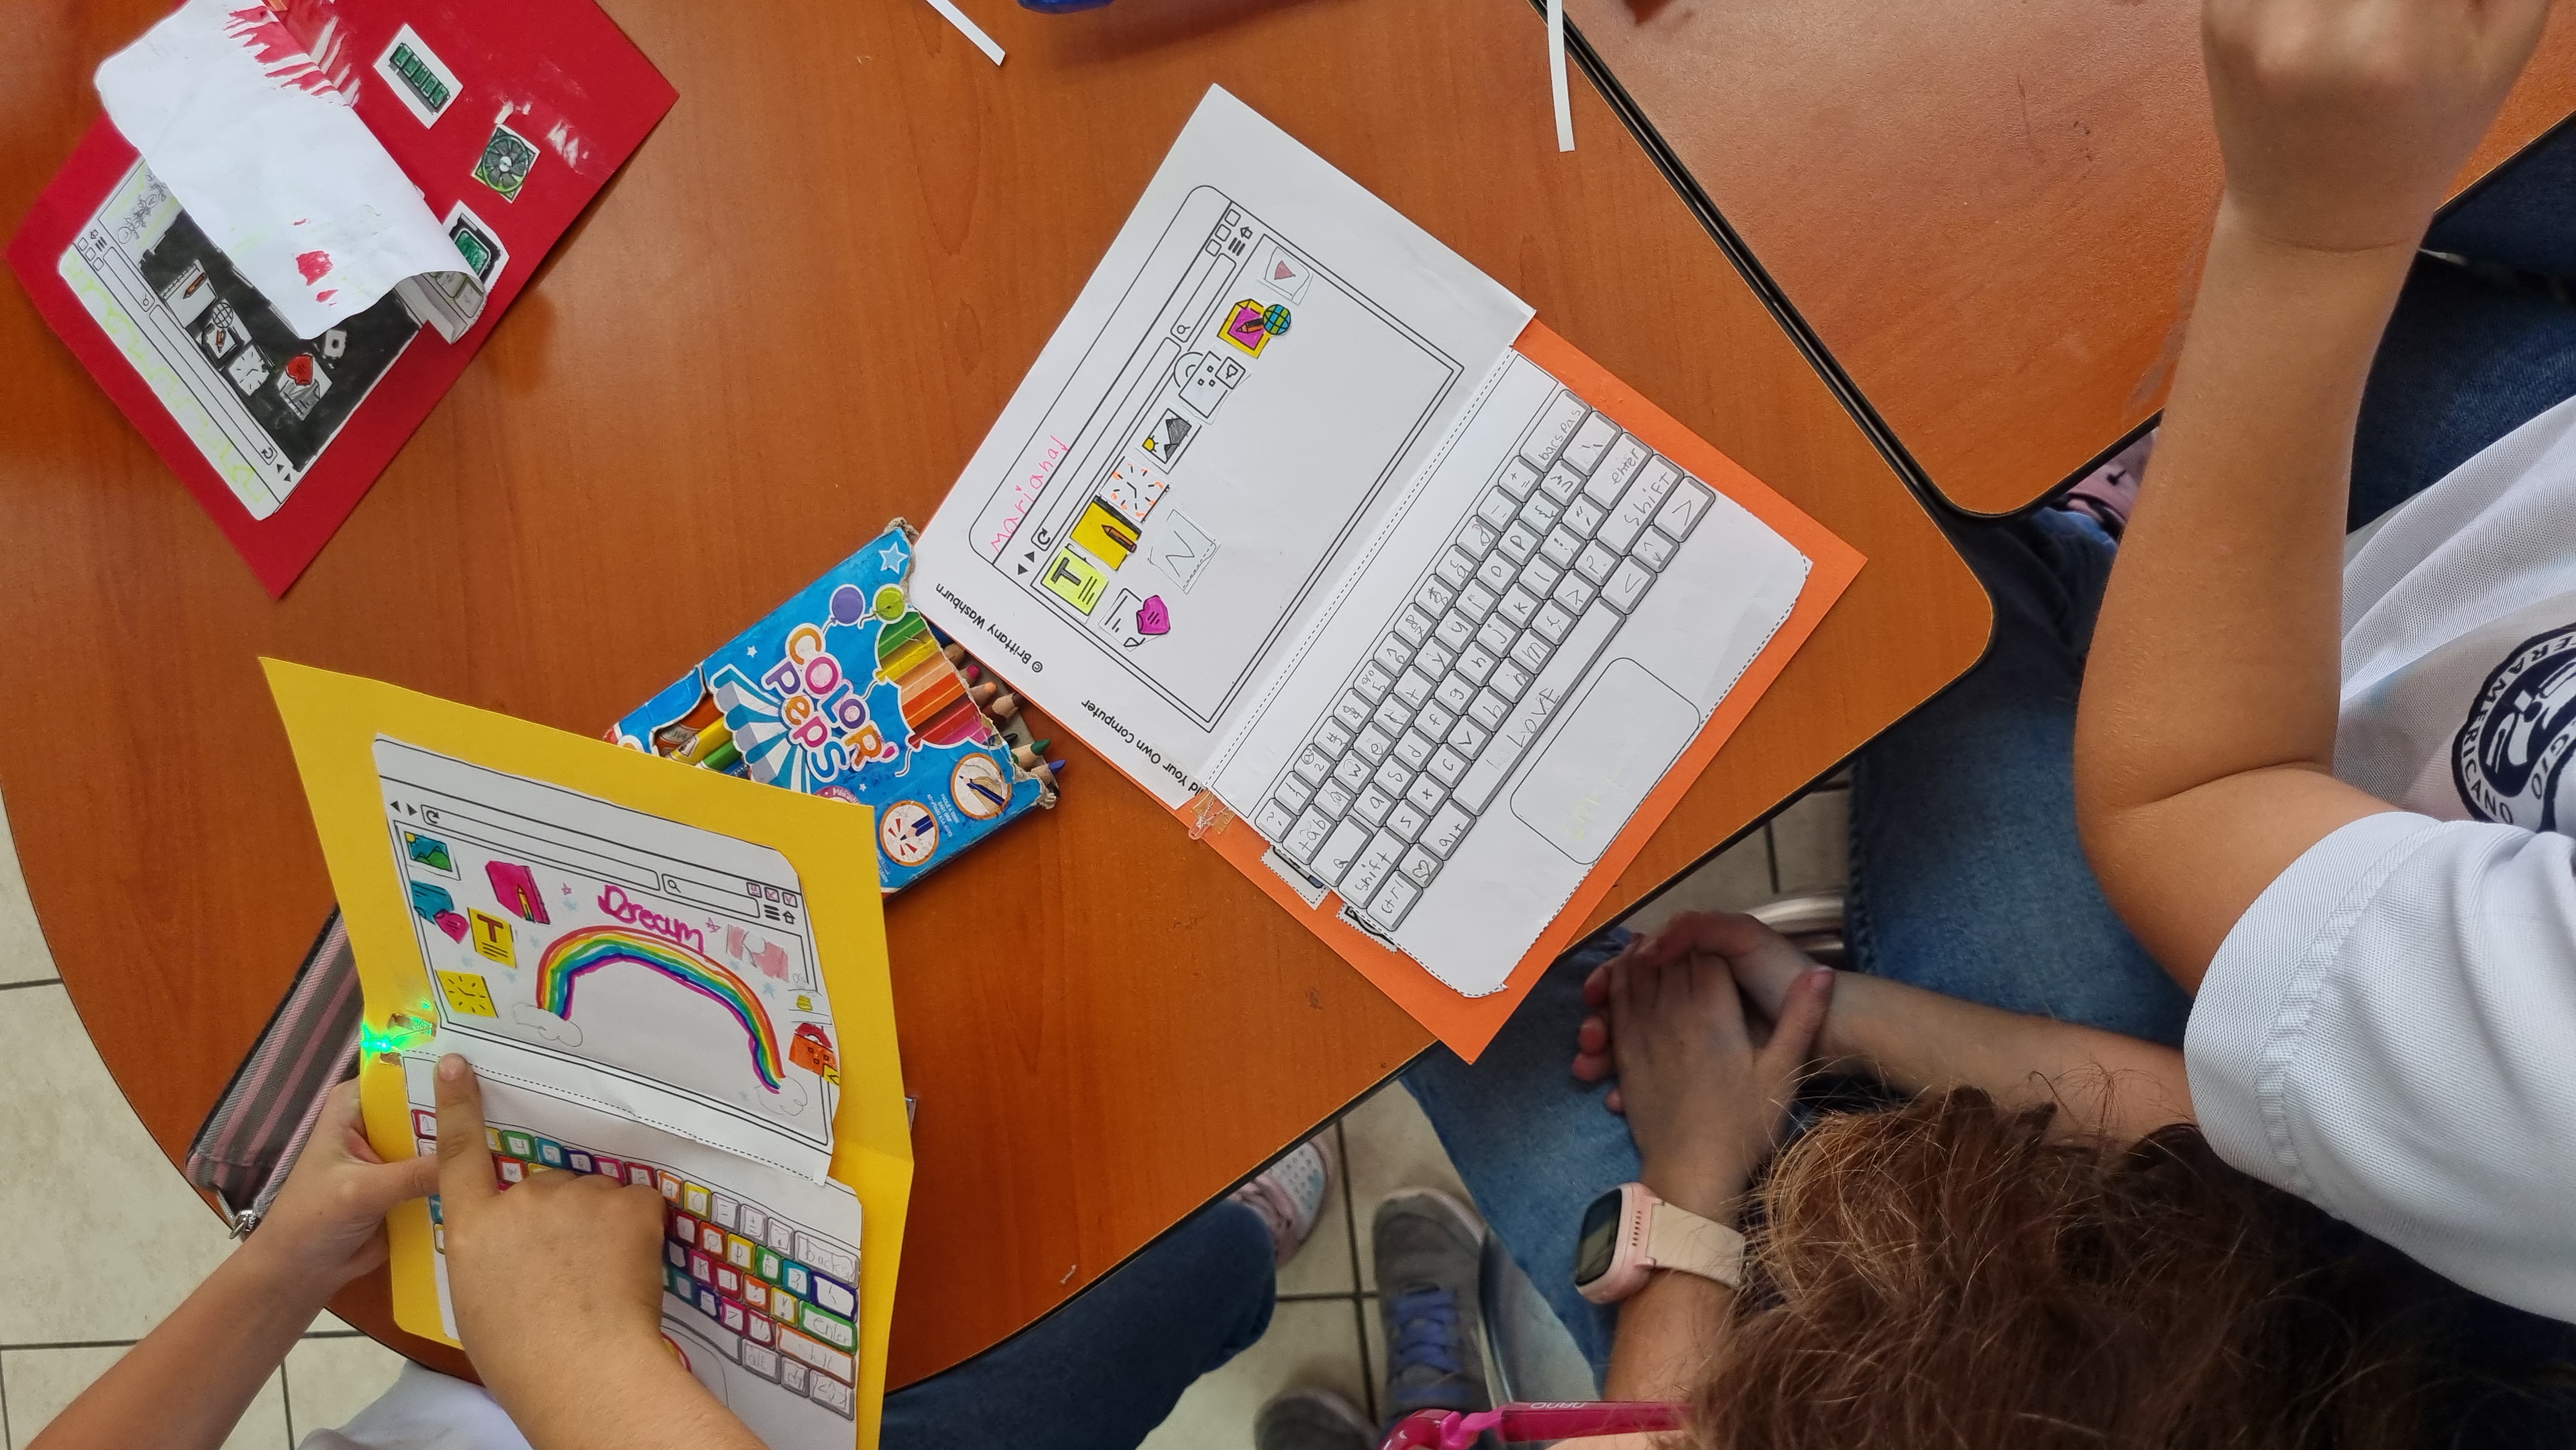
Challenges and solutions
Reflection
- Key learnings
- What are the challenges of using electronics in your space? How can this support your students in learning classroom content? – I believe that the wow effect that electronics has in small kids or in kids in general is a great part of the learning process of my students. Being able to do something that amazes them and being able to keep it and show it at home helps students internalize the learning that was done during class.
- What has been your experience using Project Based Learning / Problem based learning in the past? What were the main challenges? –Project based learning is one of the main focuses they have in the school where I work. Being able to work in groups, in either short or long projects is a big expectation of the school. However, last year I tried problem based learning in which I gave students a problem (a bug is out in school and we need to catch it to study it) This opened their minds to a lot of learning since they were very interested in solving a “real” problem. They all have a common goal which re makes it easier to work as a group.
Reflection about the field activity - How well did the activity align with your intended curriculum or standards, and what adjustments (if any) would strengthen this alignment? – For this lesson I tried to allign it to the topics that I already have. The adjustments I had to make were mostly reminding students about topics we had already learned. During our year, we laearn about stars and space, so I just had to expand a little more on the topic of constelations. This made it easier for me and for them because it was a familiar topic. - In what ways did students’ ZPD guide your decisions about pacing, scaffolding, or complexity of the activity? – Students work within their Zone of Proximal Development by first observing a teacher demonstration, then constructing the circuit with guided support, and finally completing troubleshooting independently as confidence increases. Teacher questioning and peer collaboration provide temporary scaffolding that is gradually removed as students gain competence. - What supports did you provide in the lesson plan to support diverse student needs? How did these supports work in the overall lesson? During the lesson, I supported diverse student needs by demonstrating the complete circuit before students begin, providing a printed circuit diagram, modeling how to correctly orient the LED, checking each group’s circuit before the battery is attached. All these different ways of stupporting students helped the lesson plan feel and transition in a more smooth way. Students felt more confident and ready to continue and had the sense of having support when needed. It also helped me into guiding students through troubleshooting questions instead of immediately providing solutions. - After testing the lesson, what changes would you make to better meet diverse learner needs or to better maintain the learning objectives? – This lesson plan was done by me with the students of my classroom I asked an AI to give me feedback and these are the corrections, which will be taken into account and included in future lessons. Begin with a live demonstration of assembling and testing the complete circuit before students start working independently. Add close-up photographs of both a correctly assembled circuit and common mistakes, such as reversed LEDs or broken copper tape connections. Include a troubleshooting checklist that guides students to check battery placement, LED polarity, tape connections, and circuit continuity before asking for help. Prepare a few partially assembled examples for students who need additional support, allowing them to focus on understanding the circuit rather than becoming overwhelmed by assembly. Create an optional extension activity in which early finishers design their own constellation or modify the circuit by adding a homemade paper switch. Allow an additional 10–15 minutes for testing and troubleshooting, as this was the portion of the lesson where students learned the most through trial and error.
- The Field Activity included the following standards – PS4-4: Use tools and materials to design and build a device that uses light. PS3-4: Apply scientific ideas to design, test, and refine a device that converts energy from one form to another. PS1-3: Make observations and measurements to identify materials based on their properties.