Week 2
Assignments
- [ ] Task 1: Design and cut a sticker (or heat transfer) for your classroom/context that reflects your understanding of the maker mindset /maker movement in education.
- I have considered a standing problem with students during project workdays, where multiple hands might go up at once to ask for specific help. I have started asking folks to approach the board and write their names, but that is dependent on the availability of a marker, and also takes time, consumes resources, and requires additional maintenance (one has to erase names, then of course names must be rewritten as students re-enter the queue at later points).
- My concept will use the vinyl cutter to make a quick set of nametags which can be attached to magnets and stuck to the board as needed. The notion limits the need to write and rewrite, such tokens can be easily repositioned as the list shifts, and since the tags would be reusable, reduces consumption of marker ink and the inevitable board cleaning solution.
Process
- Steps followed
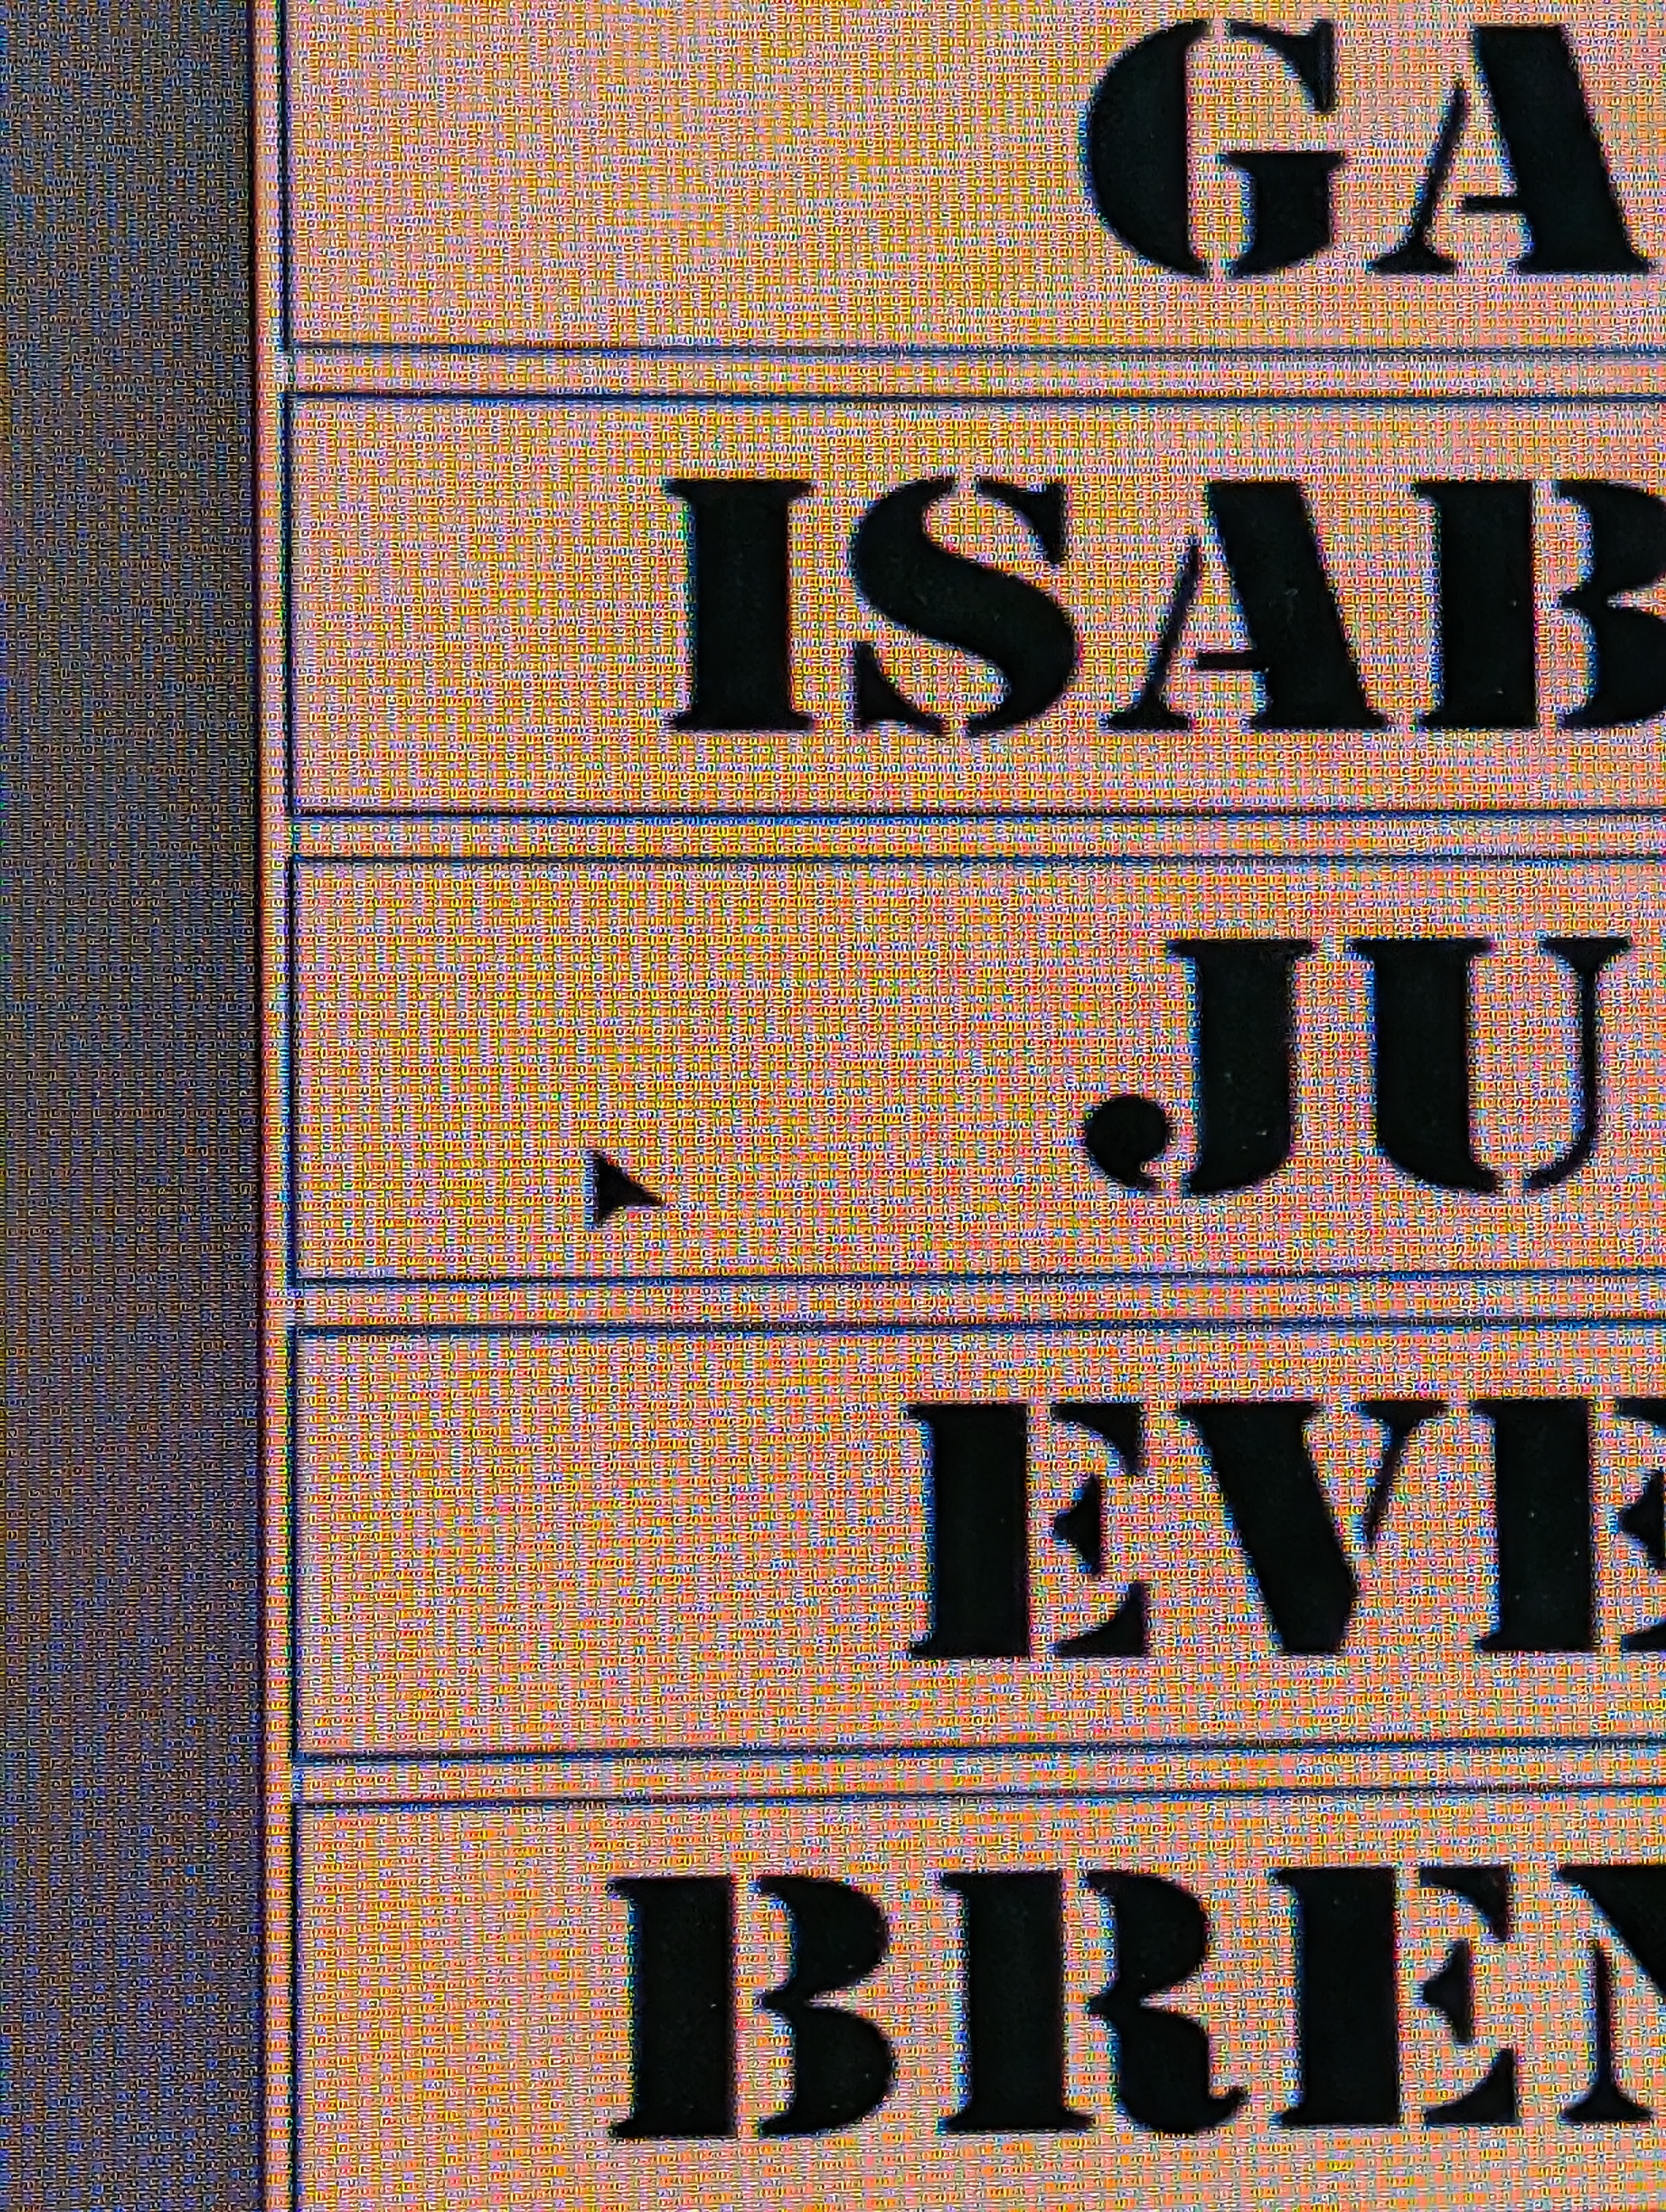
- I started with a choice of a stenciled typeface, laying out each name in Adobe Illustrator. I recognize that data-merge features might allow me to automate and scale this part of the design, so that I could replicate and scale across all 6 of my classes. So Far it was also easy enough to copy paste, and modify from there.
- I set each name on its own line, but did not split them into distinct text objects. I did incorporate enough leading to allow for the following
- I used the Rectangle tool to create a border around each line of text. Modularity was key here, so I selected a size that seemed to fit MOST of the names, and stretched it for the one that seemed considerably longer.
- At the point of design, it’s important to note that while I was starting to constrain dimensions, such as 1” high letters, and a 1/4” space between letters and border, I had not yet chosen materials.
- I loaded the vinyl cutter with white adhesive vinyl, mostly because it was accessible.
- This encouraged some selectivity of color in a the piece to which the labels would be attached. On a white dry erase board, contrast would be important.
- I left the rectangles in the cutting file, which guarantees that all of the parts are useable. The outer portions could be pulled for easy weeding, but then are also useful themselves.
- Before I weeded, I took the same file to the laser cutter, and used that to cut the boundary rectangles only, out of some felt scraps I found in my scrap bin.
- Considering color, each of the students had included in their profile a designation a bit like Hogwarts houses, labeling them as members of the “blue team” or “red team.” I incorporated this by cutting the rectangles out of blue and red material, So I could add each students name to a material that reflected their team color.
- Those outer portions for easy weeding? I weeded them and simply attached them directly to the rectangles of felt. I’d originally intended to use the letters directly, but using the weeded material proved to be 2 steps less of a process. That said, those letters remain as a potential for a later project.
- Final stage, attaching the felt to some magnetic tape, for use on the whiteboard.

- Challenges and solutions
- This project didn’t present significant challenges, but there ARE problems with this design.
- The adhesive vinyl doesn’t stick terribly well to felt. The felt is not a terribly sturdy adherant to the magnet.
- Better balance between materials would certainly make this a more long-lasting product. My goal durability was one semester, so we shall see.
Reflection
- Key learnings
- I recognized that the same students who were unlikely to want to get up and write their name on the board were only marginally more likely to use the tag. However, providing them with it shows that I care enough to empower them, and made it much easier to have the conversations challenging how much a student is willing to invest in their own learning. I suppose I am considerably more comfortable creating DF pieces for use by students than I am asking them to create for themselves. The former asks me to leverage a skill that I practice daily, and not necessarily in a challenging way, except for time constraints. If something becomes a challenge, the piece can pivot, or fall to a rationale that pivots around the need to use DF at all… The latter applies a specific goal, in that each student should genuinely pursue a completed piece they can call their own. In this concept, pivoting to ensure the completion of a project risks leaving one or more student behind, by over-scaffolding or optimizing to the point of minimizing the students’ time in their ZPD.
- How it applies to your teaching / context
- Every opportunity to put a handmade piece of tech is one to teach students about the self-reliant capacity of any person, including themselves. I enjoy having something so simple that also shows how easy it can be to create something for one’s own needs, while minimizing the risk of too many scaffolds being needed to ensure completion.
-
Next steps or improvements
- Making this activity more student-facing would invite the students to design their own label tags, perhaps with ways to recycle it as a simple nametag that could be worn on clothing after they are done with class. On that thought, I considered taking the student experience through the label project, and felt that it falls short of the kind of thinking and development that the design process considers.The solution there doesn’t necessarily require a more complex project, but as I imagined it, I considered another possibility:
Creating cut stickers for a thematic idea is applicable in unconstrained ways, and requires relatively little in the way of design skills, the shapes needed to render a simple icon are simple enough to teach quickly, without needing to get too deep with technique before rendering a design. In a language class, one could even do it with just words. The only risk is that sometimes the stickers that result might find their ways to places where they are frustrating to have to remove. Easy pivot– heat-set vinyl on cloth, like a garment. Same line work, same thematic applicability, but the result is a practical piece that can be worn, but is much harder to use for any mischief. If anything, the fact it’s cloth means it could clean up a mess, rather than making one. While I might joke about it supporting teaching as a cleanup aid, obviously the low-hanging humor there is in that being a minimal view. Any theme contextual enough to a class topic to have an assignment creating a visual art piece interpreting the theme is applicable for a digital linework, and why not put that on a t-shirt, for a novel approach? In a maker class particularly, it is a great transition for learning a two dimensional piece with easily constrainable criteria.
- Students will participate in Design Process by considering a need and applicable constraints to propose potential solutions.
- Students will select a design concept, and use Adobe Illustrator to develop linework for vinyl cutting.
- Students will produce a cut vinyl piece, and apply it to a cloth substrate.
- Students will evaluate produced pieces for adherence to goals stated at the beginning of the process, and recommending future steps for revision.
Discussion prompt:
“What T-shirt would you want to wear to [upcoming local community event]?” The upcoming event notion is great for an art class, but what about asking the art of the project to consider a theme from a book being reviewed, a period of history with substantial context, a mathematical concept which needs a catchy expression for study? Any topic worthy of aesthetic display can be a contextual source for the theme of this project.
- Encourage discussion around personal branding, catchy slogans, and thematic interpretations.
- Ensure that each student can conceive of at least one idea that would lend itself to a text element and graphic that is not so complex as to need more than one color.
- This brainstorm does not require them to have it fully thought out.
Project Start -> Empathetic Inquiry
- Students are introduced to the Design Process by way of a brief instructor presentation explaining the stages and the importance of preserving recursive focus throughout.
- Then they are asked to consider the earlier shirt design prompt, from a new perspective:
- Each student is now in the role of a designer, tasked with identifying the need which they will meet with a concept for a crisp, wearable piece for a client who only roughly knows what they want, and not how to achieve the finished product.
-
The client? One of their other classmates, who has indeed come up with an idea for a product, if only a rough one.
-
Next, students schedule consultations with their clients, who – comically enough – are very busy people, with their own priorities, namely that they are also a designer trying to schedule with a different client.
- Over the course of about 15 mins, they should have enough time for each student to meet with and be met by their peer partners. Assigning these should not be a simple swap: the challenge of “scheduling” is a real world connection.
- A Latin Square rotation through the roster should accomplish this, and is easy enough to do.
Develop Solutions
- The consultations should be coached so that each student designer is probing their client to understand the need.
- The client comes to the table with their idea, and the designer investigates that idea to be able to brainstorm ways to deliver it as a single-color vinyl piece that can be pressed onto a shirt.
- Expansion on this might involve having multiple consultations wherein the designer does research to see other ways the client’s idea might have already been done, then presenting some partially developed concepts, and iterating through those until the client selects a solution for production.
- The back and forth about these steps demonstrates the initial phase of iteration in the design process.
Select Solution
- Students settle on the design to be produced, and then create the linework necessary to cut the vinyl in the desired shapes. -This too can involve an iterative cycle, in that some initial linework may not be ready to advance to the machining process.
- Students will need coaching to ensure that lines will yield adequate material shapes to accomplish the goals of the design.
- Each design is vetted by instructor as well as peer client to ensure that only machine-ready files advance.
Prototype and Test
- The test comes when the lines are cut into material, the result is weeded and heat-set onto a garment.
- Instructor evaluates to see that material reflects intended design, no elements were lost or malformed.
- Client evaluates whether finished product meets the needs specified in Identification stage.
Feedback is annotated, but this project likely won’t need to go back to produce a second prototype, mostly as a means of preventing the kind of recursion which prevents other projects occurring in an academic segment.
Tools
- Tools or software used
- Adobe Illustrator
- Roland Camm-1 GS-24
- Epilog Helix (18 x 24)
- References or tutorials followed
- none needed.